Network and System Management
430
ProSecure Unified Threat Management (UTM) Appliance
3. Click Apply to save your settings.
Note: If you select the default NTP servers or if you enter a custom server
FQDN, the UTM determines the IP address of the NTP server by
performing a DNS lookup. Before the UTM can perform this lookup,
you need to configure a DNS server address on the WAN ISP
Settings screen of the single WAN port models or on one of the WAN
ISP Settings screens of the multiple WAN port models (see Manually
Configure the Internet Connection on page 70.)
Connect to a ReadyNAS and Configure Quarantine
Settings
The UTM can quarantine questionable emails (including spam), attachments, objects, and
web files. This requires an increasing amount of storage space, which is not available on the
UTM. To accommodate these storage requirements, you need to connect the UTM to a
NETGEAR ReadyNAS and configure the quarantine settings. Without integration with a
ReadyNAS, you cannot use the quarantine options of the UTM.
You can select to quarantine emails, attachments, objects, and web files on one or more of
the following screens:
• Email Anti-Virus screen (see Customize Email Antivirus and Notification Settings on
page 186)
• Distributed Spam Analysis screen (see Configure Distributed Spam Analysis on page 198)
• Malware Scan screen (see Configure Web Malware Scans on page 202)
• FTP screen (Configure FTP Scanning on page 224)
Log Storage
After you have integrated a ReadyNAS with the UTM—whether or not you have configured
the quarantine settings—all logs that are normally stored on the UTM are now stored on the
ReadyNAS. That is, all logs that you can specify on the Email and Syslog screen (see
Configure and Activate System, Email, and Syslog Logs on page 439) and that you can query
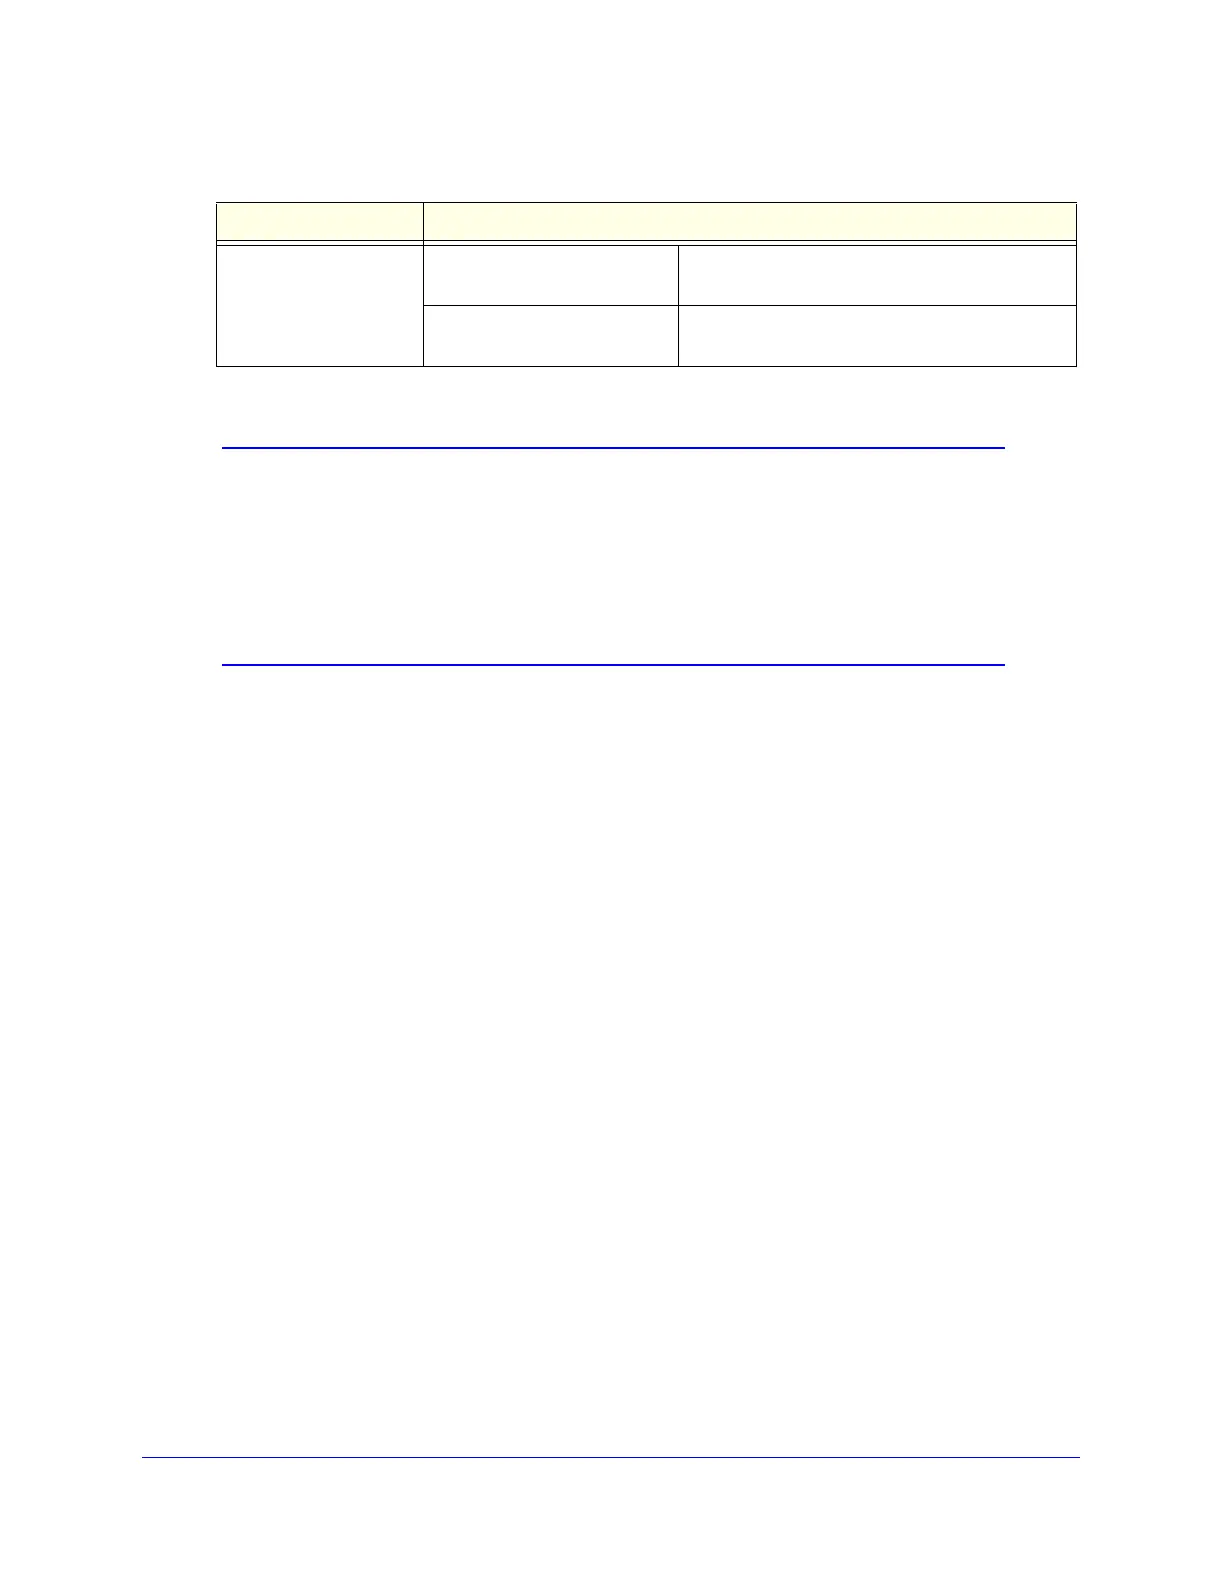
NTP Server (default or
custom)
(continued)
Server 1 Name / IP Address Enter the IP address or host name of the primary
NTP server.
Server 2 Name / IP Address Enter the IP address or host name of the backup
NTP server.
Table 105. System Date & Time screen settings (continued)
Setting Description