Managing Users, Authentication, and VPN Certificates
378
ProSecure Unified Threat Management (UTM) Appliance
4. After you have specified all members of the custom group, click Apply to save your settings.
The new custom group is added to the Custom Groups table. To return to the Custom
Groups screen without adding the group, click Cancel.
To make changes to an existing custom group:
1. In the Action column to the right of to the custom group, click the Edit table button. The
Edit Custom Group screen displays. This screen is identical to the Add Custom Group
screen (see Figure 227 on page 376).
2. Modify the settings that you wish to change (see the previous table).
3. Click Apply to save your changes. The modified custom group is displayed in the Custom
Groups table.
To delete one or more custom groups:
1. Select the check box to the left of each custom group that you want to delete, or click
the Select All table button to select all custom groups.
2. Click the Delete table button.
Configure User Accounts
The UTM supports both unauthenticated and authenticated users:
• Unauthenticated users. Anonymous users who do not log in to the UTM and to which
the UTM’s default email and web access policies apply.
• Authenticated users. Users who have a computer behind the UTM, who log in to the
UTM with a user name and password, and who are assigned an access policy that
usually differs from the UTM’s default email and web access policies. Different users or
user groups can have different access policies, so there can be multiple access policies
on the UTM.
Add
Users/Groups
to this group
(continued)
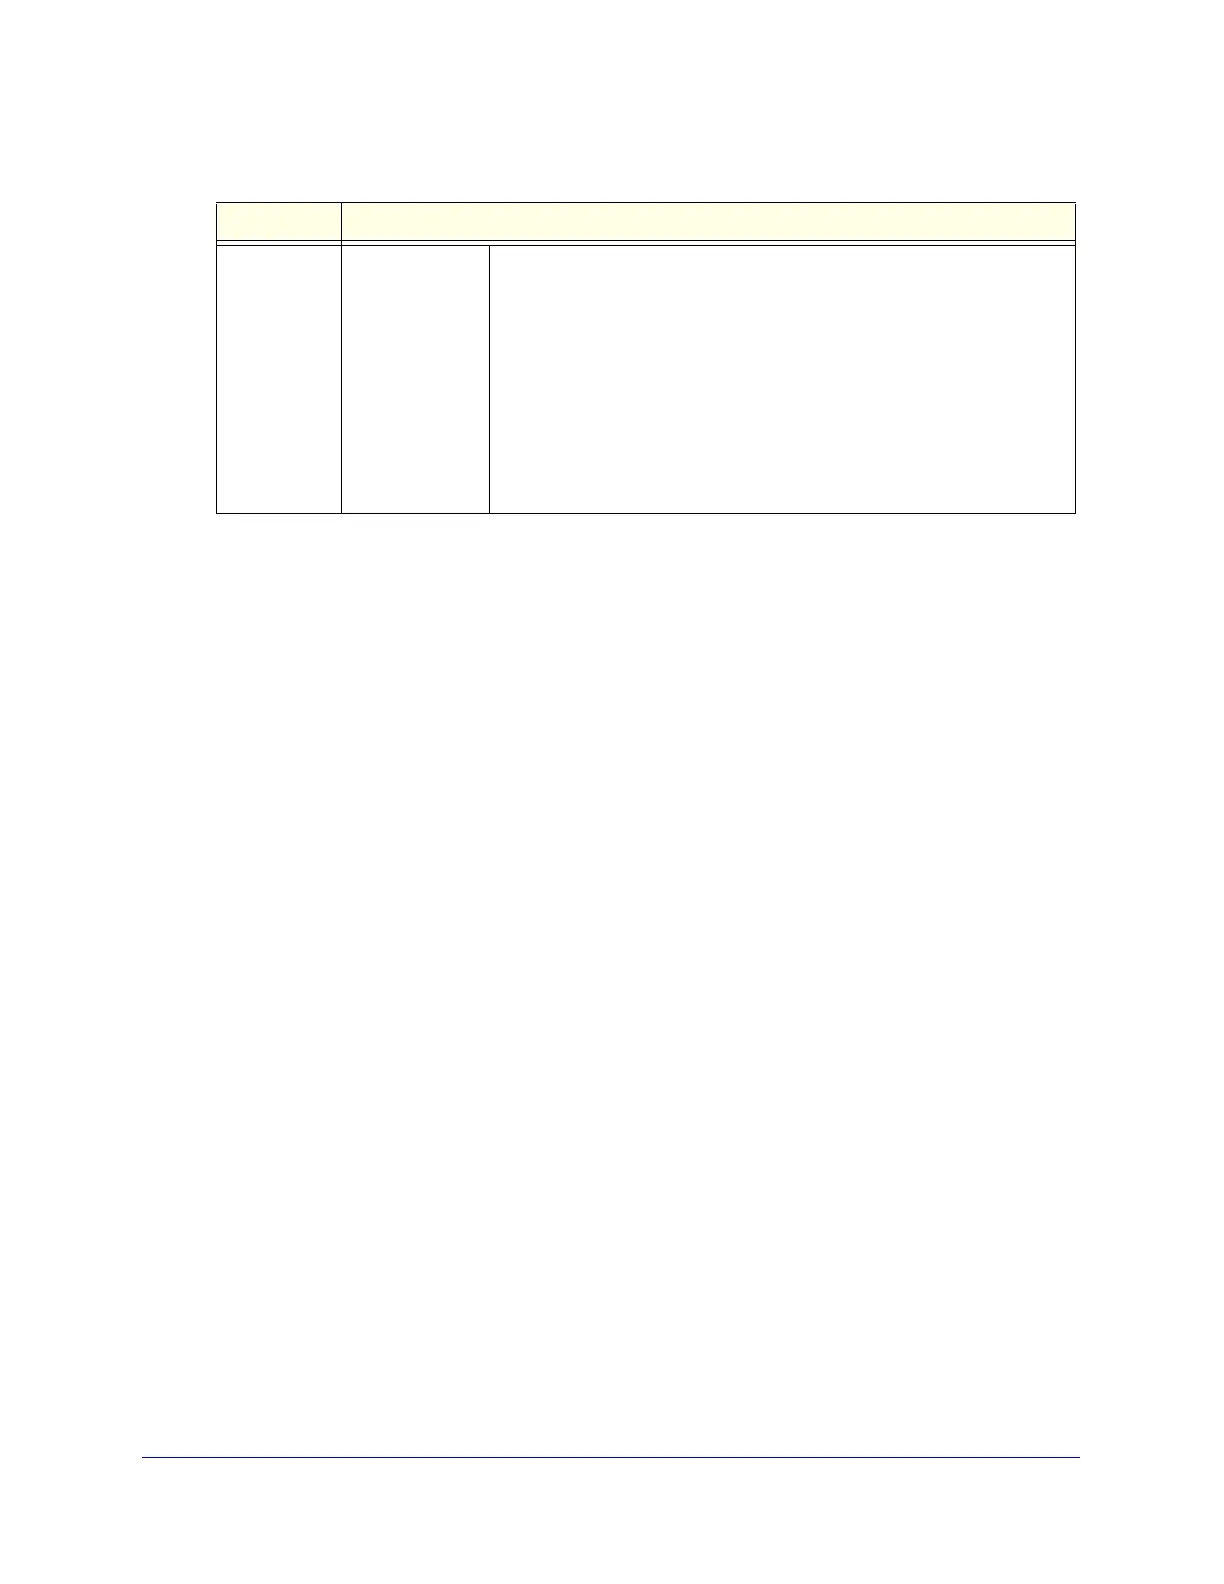
RADIUS User Do the following:
1. From the Domain drop-down list, select a RADIUS domain.
2. From the VLAN ID/Name drop-down list, select a VLAN ID or VLAN
name.
3. Click the Add button to add the selected VLAN ID or VLAN name to
the custom group. Repeat this step to add more VLAN IDs or VLAN
names to the custom group.
You can specify RADIUS domains on the Domains screen (see
Configure Domains on page 365) and RADIUS VLANs on the List of
VLAN screen (see Configure RADIUS VLANs on page 393).
Table 96. Custom Groups screen settings (continued)
Setting Description
 Loading...

