Send files in a User Box
2
2-18 d-Color MF552/452/362/282/222
2.6
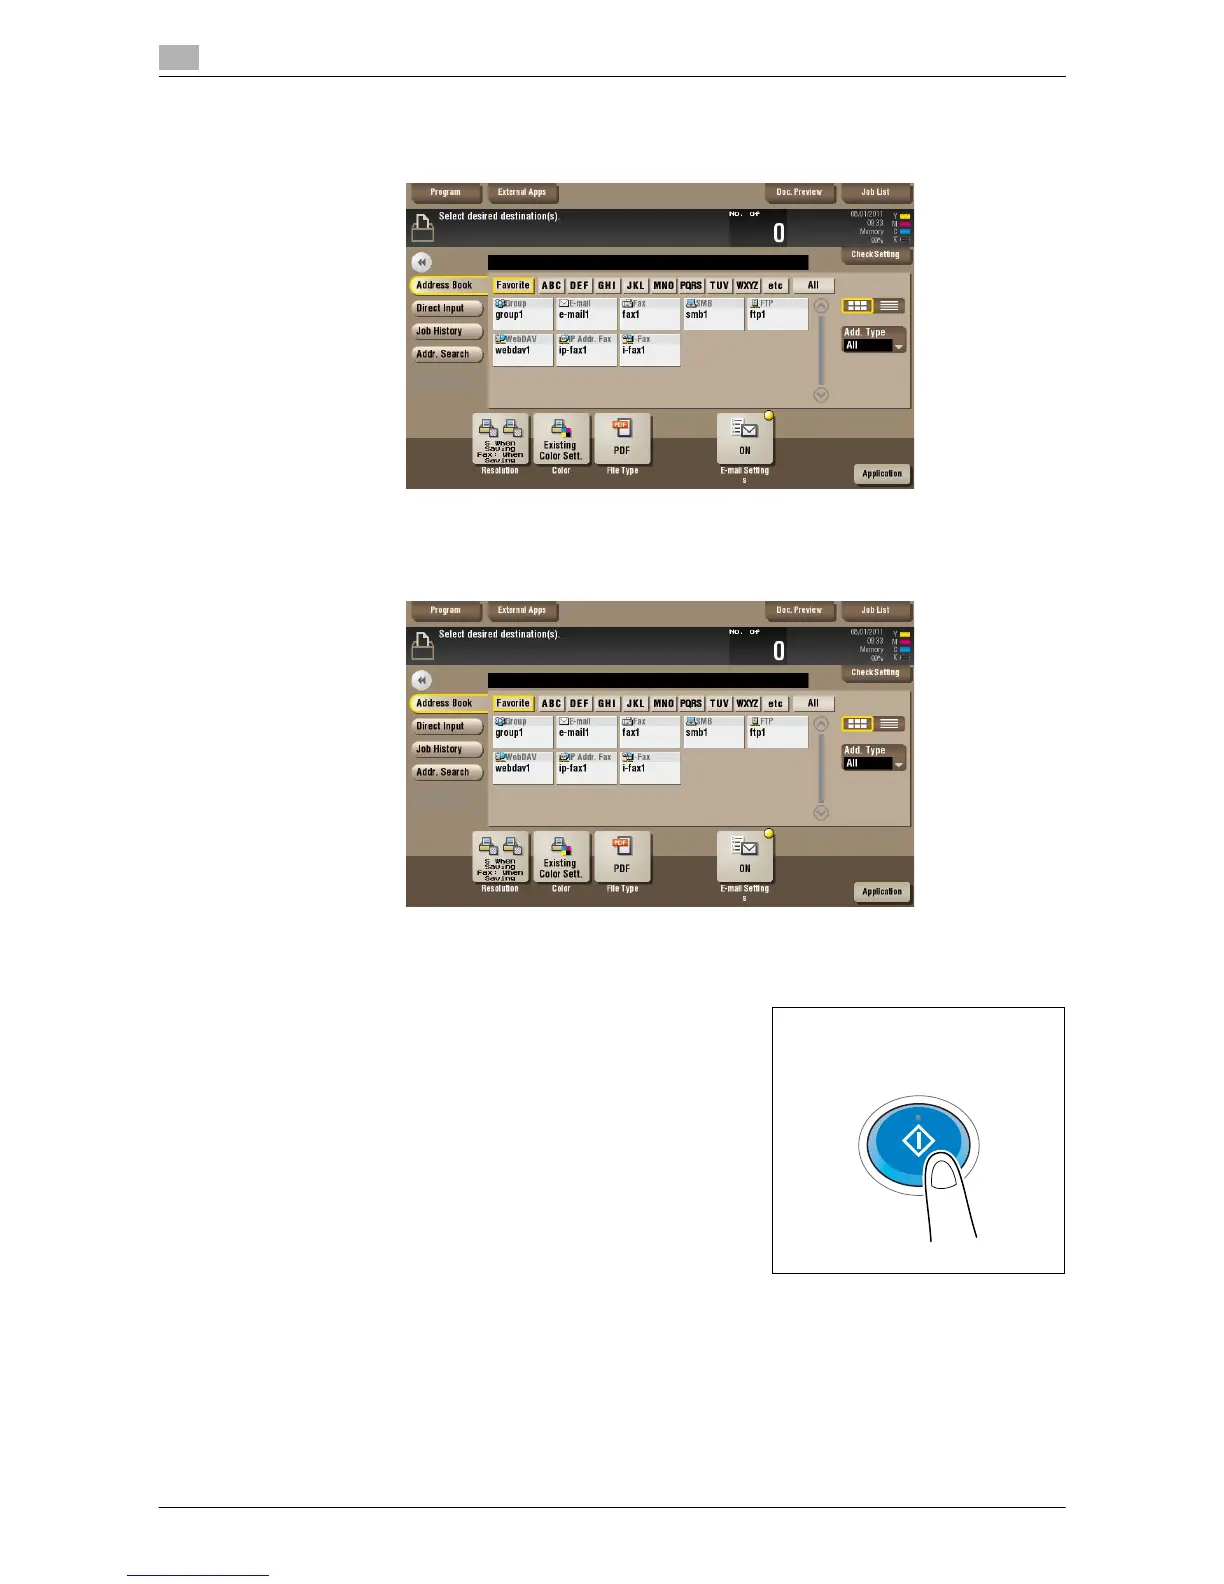
4 Specify the destination.
% For the destination setup, refer to page 2-19.
5 Set the file send options if necessary.
% For details, refer to page 14-23.
6 Press the Start key.
Transmission begins.
Related setting (for the administrator)
- You can specify to hold or clear a file from the box after file printing or sending (Default: [Yes]). Also,
you can prompt the user to hold or not hold a file in the box after it has been printed or sent in the delete
confirmation screen. For details, refer to page 17-7.
 Loading...