Sending Files to a Shared Network Folder
This section explains how to specify the destination when sending files to a shared network folder.
• The shared folder must have been created on the client computer in advance. For details about creating
shared folders, see Windows Help.
• You can create the shared folder under Windows 2000/XP/Vista, Windows Server 2003/2003
R2, and Mac OS X 10.2 or later.
• Depending on the operating system of the client computer, access to the shared folder may require
authentication.
• This machine does not support DFS (Distributed File System).
You can send a file to a shared folder over the network by any of the following methods:
• Enter the path to the destination directly
• Specify the path by browsing the network for the destination
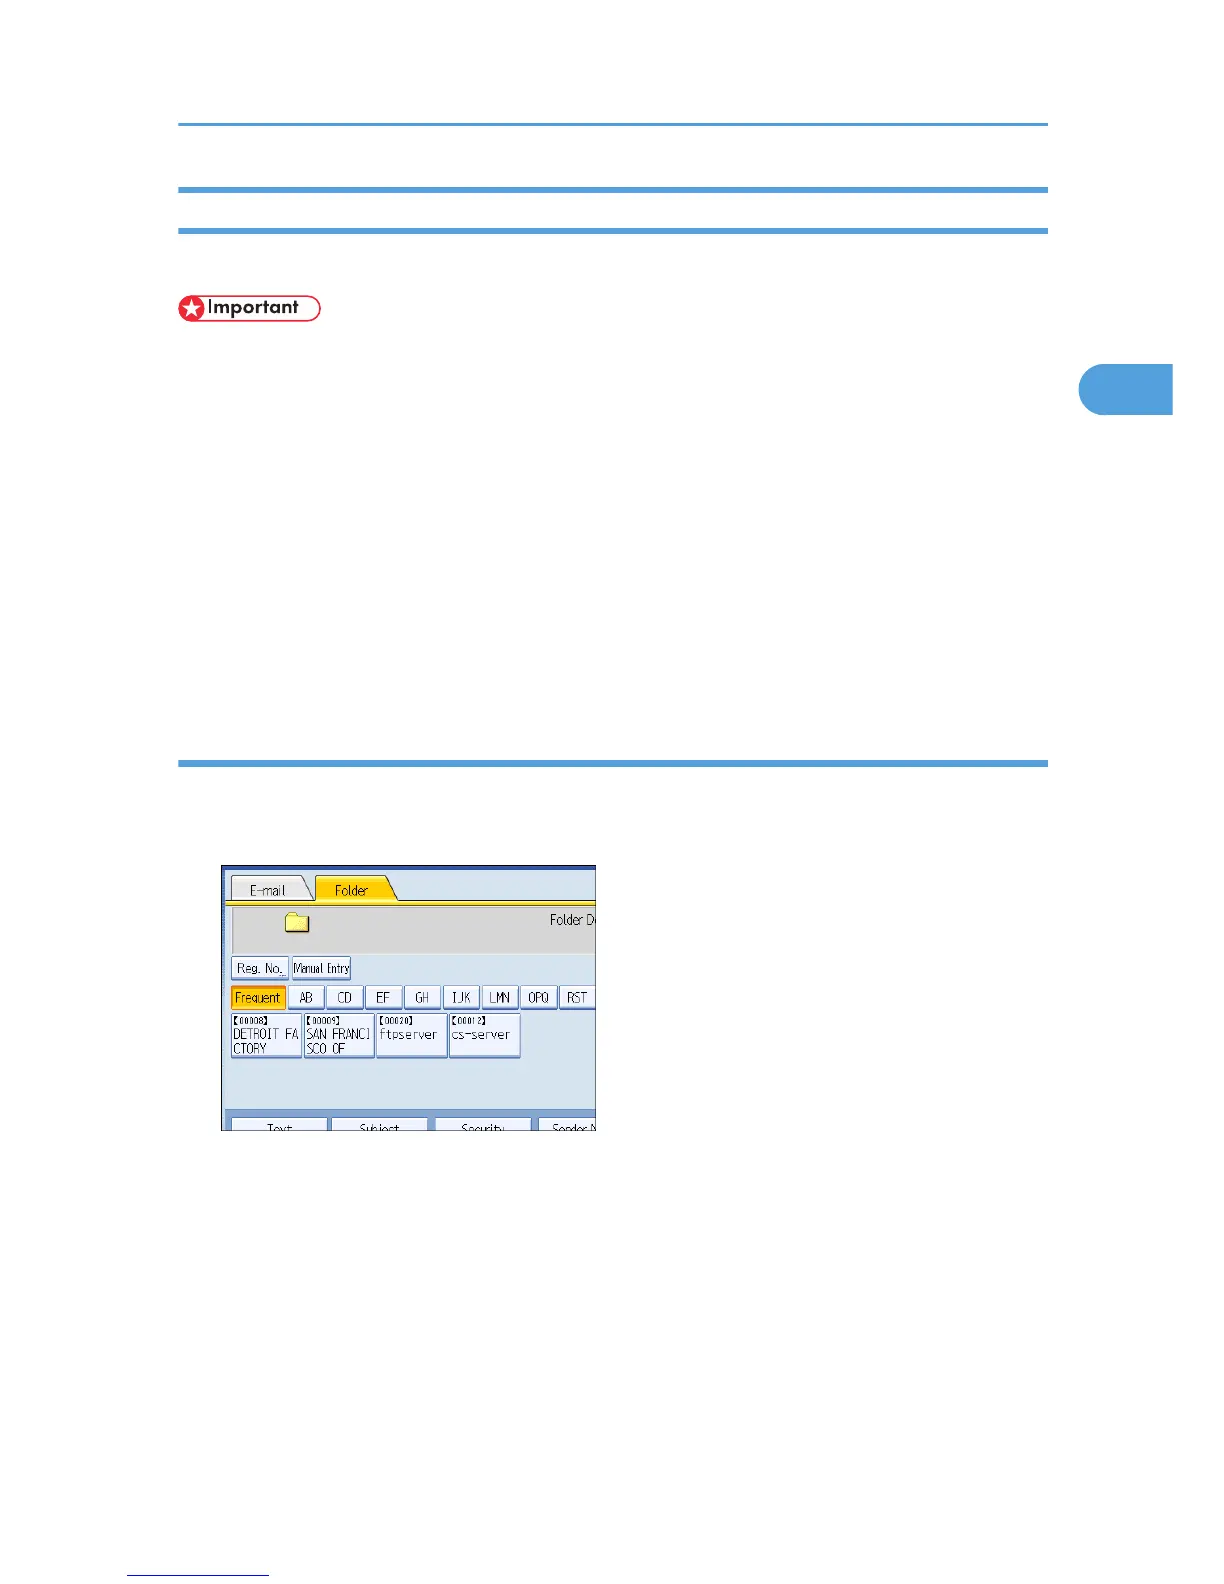
Entering the path to the destination manually
You can enter the path to the destination folder manually.
1. Press [Manual Entry].
2. Press [SMB].
3. Press [Manual Entry] on the right side of the path field.
The soft keyboard appears.
4. Enter the path for the folder.
The following is an example of a path where the folder name is "user" and the computer name is
"desk01": \\desk01\user.
Instead of the computer name, you can also use its IPv4 address.
5. Press [OK].
Specifying Scan to Folder Destinations
67
 Loading...