Functions for Master-Making
Switching Masters of Just One Drum [OneSide MasterMake]
98
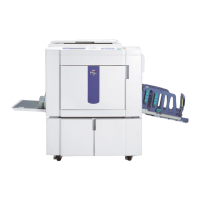
The following screen appears.
Returns to the Functions screen. OneSide Mas-
terMake setting is updated.
5
Place the changed original.
Place on Platen Glass or in ADF unit (option).
See “2-Colour Printing with 2 Originals” ()p.40).
6
Make necessary settings.
You can configure functions to apply to the new
original as needed.
If you make no settings, the same settings as the
first print are used.
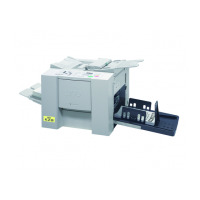
7
Press the key.
A master is made on the drum specified in step 4.
Once the master is made, a proof copy using only
Drum 2 is printed, and then a 2-Colour proof copy
is printed.
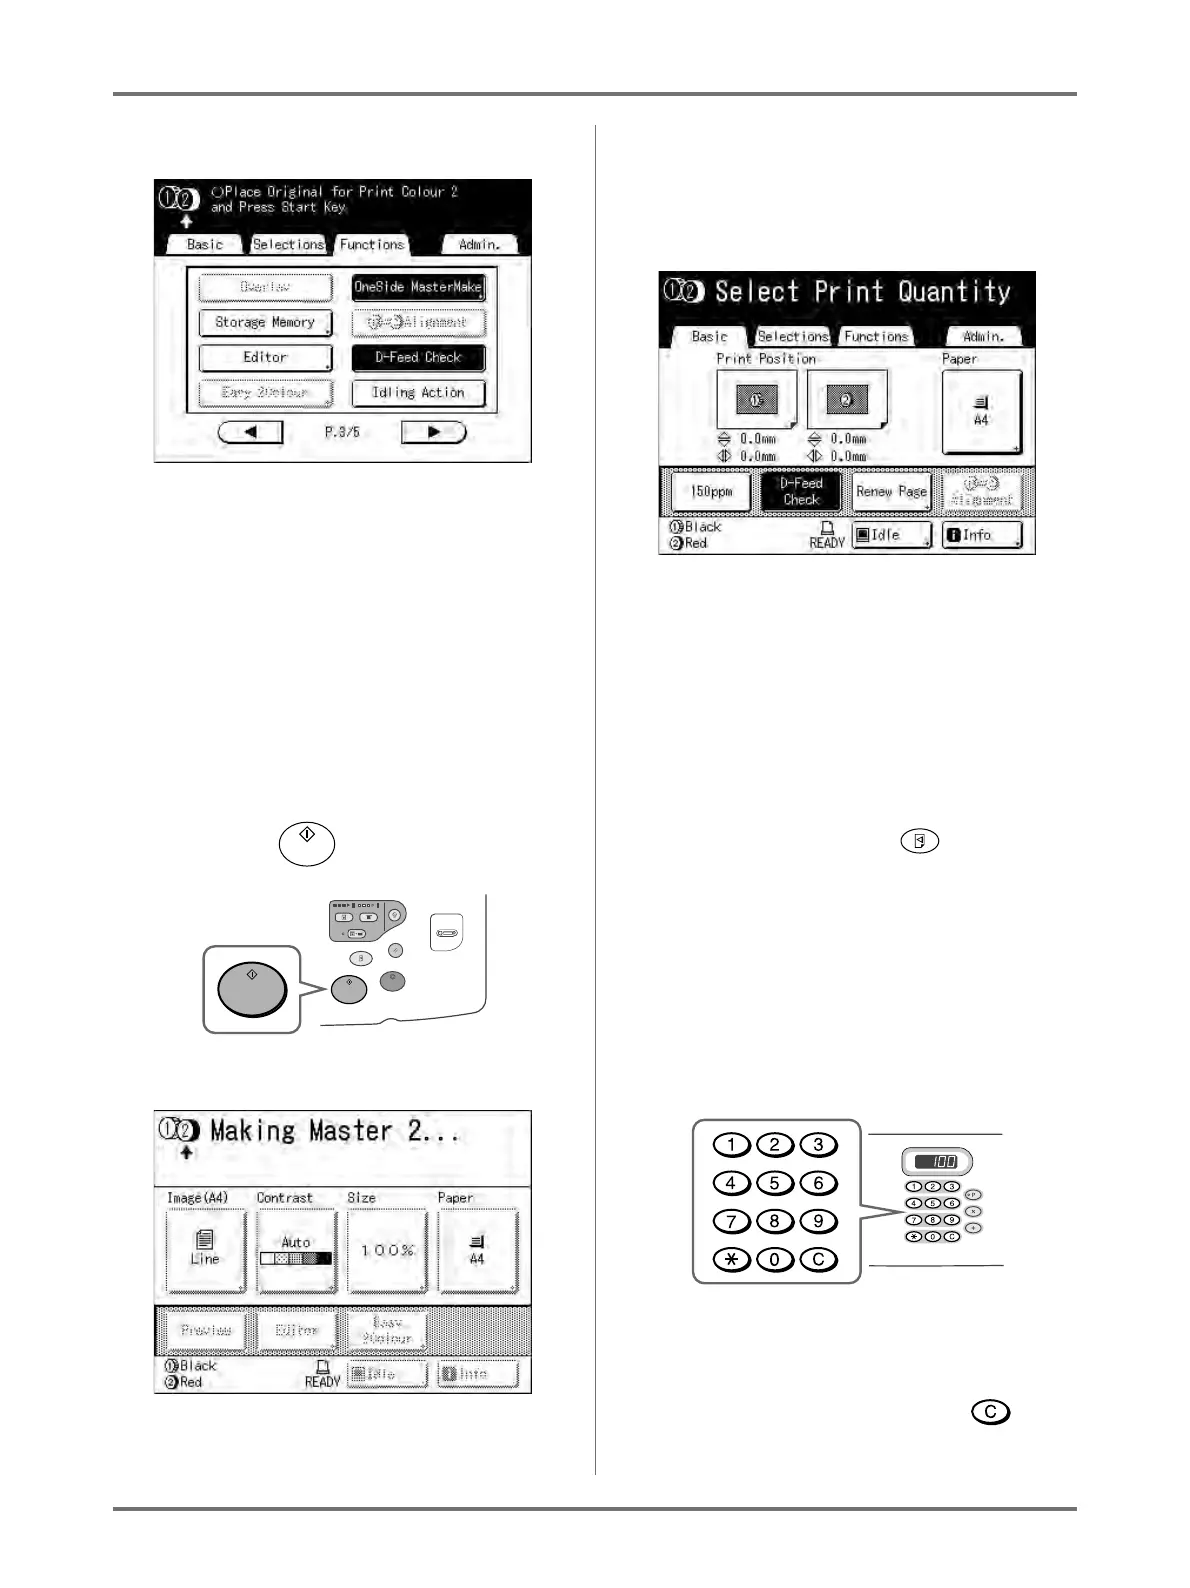
When a proof copy is printed, the Print Basic
Screen appears.
8
Check the proof copy result.
Check the proof copy; e.g., print position and den-
sity.
If necessary, change print position and density.
• Print Position ()p.115)
• Print Density ()p.114)
• Interval Printing ()p.120)
• Eject Wing Control ()p.122)
After adjustment, press the key to print a
proof copy.
Note:
• You can also adjust the print position, the den-
sity, and the speed while print process is in
progress.
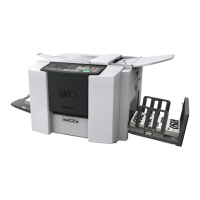
9
Enter the number of copies using the
Print Quantity Keys.
The specified number is displayed on the Print
Quantity Display.
Note:
• To change the number, press the key,
then re-enter the correct number.