Replacing Consumables
Replacing the Print Drum
250
Replacing the Print Drum
When replacing with a Colour Drum to change colours, or when removing jammed paper, follow the steps to remove
Print Drum. Be sure to use a Colour Drum specifically designed and approved for use with this machine.
BCaution:
• Do not stand the Print Drum upright. Doing so may stain the floor, etc.
Important!:
• Use only Print Drums specifically designed and approved for use with this machine.
• Keep the power ON while removing or replacing the Print Drum.
• Make sure to place the changed Print Drum into the drum case and store horizontally.
Removing the Print Drum
Note:
• The drum is removed from the printer to be changed, and to remove paper jams.
The procedure for changing Drum 1 and Drum 2 is the same. The procedure for changing Drum 1 is explained here.
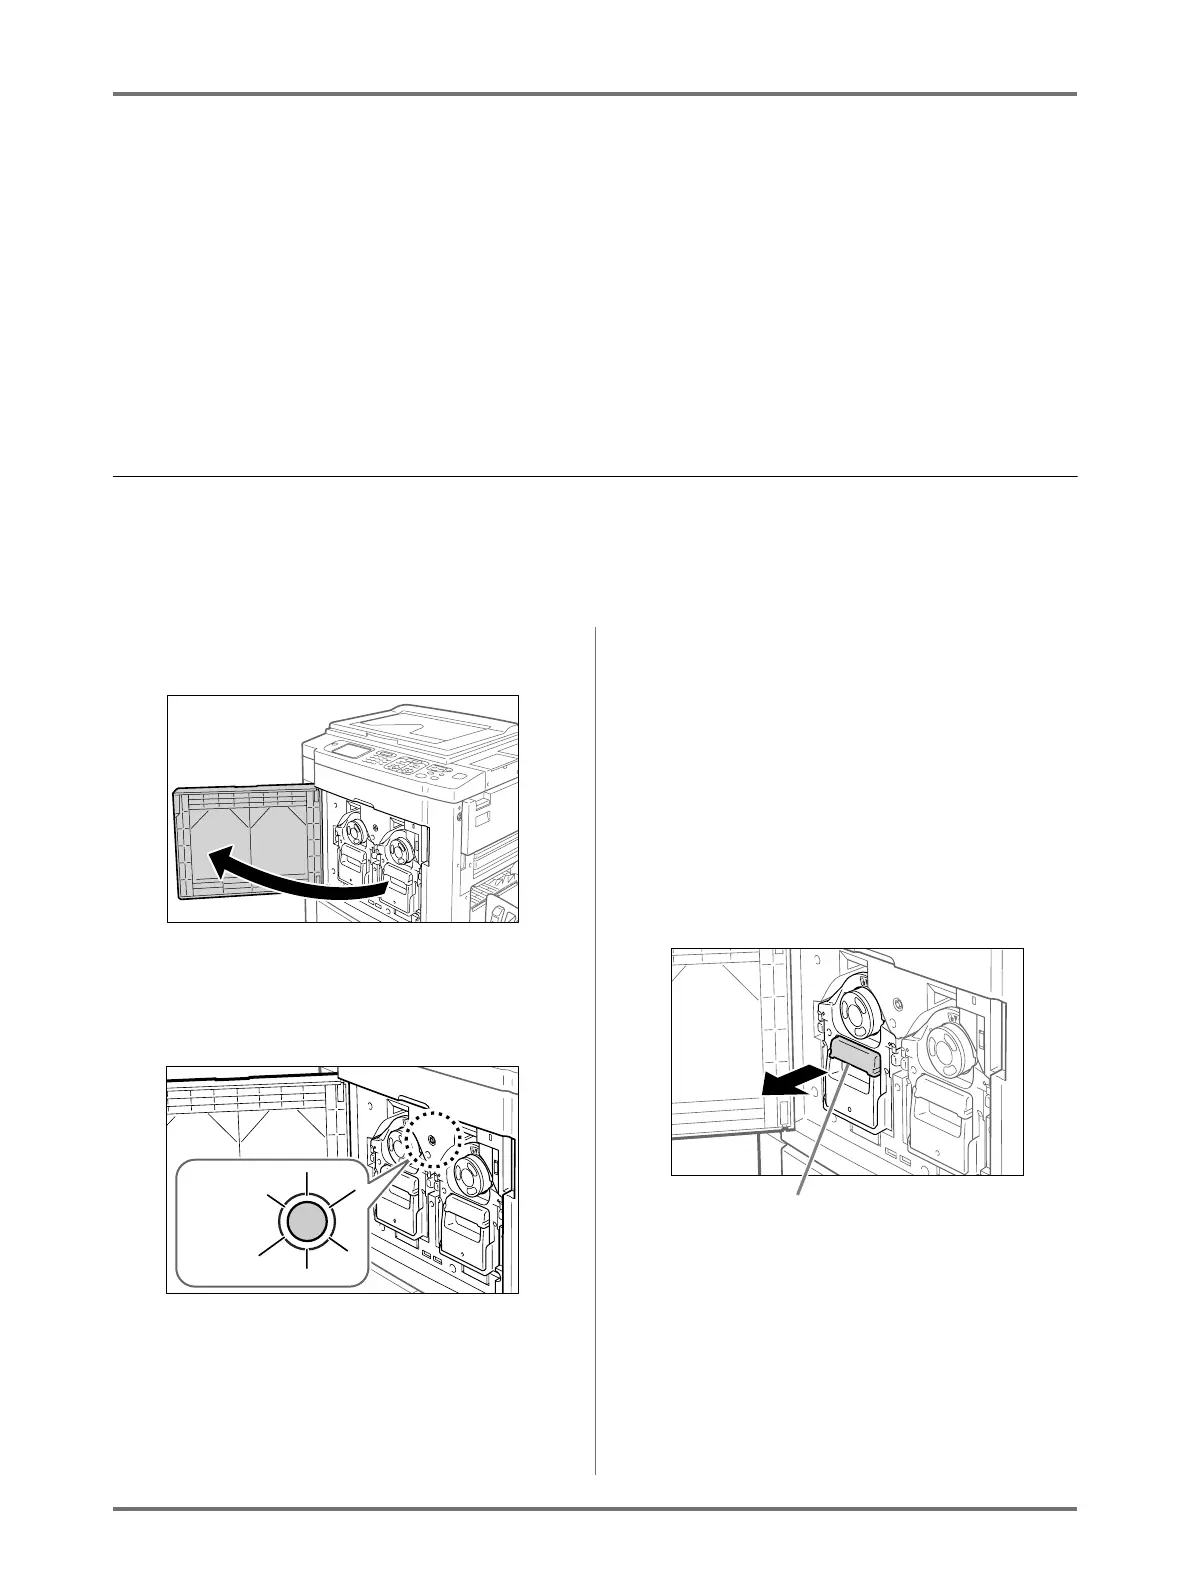
1
Open the Front Cover.
2
Check that the indicator of the Print
Drum Release Button is ON.
If the indicator is off, press the Print Drum Release
Button to turn it on.
Important!:
• When the Master Making Unit is out, the Print
Drum cannot be pulled out. Return the Master
Making Unit into position and press the Print
Drum Release button.
)p.243
Note:
• Only one of the drums may be slightly forward,
but both drums can be removed.
3
Pull out the Print Drum.
Grasp the Print Drum Handle and slowly pull until
the Print Drum is completely extended.
Print Drum
Release
Button
Drum Handle