Contents
xv
ET 200S Distributed I/O System
EWA-4NEB 780602402-12
Figures
1-1 T ypical PROFIBUS DP network structure 1-3........................
1-2 A typical PROFINET IO network structure 1-4.......................
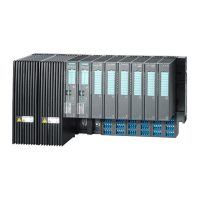
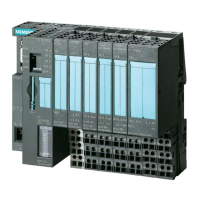
1-3 V iew of the ET 200S distributed I/O system 1-6......................
1-4 Components and the manuals required for them 1-12..................
1-5 Components and the manuals required for them (continued) 1-13.......
2-1 Components for the example on PROFIBUS DP 2-2..................
2-2 Setting PROFIBUS Address 3 2-3.................................
2-3 Wire the example on the PROFIBUS DP 2-4........................
2-4 Components for the example on PROFINET IO 2-11..................
2-5 Wire the example on the PROFINET IO 2-12.........................
3-1 Placement and connection to common potential of power modules 3-5..
3-2 Fiber-optic cable network with the IM151-1 FO STANDARD 3-9........
3-3 Selecting terminal modules for power modules 3-18...................
3-4 Selecting terminal modules for electronic modules 3-22................
3-5 Direct Communication with the IM151-1 HIGH FEATURE 3-27..........
3-6 Clocked interrupts dialog box 3-30..................................
3-7 Options dialog box 3-31............................................
3-8 DP slave properties dialog box 3-32.................................
3-9 How option handling works 3-35....................................
3-10 Example of the use of the RESERVE modules 3-37...................
3-11 Control (PIQ) and feedback interface (PII) 3-40.......................
4-1 Minimum clearances 4-4..........................................
4-2 Installing the interface module 4-5..................................
4-3 Installing the terminal module 4-6..................................
4-4 Removing the terminal module (from the right) 4-7...................
4-5 Replacing the terminal box on the terminal module 4-9................
4-6 Installing the terminating module 4-10...............................
4-7 Installing the shield contact 4-12....................................
4-8 Applying slot number labels and color identification labels 4-14..........
4-9 Setting the PROFIBUS Address 4-15................................
5-1 Configuring the ET 200S with grounded reference potential 5-5........
5-2 Potentials of the ET 200S with IM151-1 5-6.........................
5-3 Wiring the spring terminal 5-9.....................................
5-4 Block diagram of the terminal module with Fast Connect 5-10...........
5-5 Releasing the wiring of the terminal module with Fast Connect 5-12.....
5-6 Removing the locking mechanism from the terminal module 5-12........
5-7 Wiring terminal modules for power modules 5-14......................
5-8 Wiring terminal modules for electronic modules 5-15...................
5-9 Wiring terminal modules for electronic modules, continued 5-16.........
5-10 Connecting cable shields 5-17......................................
5-11 Wiring the IM151-1 BASIC, IM151-1 STANDARD
and IM151-1 HIGH FEATURE interface modules 5-18.................
5-12 IM151-3 PN wiring 5-20............................................
5-13 Wiring the IM151-1 FO STANDARD 5-24............................
5-14 Inserting and identifying the electronic modules 5-25...................
5-15 Removing electronic modules 5-26..................................
5-16 Removing the code element 5-27...................................
5-17 Assigning device names in HW CONFIG 5-30........................
5-18 Send device name online to the IM151-3 PN 5-31.....................
5-19 ”Assign device name” window before name assignment 5-31...........
5-20 ”Assign device name” window after name assignment 5-32.............
 Loading...


