3
FI002K0018v1100UK – THS/21 Instruction manual for installation, use and maintenance
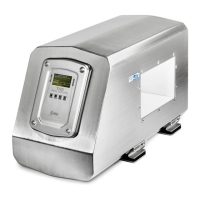
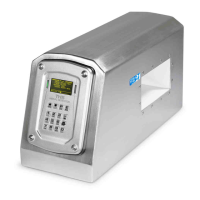
INSTALLATION
100 ORIGINAL INSTRUCTIONS
3.8 Configuration
CEIA integrated systems are already programmed (see Factory Acceptance Test enclosed with the
manual).
On non-integrated systems, the programming parameters must be set to match the type of
installation.
For instructions on entering the programming phase and modifying the parameter values, refer to
the Programming Manual.
In the following section, access to Programming as Administrator is required.
User: ADMINI – Password: 000000
To keep things simple, the parameters will be referred to using the short name valid for remote Programming.
3.8.1 System start-up
If the equipment is being switched on for the first time, some checks must be carried out and the
value of some operating parameters must be set. These operations, which are listed on the first
page of the Installation section, are described below in this section.
When it is first powered up, the Metal Detector configuration includes 6 factory-set passwords (shown on the test card at
the end of the manual). It is extremely important that the person in charge of the detector modifies the passwords in
order to avoid unauthorized access to programming.
3.8.2 Preliminary settings
- Enter the
Configuration
menu and set the correct values for the following parameters:
Language
,
Date
and
Time
.
- In the case of adjacent Metal Detectors, if necessary, set a transmission channel different
from the other Metal Detector, using the
TX channel
parameter.
3.8.3 Checking the input and output connections
If input or output devices do not need to be connected for the installation of the Metal Detector, go to the next paragraph.
1. Enter the
Configuration-adv
menu and select, according to the devices connected, the
input logic, setting the
Input logic
parameter to
P
or
N
.
2. Enter the
Configuration-adv > I/O Status > Inputs
menu and simulate the operating
condition for activation of each connected input line, verifying that the corresponding status
changes correctly from
L
to
H
.