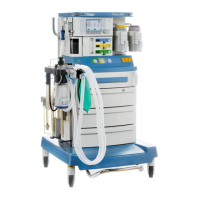
Instructions for Use Fabius MRI SW 3.n 219
Please note that this Daily Pre-use check list takes
into consideration all possible configurations of the
Fabius MRI. The clinician need only use those
areas that apply to their specific Fabius MRI config-
uration.
All checks must be carried out daily before equip-
ment is used. The person who carries out the
checks must be fully conversant with the Instruc-
tions for Use. Checks marked with a P must be car-
ried out before each patient use. These pages
should be removed and copied to establish a daily
record of machines checks.
Mark each function when checks have been
satisfactorily completed.
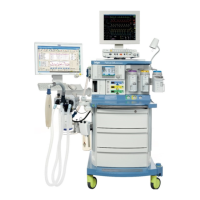
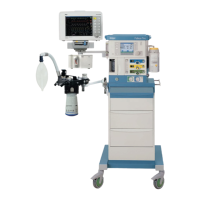
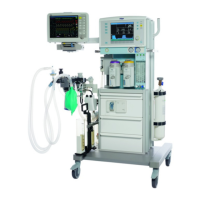
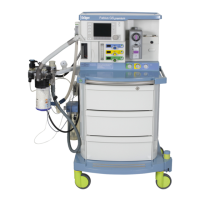
Fabius MRI
Serial Number
Pre-conditions
Inspection intervals for machine and acces-
sories are current
P
Machine fully assembled and connected
Monitors (O2, P, V, CO2, anesthetic agent)
(when present) switched on and function-
ing, self test carried out satisfactorily
System diagnostics for Fabius MRI carried
out
P
Sampling line for gas monitoring (when
present) connected to Luer Lock on the
Y-piece, correct anesthetic agent selected
Checking Reserve Power
P
Verify that battery is fully charged. (If the
battery does not show full a charge, the bat-
tery operation time is not guaranteed to be
45 minutes.)
Checking the Medical Gas Connections
Visually inspect all gas supplies from the
medical gas pipeline system and cylinders
to make sure that they connect properly
and fit securely
Verify that all medical gas pipeline supplies
are within acceptable pressure ranges.
Open reserve gas cylinders (when
present).
O2 pressure more than 1000 psi
(70 kPa x 100)
N2O pressure greater than 600 psi
(43 kPa x 100) if present
AIR pressure greater than 1000 psi
(70 kPa x 100) if present
Close reserve gas cylinders.
O2 Flush Function
Press O2 flush: A strong flow of gas should
be emitted from the patient connection.
Release O2 flush button: flow of gas from
patient connection stops.
Checking the Flow Control/Metering System
Activate ManSpont mode.
Fully open the O2 metering valve.
O
2 flow of at least 10 L/min present.
Close air metering valve.
Fully open the N
2O metering valve. N2O
flow of at least 10 L/min present.
Verify that the float ball of the total fresh gas
flowmeter moves up.
Turn off the O2 supply. Remove the O2 con-
nector and close the O2 cylinder valve.
The O2 Low Supply Pressure Alarm LED is
blinking. N
2O does not flow.
Verify that the float ball of the total fresh gas
flowmeter shows 0 L/min.