Maintenance 4. Cable
212 N6 Rev.2
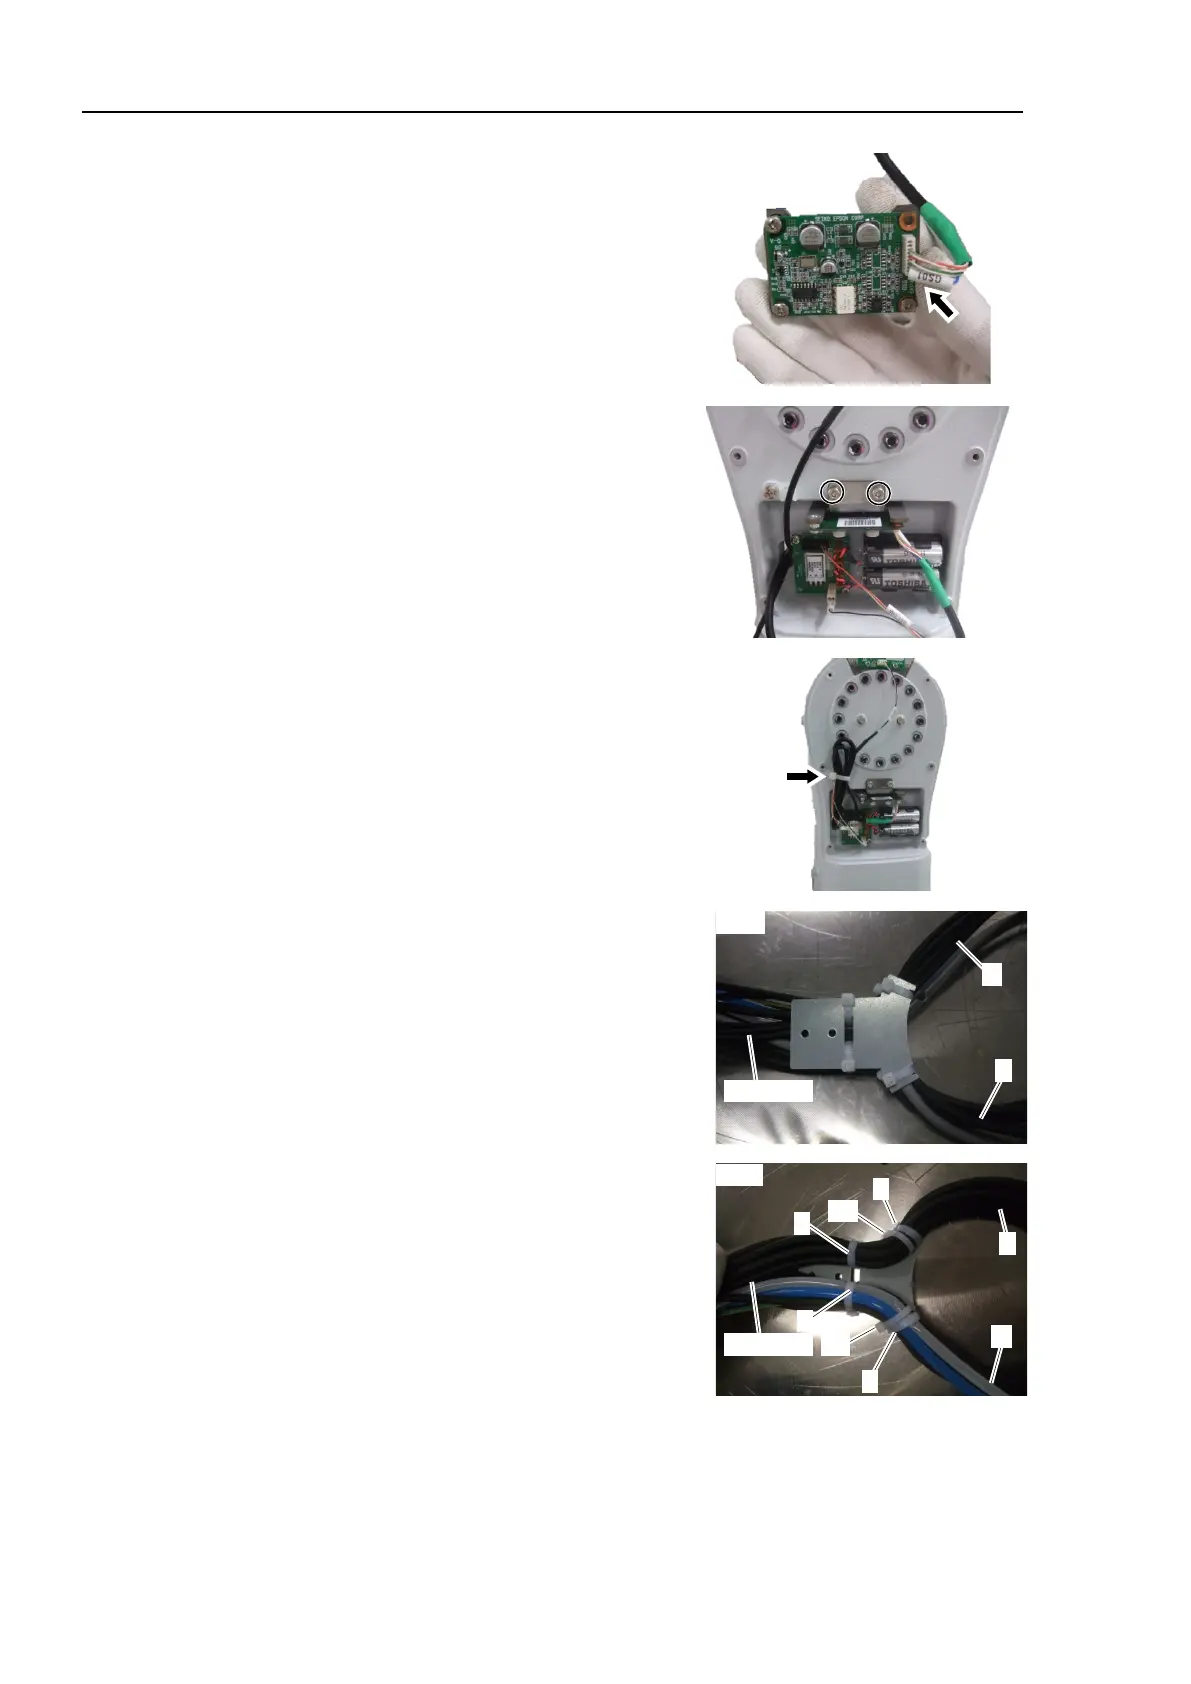
Connect the connectors to the control board
1
.
Cable (connector): GS01
Install the control board
1 to the Arm #1.
Hexagon socket head cap bolts: 2-M4×8
Tightening torque: 4.0 ± 0.2 N·m
Fix the cables on the Arm #1.
Cable ties (AB200): 1
the cable unit to the cable fixing plate.
Be careful for the following:
Cable ties (AB200) × 4 (1 to 4)
Tightening strength: 85 ± 5 N
able A
Set the A3 of the cable tie to the cable
fixing plate and fix it by using the cable
ties 1 and 2. Make sure that the gray
colored cable is on the plate side.
able B
Set the B3 of the cable tie to the cable
fixing plate and fix it by using the cable
ties 3 and 4. Make sure that the two air
tubes (blue and white) are on the opposite
side of the plate.

 Loading...


