Maintenance 5. Actuator Units
294 N6 Rev.2
Removal
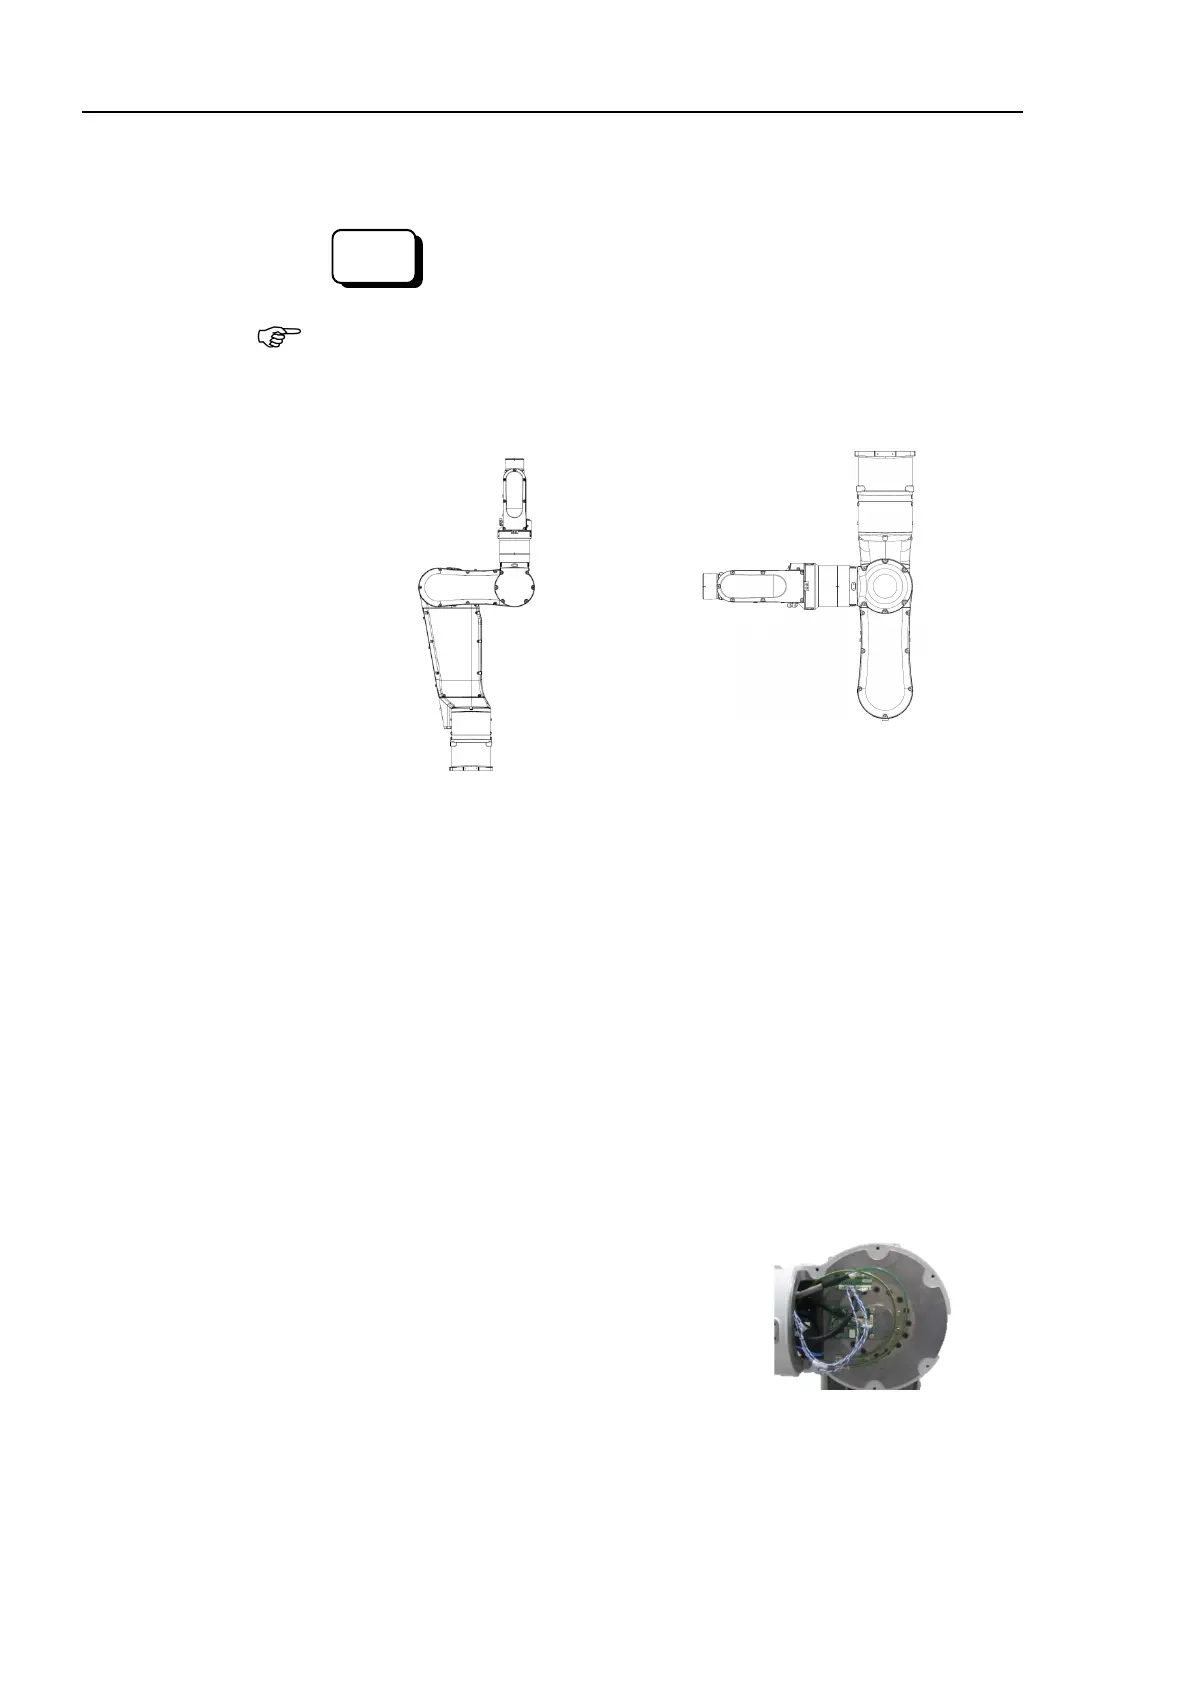
Joint #4
Actuator Unit
Release the brake on the Joint #3.
Command
> Brake Off,3
When releasing the brake, be careful of the arm falling due to its own weight.
Move the angle of the Arm #3 about 90 degrees from the origin position.
Arm #4 side cover (2 covers), Joint #4 inside cover, Joint #4 outside cover
Joint 4 side cover (2 covers), Arm #3 cover
For details, refer to Maintenance 3. Covers.
Remove the cable unit from
Joint #1 to Joint #4.
For more details, refer to the following sections:
Removal steps (9) through (16), (18)
Maintenance
4.1 Cable Unit (N6-A1000*): Cable
direction Standard (backward).
Removal steps (9) through (16), (18)
Maintenance
4.3 Cable Unit (N6-A850*R): Cable
direction Standard (backward).
Disconnect the connectors.
Connectors: PW4, BR4, EB0x_CN2

 Loading...


