Maintenance 5. Actuator Units
N6 Rev.2 299
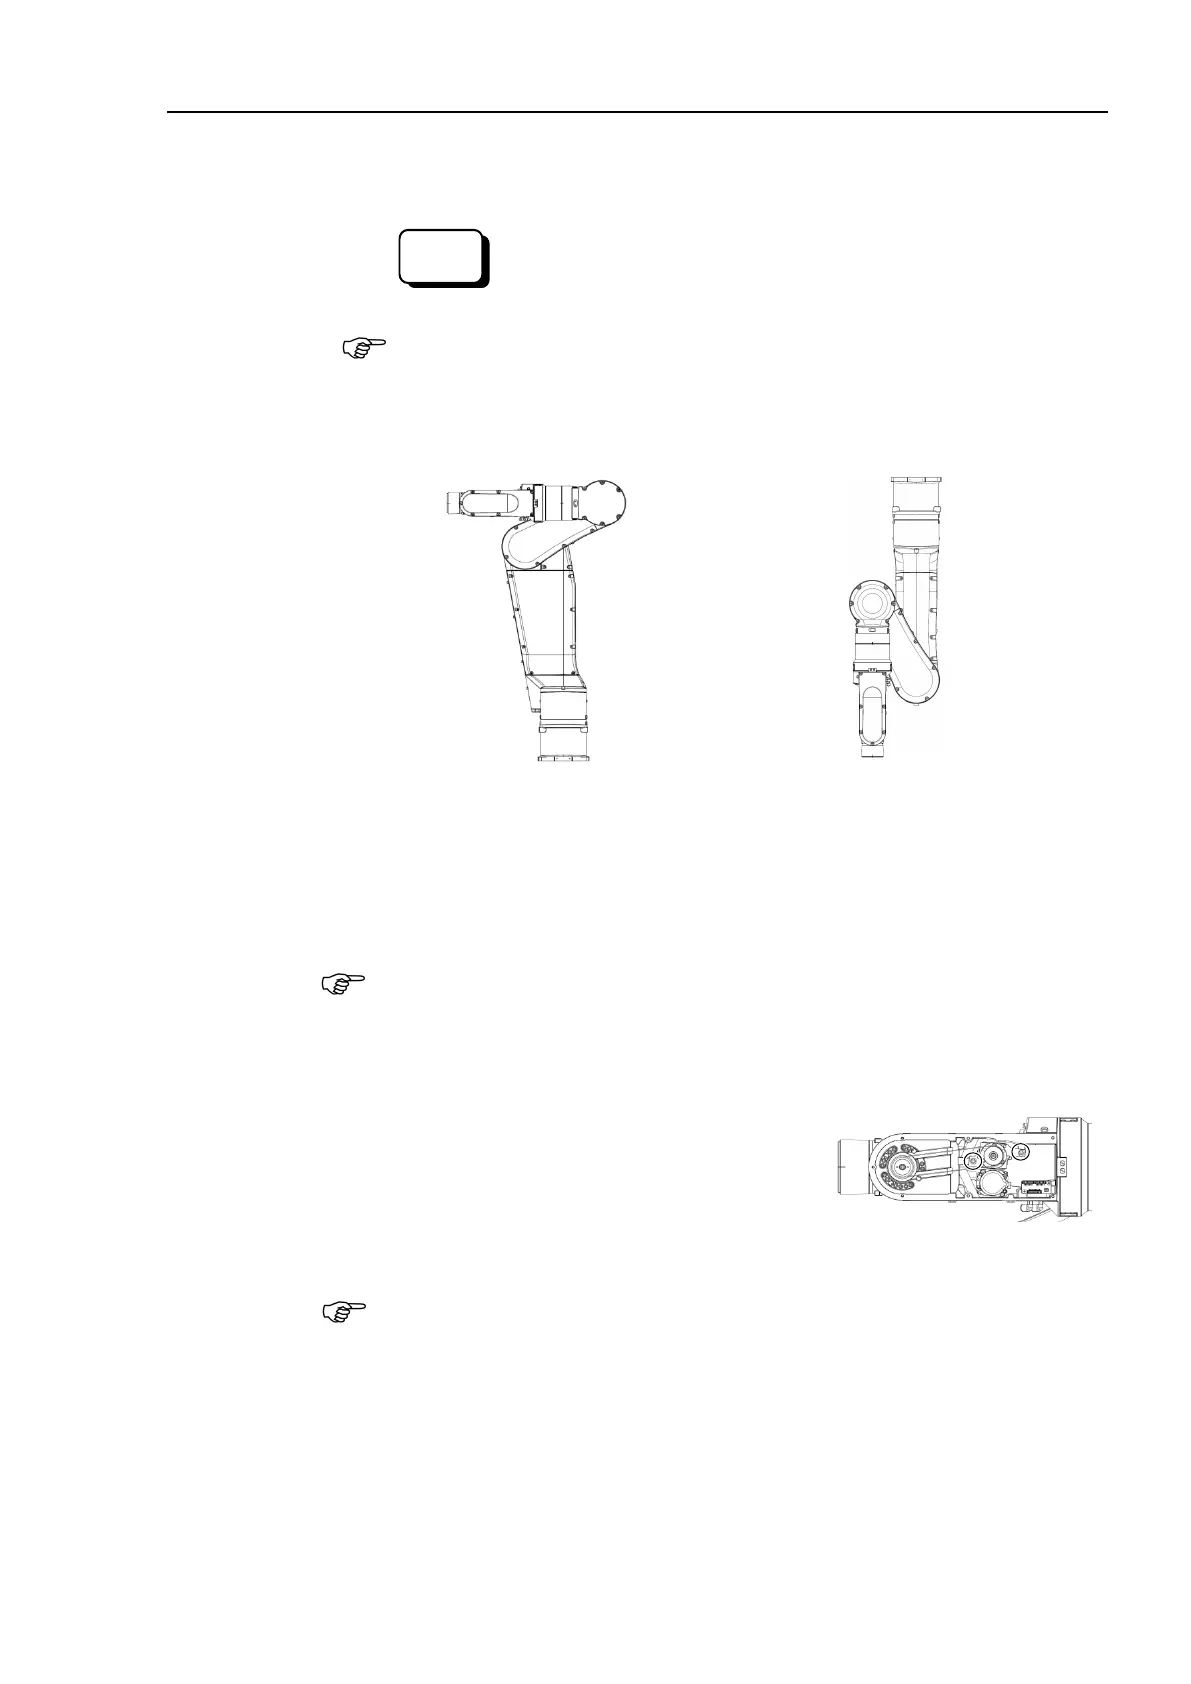
Removal
Joint #5
Motor Unit
(1)
(2)
Release the brake on the Joint #2 and Joint #3.
> brake off, 2
> brake off, 3
When releasing the brake, be careful of the arm falling due to its own weight.
(3)
Move the angles of the Arm #2 and the Arm #3 about 30 degrees from the origin
positions.
(4)
(5)
Remove the Arm #4 side cover (2 covers).
For details, refer to Maintenance 3. Covers.
(6)
Cut off the cable tie of the cables.
Be careful not to cut the cables.
(7)
Disconnect the connectors.
Connectors: PW5, BR5, EB0x_CN2 (Joint #5 motor side)
(8)
Remove the bolts fixing the Arm #4 and the
Joint #5 motor unit. Then, remove the timing
belt
s on the Joint #5 motor unit and the Joint #5.
Hexagon socket head cap bolts 2-M4×15
(with plain washer for slotted hole
thickness: 1.5mm)
If heavy part such as end effector is installed on the end of the Manipulator, the
Arm #5 will move.
Be very careful.

 Loading...


