Maintenance 5. Actuator Units
N6 Rev.2 303
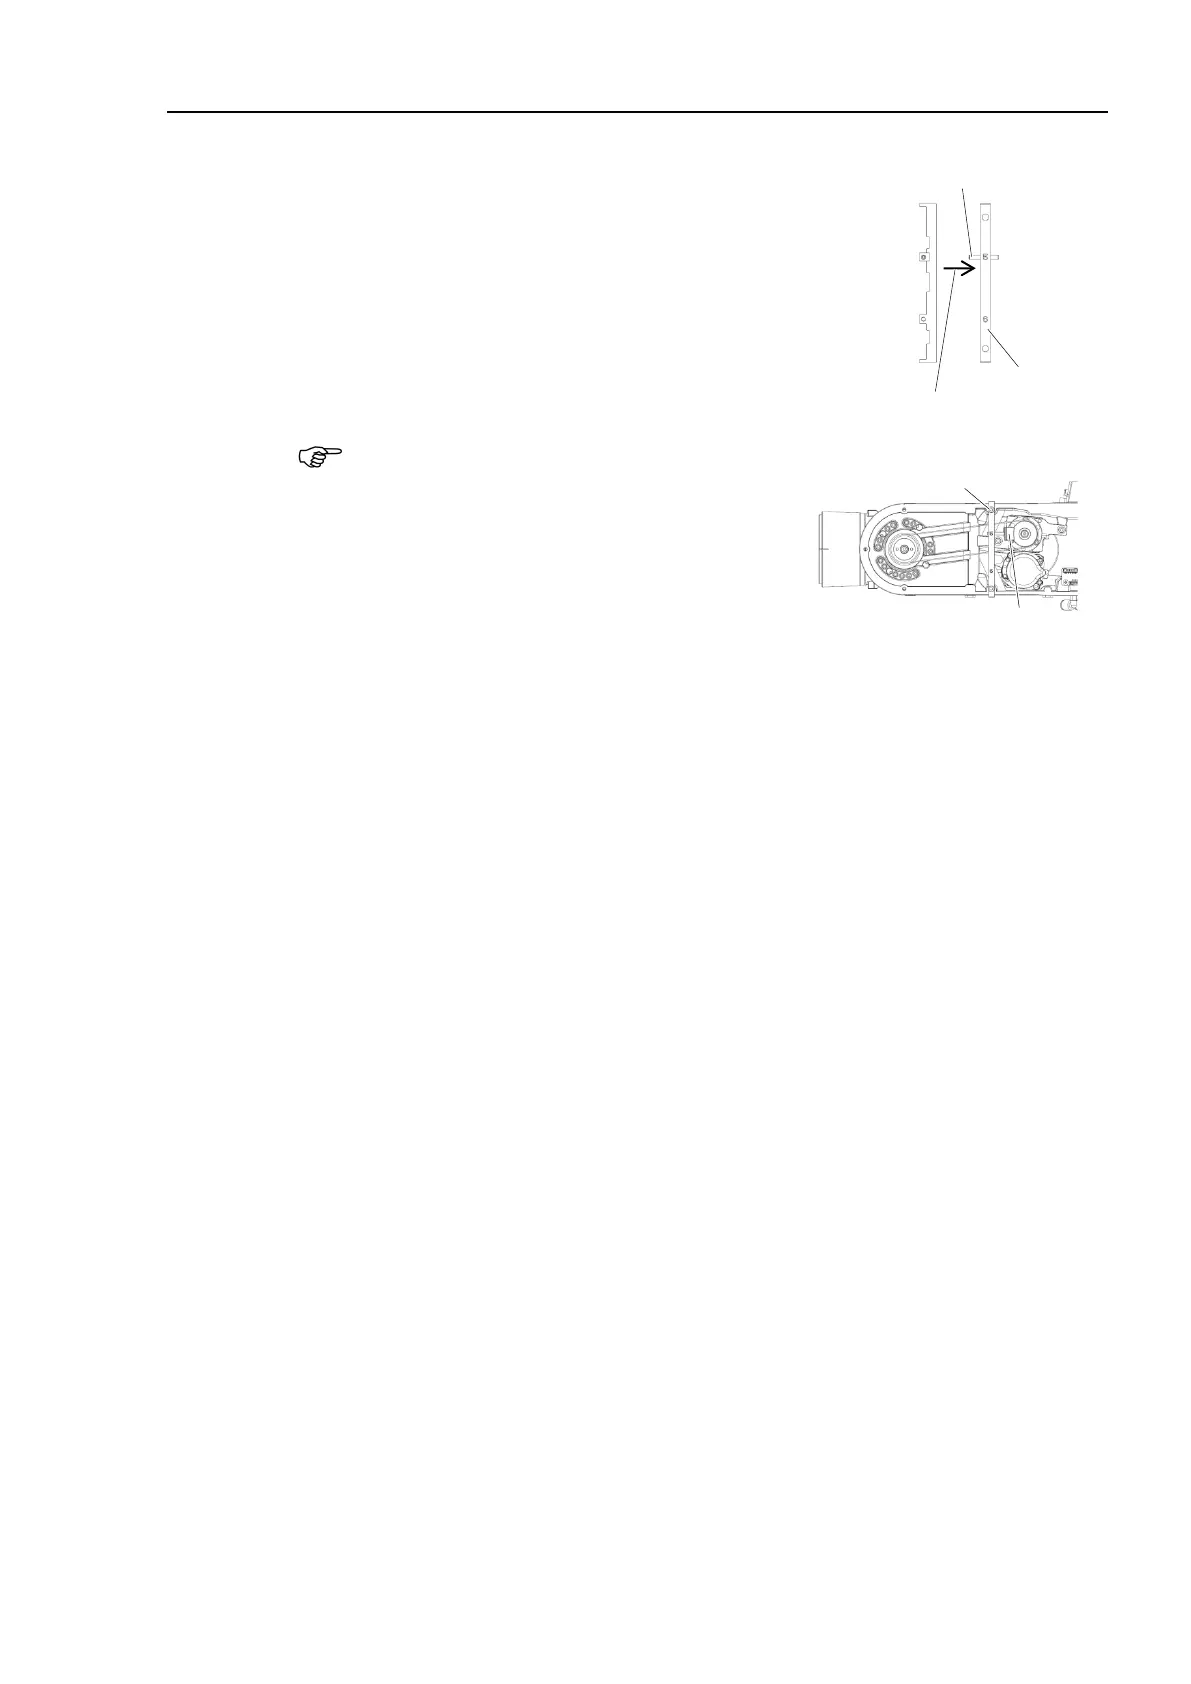
When using belt tensile jig (maintenance part):
1. Install the hexagon socket set screws (M3×20) to
the holes on inscribed side of “5” on the belt
tensile jig.
2. Fix the belt tensile jig on the Arm #4 with the
hexagon socket head cap bolts (2-M4×15).
3. Push the rubber to the pulley. Push the rubber
with the hexagon socket set screws (M3×20) to
apply tension.
Be careful not to push the set screws forcibly.
Hexagon socket set
screws: M3×20
Connector: PW5, BR5, EB0x_CN2 (Joint #5 motor side)
Bundle the cables with the cable tie to prevent the cables from interfering with the
pulley or belt.
(10)
cover (2 covers).
For details, refer to Maintenance 3. Covers.
(11)
.
For details, refer to Maintenance 8. Calibration.

 Loading...


