Maintenance 5. Actuator Units
N6 Rev.2 305
Removal
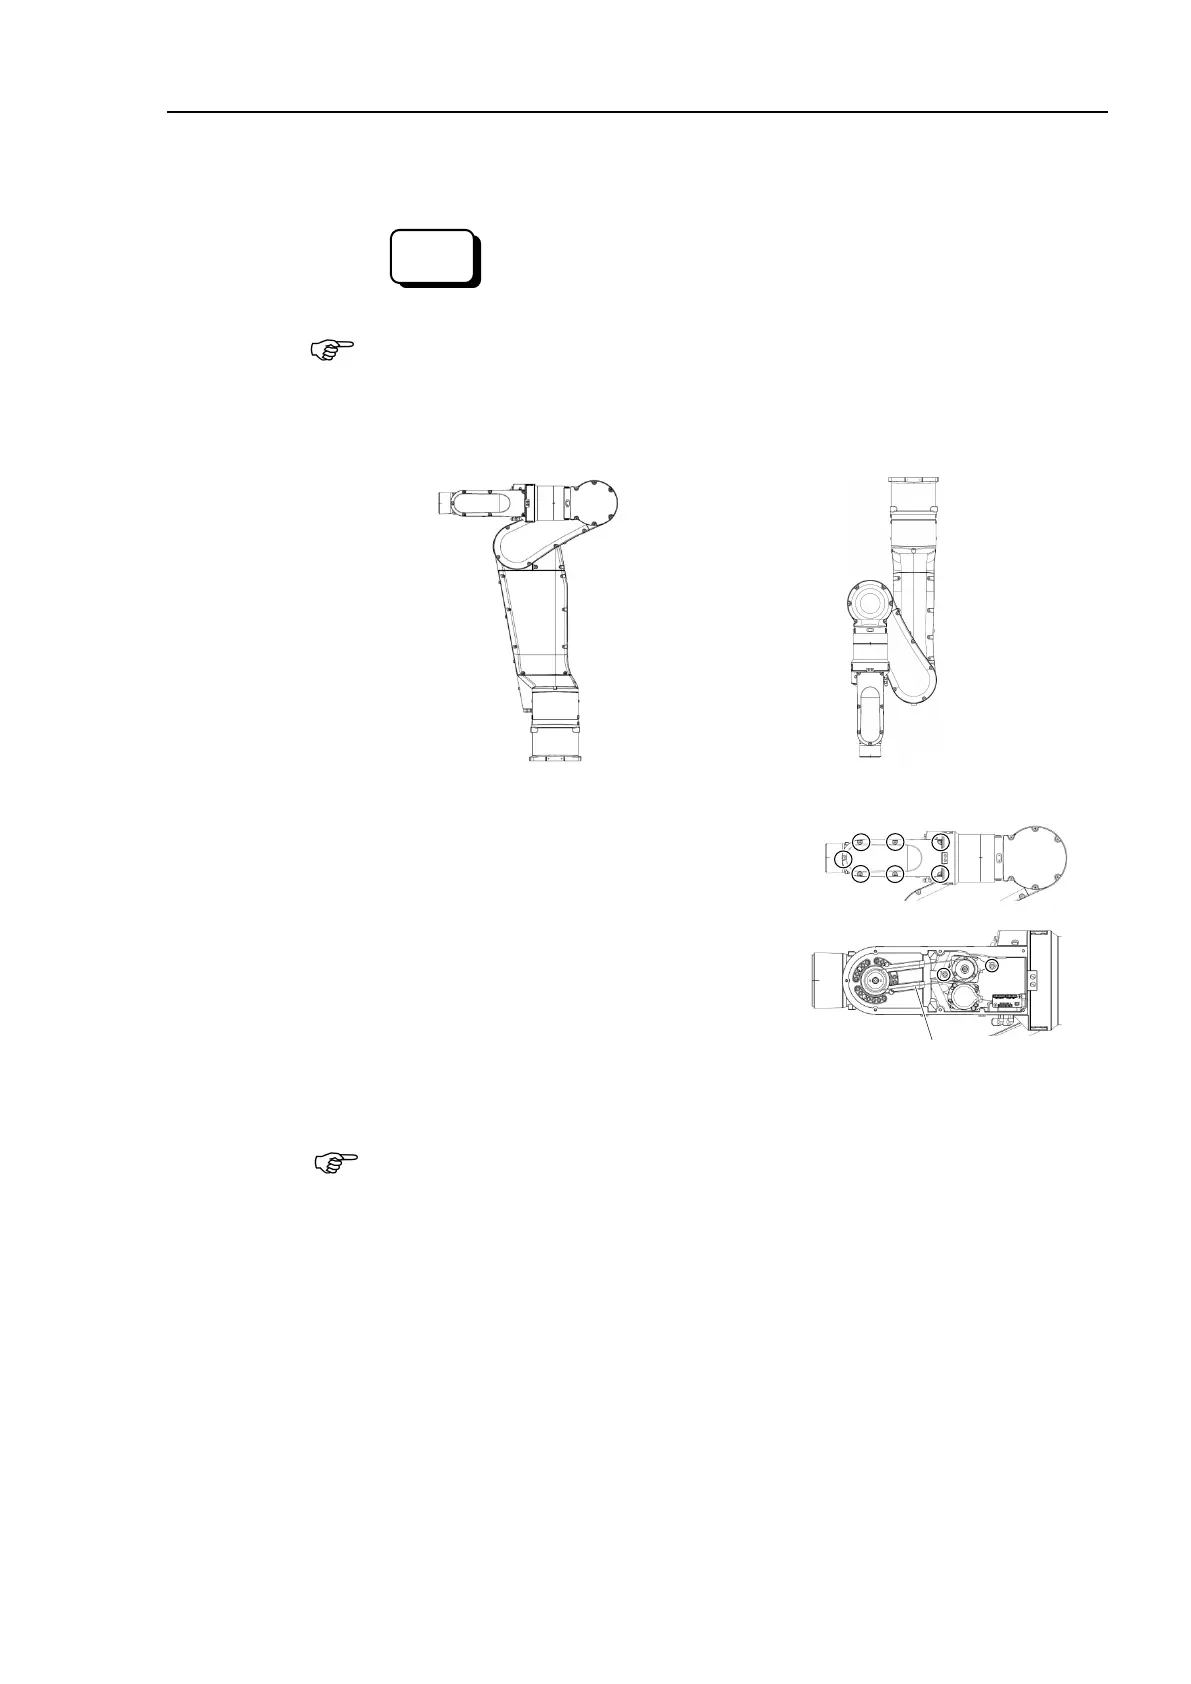
Joint #5
timing belt:
Release the brake on the Joint #2 and Joint #3.
> brake off, 2
> brake off, 3
When releasing the brake, be careful of the arm falling due to its own weight.
Move the angles of the Arm #2 and the Arm #3 about 30 degrees from the origin
positions.
Remove the Arm #4 side cover.
Cross recessed binding head machine screw:
7-M4×8
Loosen the screws fixing the Arm #4 and the
Joint #5 motor unit. Then, remove the timing
belt of the Joint #5.
Hexagon socket head cap bolts: 2-M4×15
(with plain washer for slotted hole
thickness: 1.5mm)
If a heavy part such as end effector is installed on the end of the Manipulator, the
Arm #5 will move. Be very careful.

 Loading...


