Follow the steps below to disable IEEE802.3az for the printer and then connect.
1. Remove the Ethernet cable connected to the computer and the printer.
2. When IEEE802.3az for the computer is enabled, disable it.
See the documentation provided with the computer for details.
3. Connect the computer and the printer with an Ethernet cable directly.
4. On the printer, print a network connection report.
“Printing a Network Connection Report” on page 56
5. Check the printer's IP address on the network connection report.
6. On the computer, access Web
Cong
.
Launch a Web browser, and then enter the printer's IP address.
“Running Web Cong on a Web Browser” on page 362
7. Select the Network tab > Wired LAN.
8. Select OFF for IEEE 802.3az.
9. Click Next.
10. Click OK.
11.
Remove the Ethernet cable connected to the computer and the printer.
12. If you disabled IEEE802.3az for the computer in step 2, enable it.
13. Connect the Ethernet cables that you removed in step 1 to the computer and the printer.
If the problem still occurs, devices other than the printer may be causing the problem.
Something is wrong with the network devices for Wi-Fi connection.
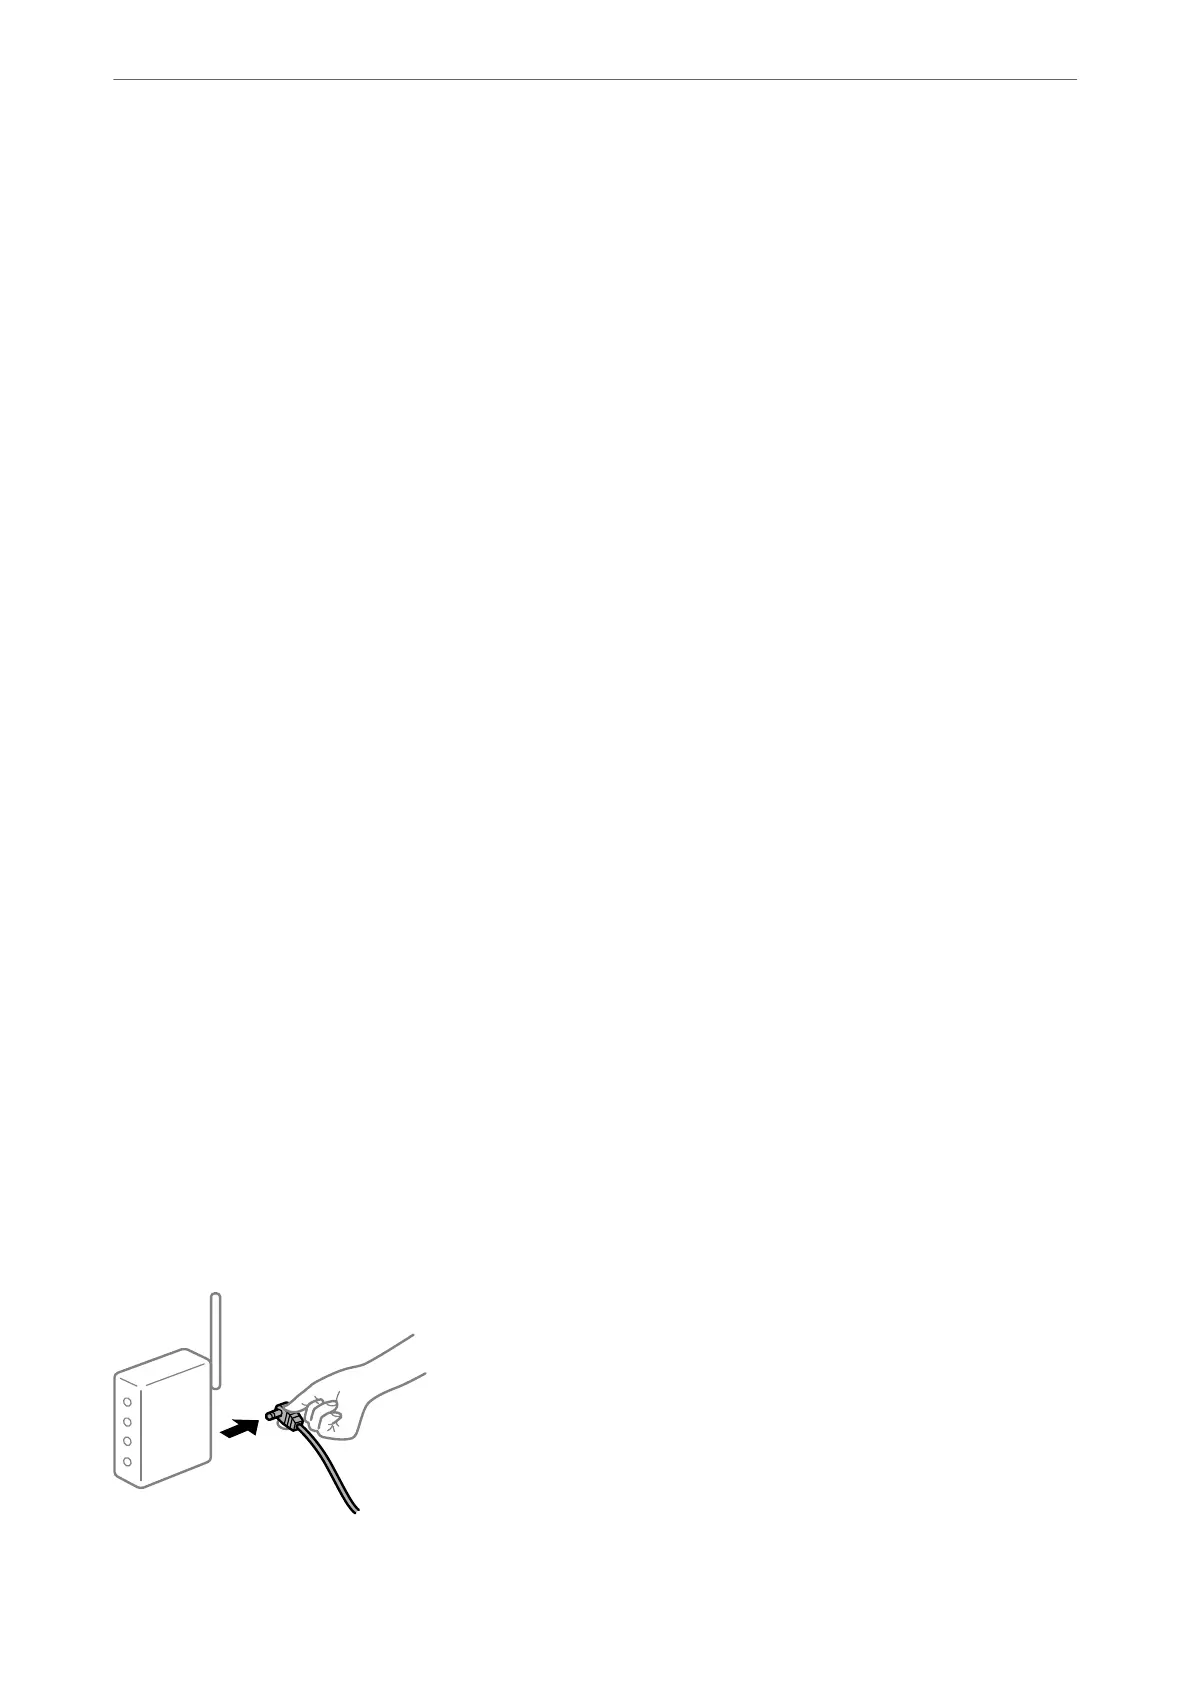
Try the following if you can reset the wireless LAN router in your environment.
Turn o the devices you want to connect to the network. Wait for about 10 seconds, and then turn on the devices
in the following order; wireless router, computer or smart device, and then printer. Move the printer and computer
or smart device closer to the wireless router to help with radio wave communication, and then try to make network
settings again.
Preparing the Printer and Making Initial Settings
>
Creating a Network Connection and Making S
…
57

 Loading...


