1 Before Using the Machine
18
Before Using the Machine
1
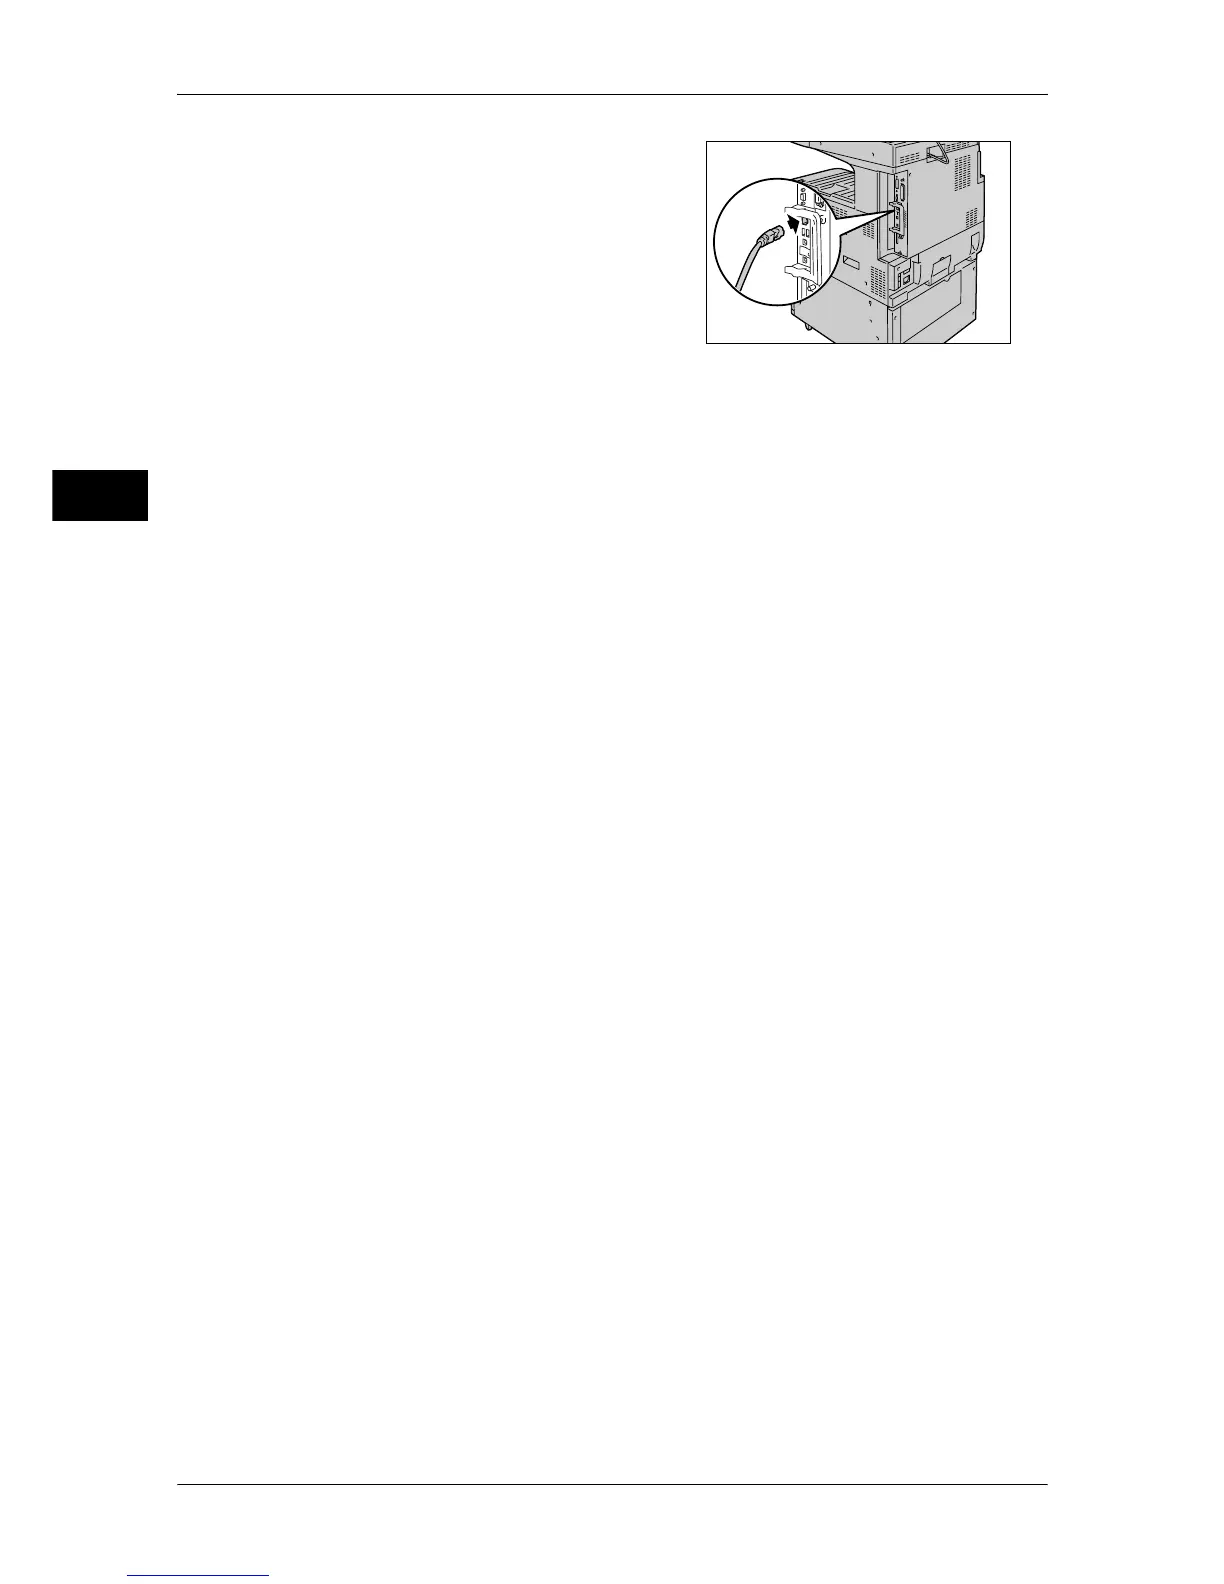
1
Ensure that the machine is off.
2
Connect the network cable to the Ethernet
interface connector.
Note • Prepare a network cable suitable for your
network connection. When changing the
network cable, consult our customer
engineers.
3
Switch on the machine.
 Loading...