GAMATRONIC ELECTRONIC INDUSTRIES LTD.
+
SA: 20, 30 and 40 kVA, Release 2.1
37
In “SILICON MODE” commands issued through the Power+ SA control panel are
executed immediately. Operators should exercise caution.
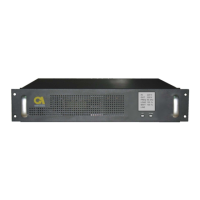
WAIT FOR RESULTS…
STATIC RAM: PASSED R.T CLOCK: PASSED
EEPROM – 1: PASSED
EEPROM – 3: PASSED DC SUPPLIES: PASSED
Figure 30: Start-up screen 3
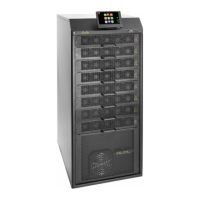
S Y S T E M I N I T I A L I Z I N G
SC25270105
PLEASE WAIT FOR COUNT DOWN TO FINISH
45 SECONDS LEFT
Figure 31: Start-up screen 4
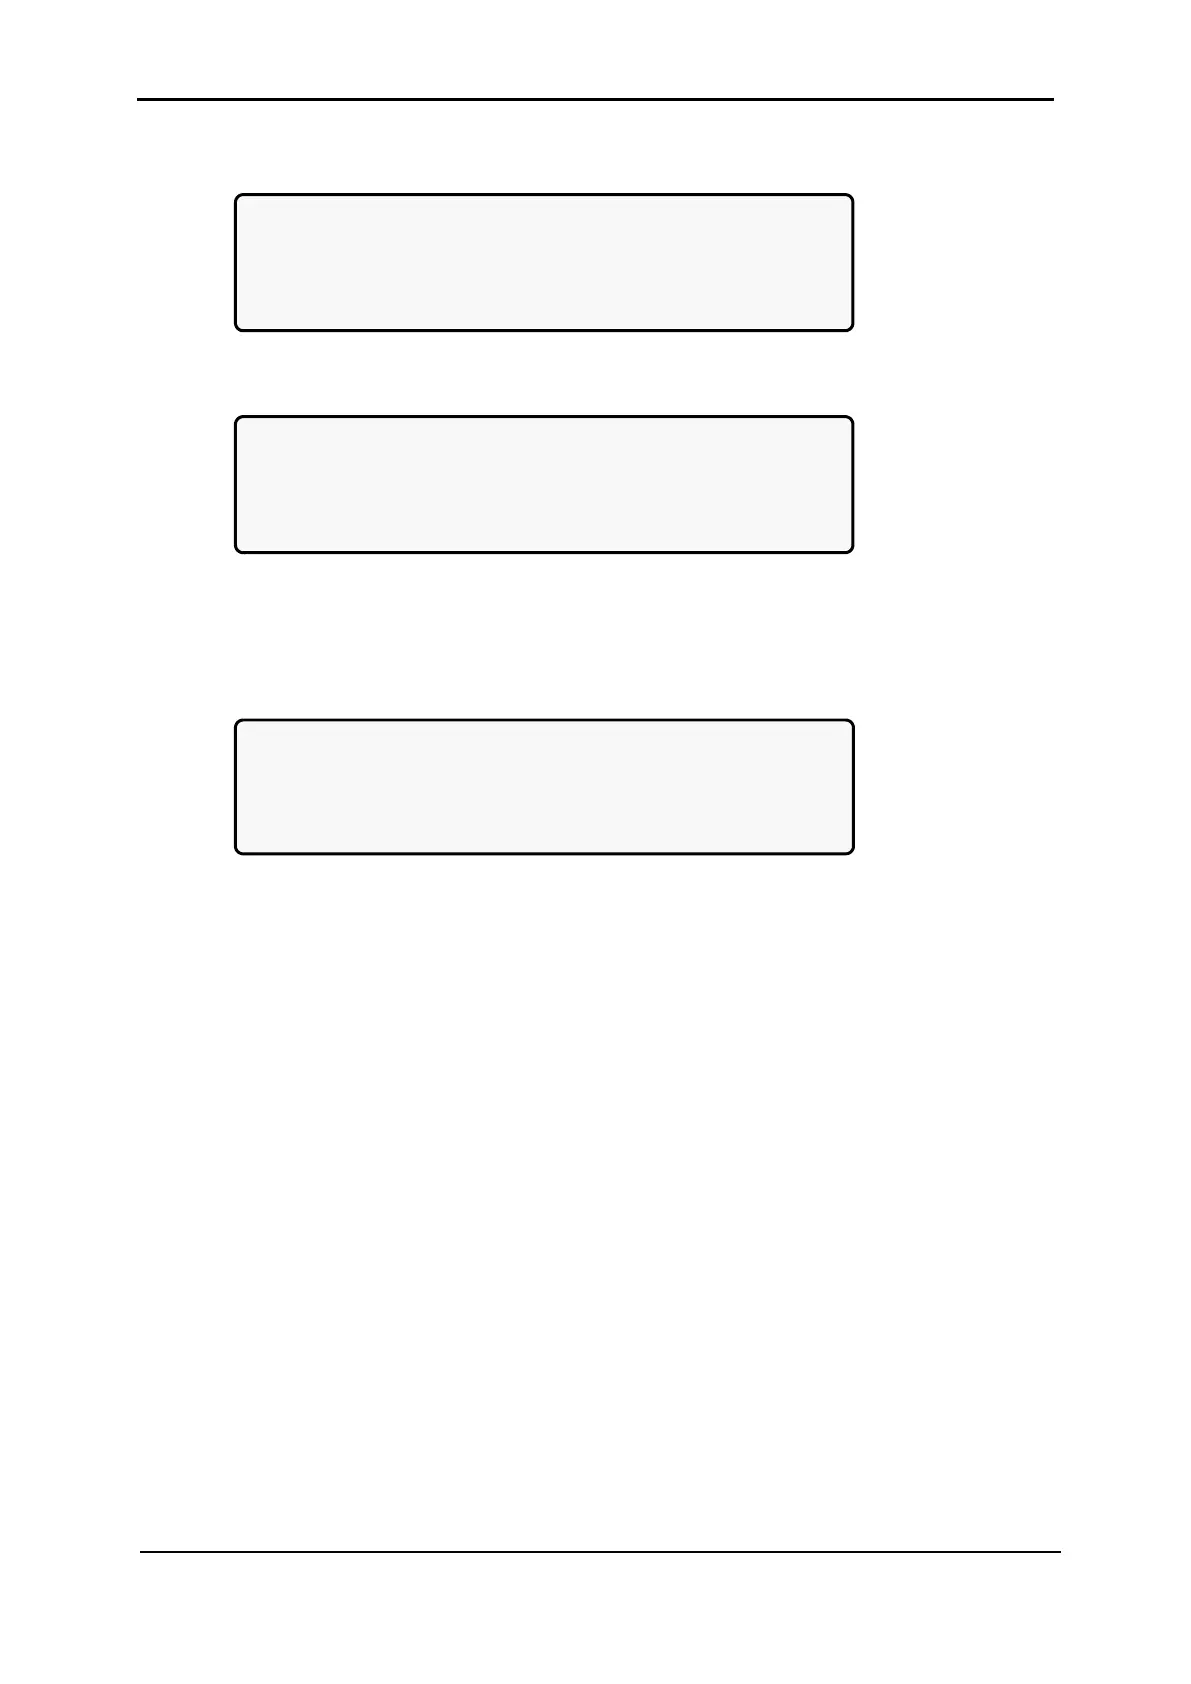
When the default LOAD LEVEL screen appears, the power-up process has
completed.
LOAD LEVEL ---21:20:25---
L1:__________ 000A, 230V BATTERY: 864V
L2:__________ 000A, 230V UPS OK (ON)
L3:__________ 000A, 230V STSW OK (INV)
Figure 32: Normal display of the controller LCD (default) (3-3 config.)
2. Measure the dc voltage of the system at the terminals. Make sure that the DC
voltage generated by the system is +432Vdc and –432Vdc. This measurement can
be performed only after the modules have been activated within the system. A
module is fully operational when the two green LEDs (output and line) are working,
with no alarm LED illuminated.
3. Switch all battery switches to “ON”.
IMPORTANT
NOTE: YOUR POWER+ SA SYSTEM HAS BEEN DELIVERED TO YOU WITH
THE OUTPUT VOLTAGE AND FREQUENCY SET TO MATCH YOUR
REQUIREMENTS. CHECK NOW TO VERIFY THAT THESE
SETTINGS ARE CORRECT.
TO
SET MODULE/S FREQUENCY, SEE SECTION 9.9.2 ON PAGE
83.
TO
SET MODULE/S VOLTAGE, SEE SECTION 9.9.3 ON PAGE 84.
If the voltage and frequency settings are correct, continue with section
6.7.