GAMATRONIC ELECTRONIC INDUSTRIES LTD.
vi
+
SA: 20, 30 and 40 kVA, Release 2.1
TABLE OF FIGURES
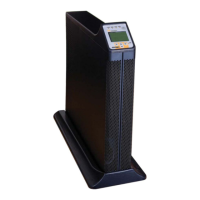
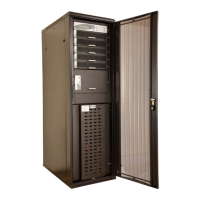
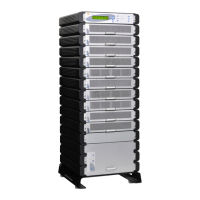
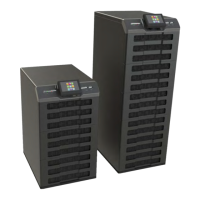
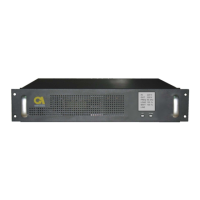
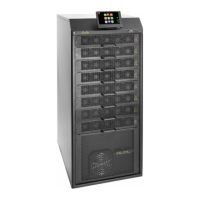
Figure 1: 20, 30, or 40 kVA configuration in a compact cabinet ................................................ 2
Figure 2: Control panel ............................................................................................................... 6
Figure 3: POWER+ control screen ............................................................................................ 7
Figure 4: Navigation and operation keypad ............................................................................... 8
Figure 5: Status indicators ......................................................................................................... 9
Figure 6: Network access indicator .......................................................................................... 10
Figure 7: POWER+ control screen in normal operation .......................................................... 11
Figure 8: Normal operation indication ...................................................................................... 11
Figure 9: Ac power failure ........................................................................................................ 11
Figure 10: Ac power failure indication ...................................................................................... 12
Figure 11: UPS in bypass mode .............................................................................................. 12
Figure 12: UPS in bypass mode .............................................................................................. 12
Figure 13: Connection Diagram (for completion by the customer) .......................................... 15
Figure 14: Wrong way to connect POWER+ SA with a four-pole switch ................................... 18
Figure 15: Acceptable connection for grounded generator and 4-pole switch ......................... 19
Figure 16: Preferred generator (neutralized) and connection (3-pole) ..................................... 20
Figure 17: System connections for 3-phase configuration ....................................................... 21
Figure 18: System connections for 3-phase config. with input isol. transfrmr .......................... 22
Figure 19: Power terminal locations on the rear panel ............................................................ 25
Figure 20: A UPS's bypass circuit ............................................................................................ 27
Figure 21: Accessing the optional input and output connections ............................................. 29
Figure 22: Close-up of the special connections ....................................................................... 30
Figure 23: There are two rows of dry contact (and other) connections .................................... 30
Figure 24: Top row of dry contact pins ..................................................................................... 31
Figure 25: Bottom row of dry contacts ..................................................................................... 32
Figure 26: D9 alarm output connector ..................................................................................... 33
Figure 27: Special purpose connections .................................................................................. 34
Figure 28: Start-up screen 1 .................................................................................................... 36
Figure 29: Start-up screen 2 .................................................................................................... 36
Figure 30: Start-up screen 3 .................................................................................................... 37
Figure 31: Start-up screen 4 .................................................................................................... 37
Figure 32: Normal display of the controller LCD (default) (3-3 config.).................................... 37
Figure 33: Main Menu .............................................................................................................. 38
Figure 34: Password access .................................................................................................... 38
Figure 35: Setup menu ............................................................................................................ 38
Figure 36: Service menu .......................................................................................................... 39
Figure 37: Configure menu ...................................................................................................... 39
Figure 38: # of UPSs (Total) .................................................................................................... 39
Figure 39: # of UPSs (Redundancy) ........................................................................................ 39
Figure 40: Battery status .......................................................................................................... 40
Figure 41: Battery capacity....................................................................................................... 40
Figure 42: Set battery capacity................................................................................................. 40
Figure 43: Date and time ......................................................................................................... 41
Figure 44: Site number ............................................................................................................ 41
Figure 45: Network menu ......................................................................................................... 41
Figure 46: IP Address .............................................................................................................. 42
Figure 47: Gateway .................................................................................................................. 42
Figure 48: Network menu ......................................................................................................... 42
Figure 49: Network Connections screen .................................................................................. 44
Figure 50: Local Area Connection Properties screen .............................................................. 45