•
Last name
•
Middle name
•
First name
•
Date of birth/Age
•
Gender
•
Exam Comment
•
Exam type
•
Patient ID
4.
For going to the original image at the exam review, select an image and press the upper
trackball button. Then select
Go to original image
. The original image appears.
5. To edit enter an existing Patient ID. A dialog appears. All existing images are included
within the new Patient ID.
Controls
Original Patient Data Shows the current selected patient data.
Anonymized Patient Data Shows the anonymized patient data.
Generate Patient ID
Generates by default a patient ID. It is also possible to create an own patient ID.
Patient ID If an existing patient ID is entered, a green checkmark appears and the button
Advanced Settings
appears. It extends the Anonymize Dialog with existing exams. It
is possible to add the selected Patient/Exam/Image to an existing exam or create a
new exam.
Generate Patient ID automatically If checked, Generate Patient ID is grayed and a Patient ID prefix must be entered.
OK
This button creates a new exam for the selected patient.
Clear All
Clears all fields.
Cancel
Cancels the procedure.
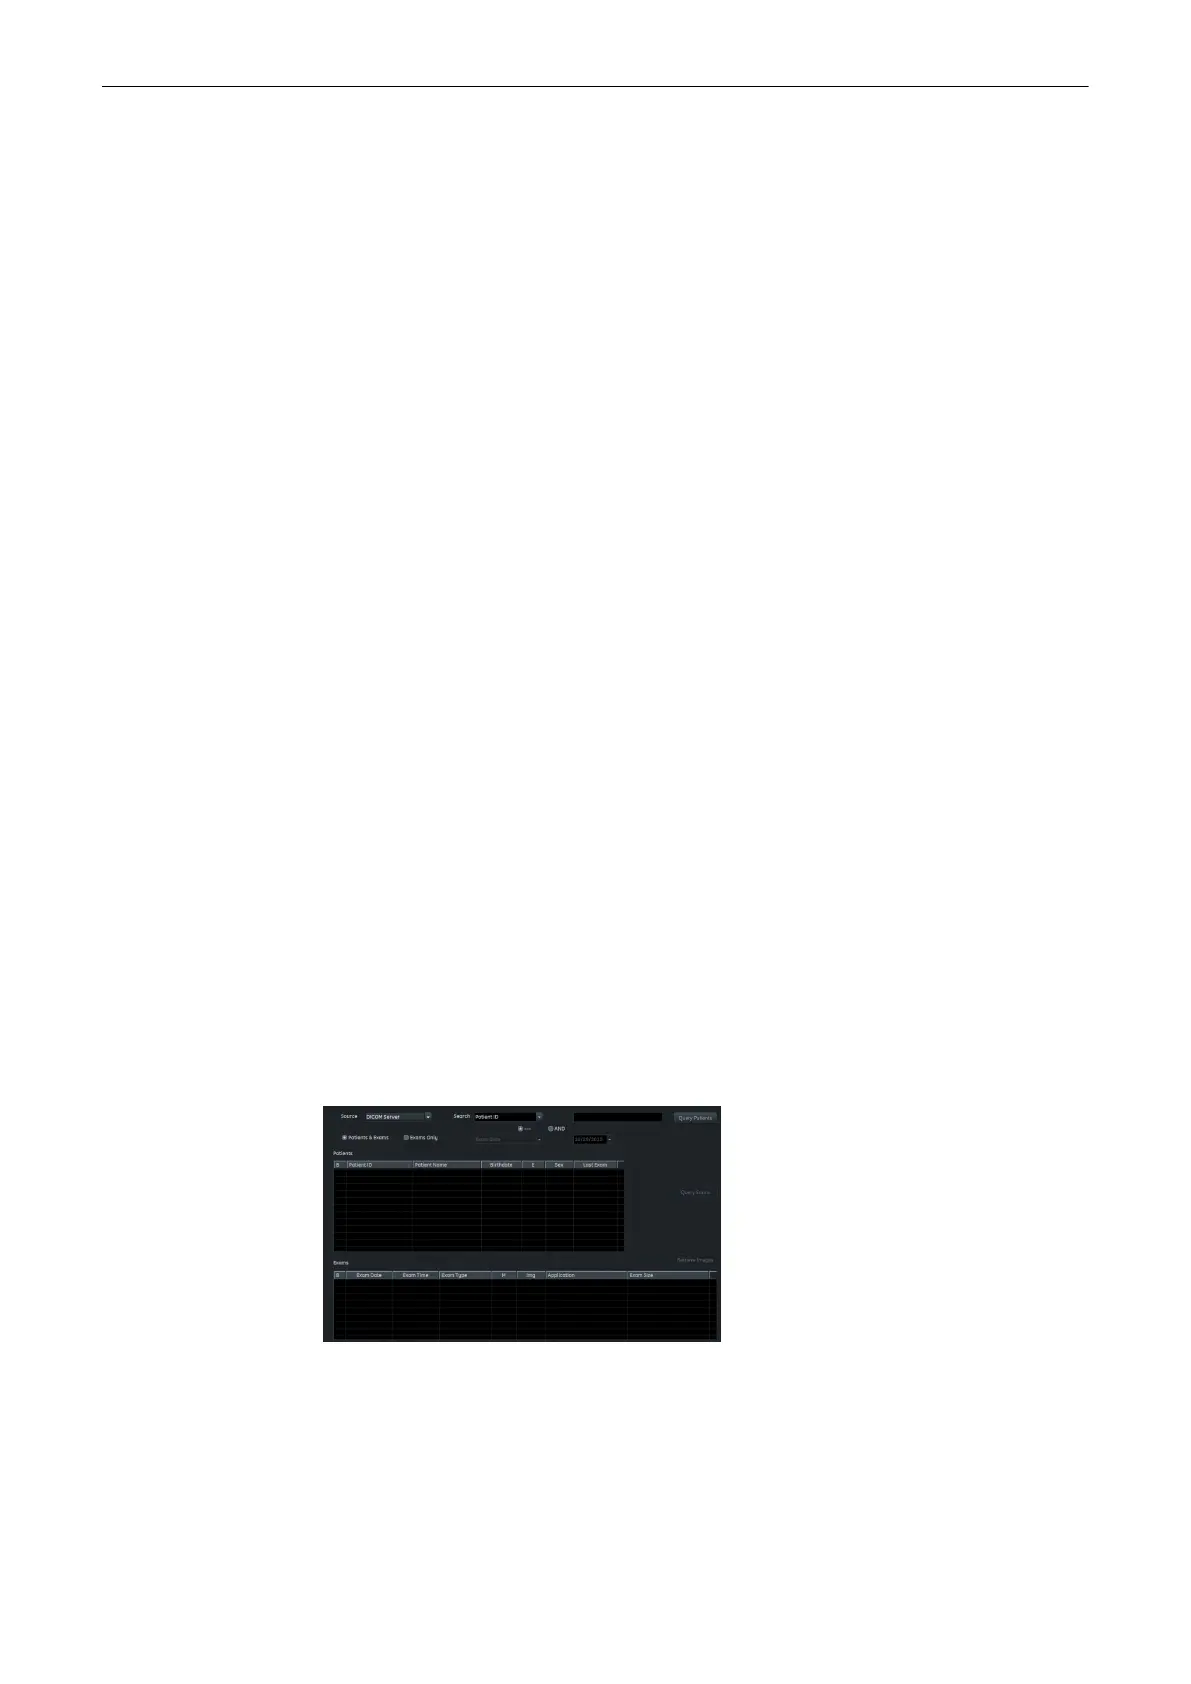
9.3.3 DICOM Server
The selection
Source
=
DICOM Server
is available only when a Query/Retrieve Server was
configured and selected in the DICOM Configuration Dialog. When the DICOM Server is
selected, the archiving screen changes. It includes a 2nd patient ID, BSN or NHS.
Figure 9-6 DICOM Server
If no previous query was performed, no stored data is available on this DICOM Server. All lists
(Patients, Exams, Images) are empty and the system automatically changes to the
Exams &
Patients
view. Also the buttons
Query Exams
and
Retrieve Images
are disabled.
Archive
Voluson™ SWIFT / Voluson SWIFT+ Instructions For Use
5831612-100 R
evision 4 9-13

 Loading...


