4. Installing the rectifier
5. Connecting the shelf communication and current sharing connectors
6. Connecting the rectifier to the BTI7814
Tools
•
Philips screwdriver
•
Socket wrench
•
Ground cable 4 AWG green, approximately 1 foot (0.3048 meters)
•
Stripper for ground cable
•
Lug crimper
•
8-pin patch cable and plug
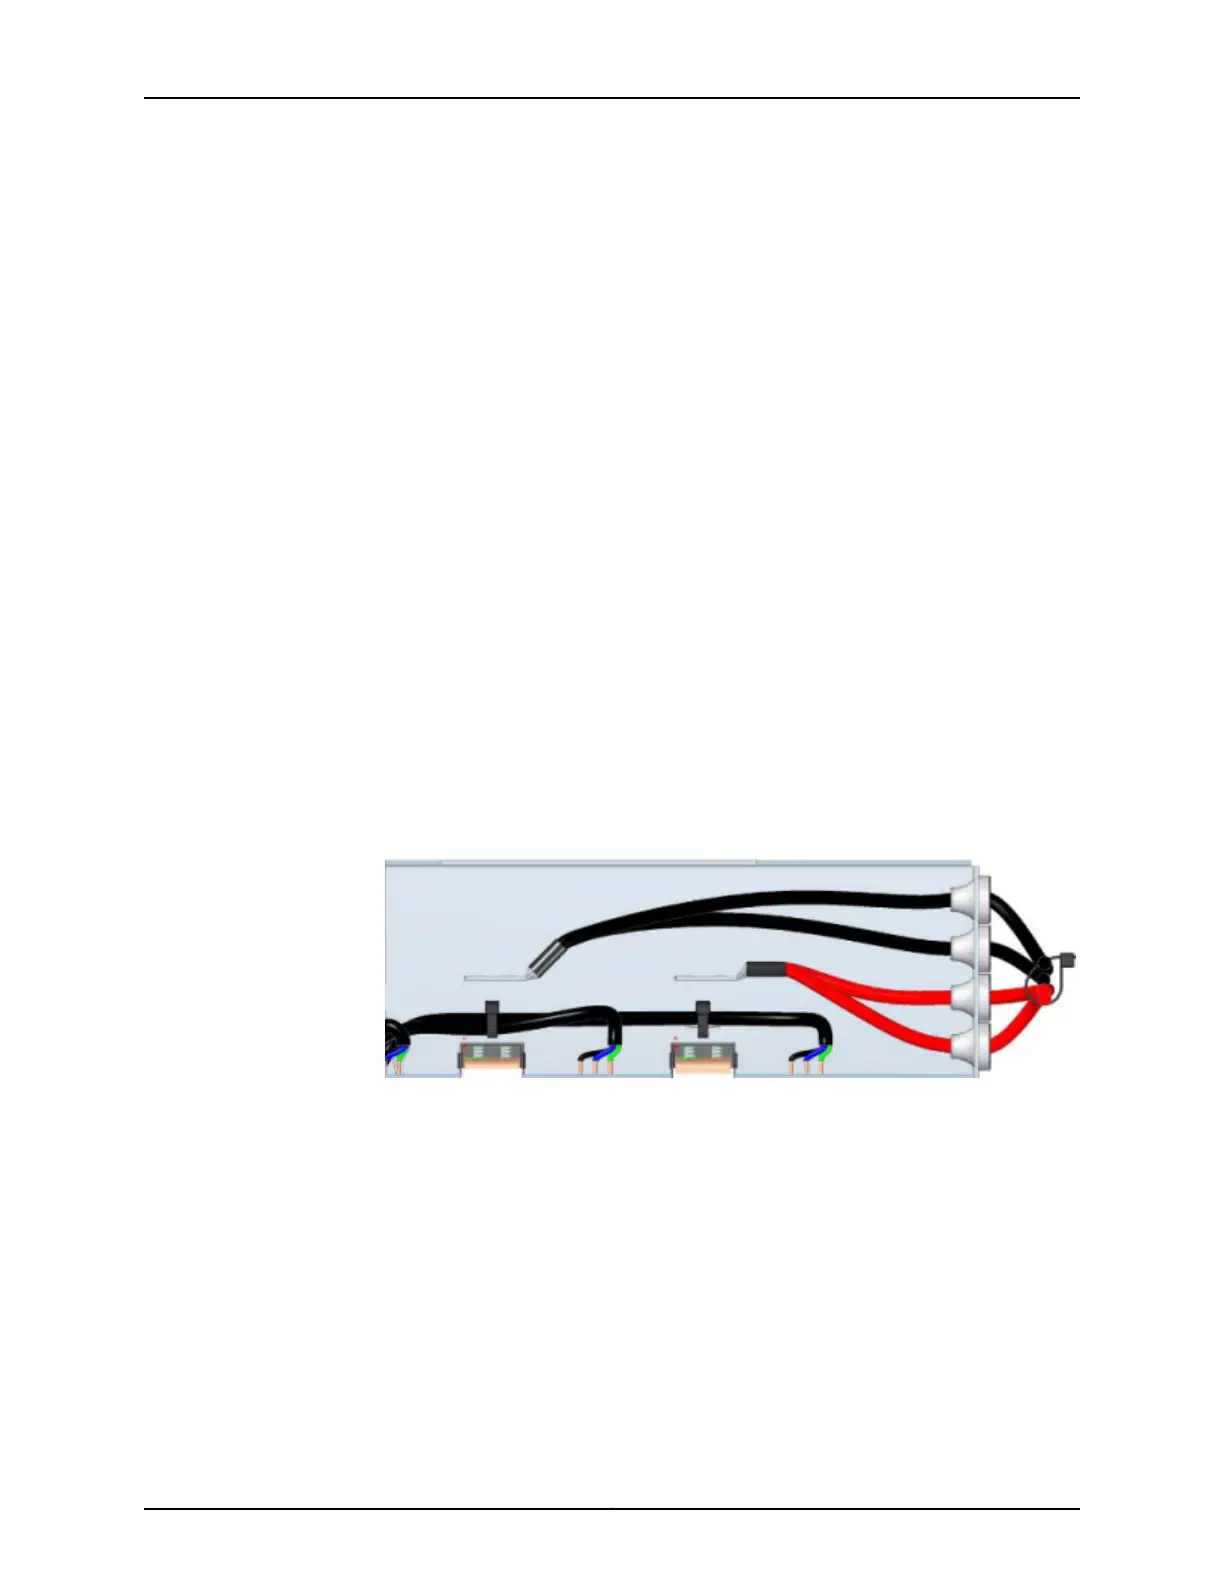
Installing the Cables to the DC Feeds
You can connect up to two common DC feeds per BTI7814 PEM pair—A1 and A2, or B1
and B2. Although the cables can be installed after mounting the shelf, we recommend
that they are installed first, otherwise, it is difficult to maneuver around the installed shelf
to install the cables.
1. Feed the cables through the grommets that are on the side of the rectifier shelf. The
grommets are used to relieve strain from the cables and to protect the cables.
You might need to trim the grommets to fit the cables.
2. Connect the cables to the DC feeds, and tighten using the socket wrench.
Copyright © 2019, Juniper Networks, Inc.206
BTI7800 Series Hardware Overview and Installation Guide

 Loading...


