60
1.6 System Conguration and Part Name
z
Touch panel function
You can press (touch) the desired button or option on the monitor to select it, or move (drag) a thumbnail to the de-
sired location using your nger.
• Available buttons and functions dier depending on the mode or application being used.
• Only available functions are displayed on the screen or become selectable.
IMPORTANT
•••••••••••••••••••••••••••••••••••••••••••••••••••••••••••••••••••••••••••••••••••••••••••••••••••••
• When operating the touch panel, do not operate the trackball simultaneously. Also, to prevent an unintended opera-
tion, do not place your hand on the trackball when not using it.
• If there are sources of vibrations in the vicinity of the system, the vibrations may transfer to the system and may
cause the trackball to move. If there are sources of vibrations in the vicinity of the system, keep a sucient distance
between sources of vibrations and the system so that vibrations do not transfer to the system.
• Very occasionally, even though you do not touch it, the trackball may react to small vibrations. When the touch panel
does not respond or responds slowly, this phenomenon may be happening. In this case, moving the trackball inten-
tionally will prevent this phenomenon.
•••••••••••••••••••••••••••••••••••••••••••••••••••••••••••••••••••••••••••••••••••••••••••••••••••••••••••••••••••••
z
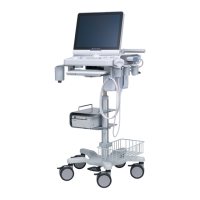
Monitor brightness / Contrast adjustment
Press the [Menu] button > [Other] tab > [Brightness / Contrast] button to display the [Brightness / Contrast] adjust-
ment window.
The value is adjustable within the range from 0 to 100.
HINT
•••••••••••••••••••••••••••••••••••••••••••••••••••••••••••••••••••••••••••••••••••••••••••••••••••••
• The following Brightness/Contrast settings are recommended depending on the primary use location.
Room condition Brightness setting Contrast setting
Poorly lit rooms
(inspection rooms)
30
50 to 60
Brightly lit rooms
(consultation rooms)
40
•••••••••••••••••••••••••••••••••••••••••••••••••••••••••••••••••••••••••••••••••••••••••••••••••••••••••••••••••••••
z
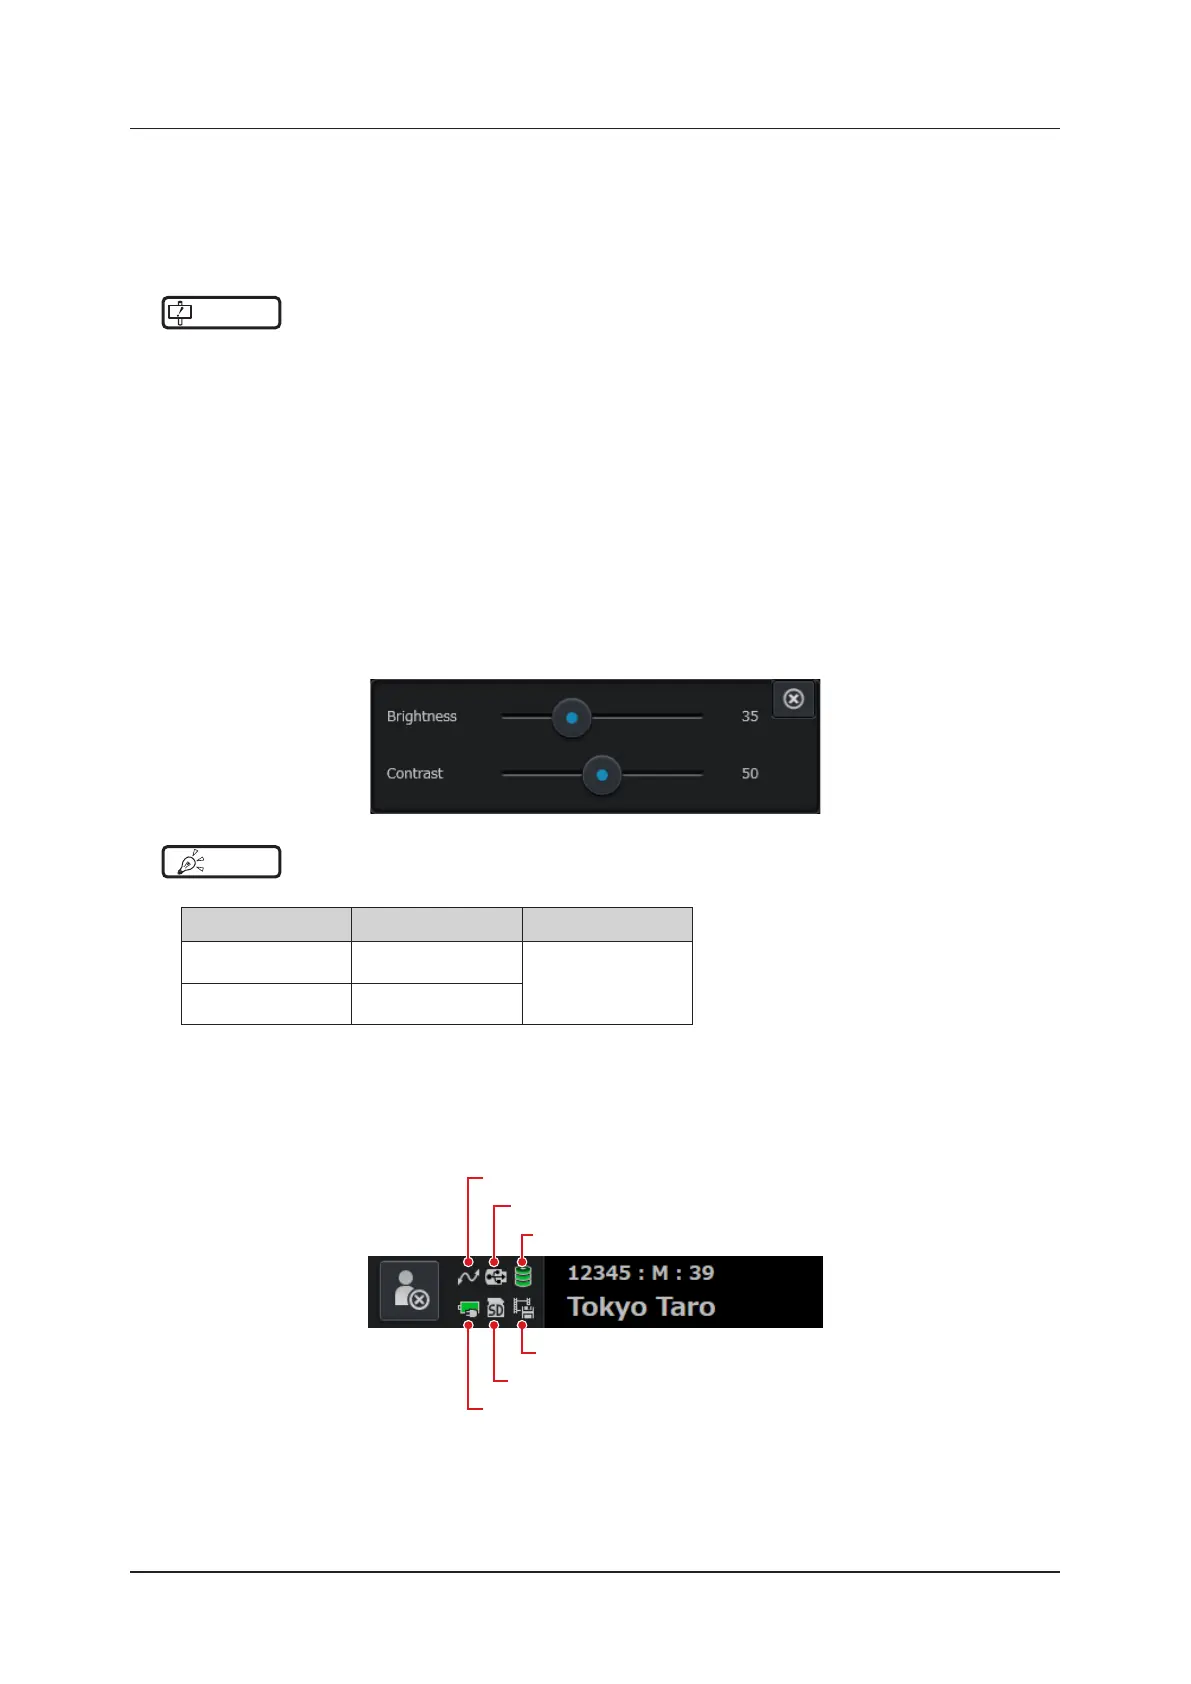
Status indicator icon
Status indicator icons turn on / o, blink, or change color to indicate their active status to be notied.
In the case of an error, "!" is placed on each icon.
(3)
(2)
(1)
(6)
(5)
(4)