2-2 Connecting the Microphone and Preamplifier Model 831 Manual
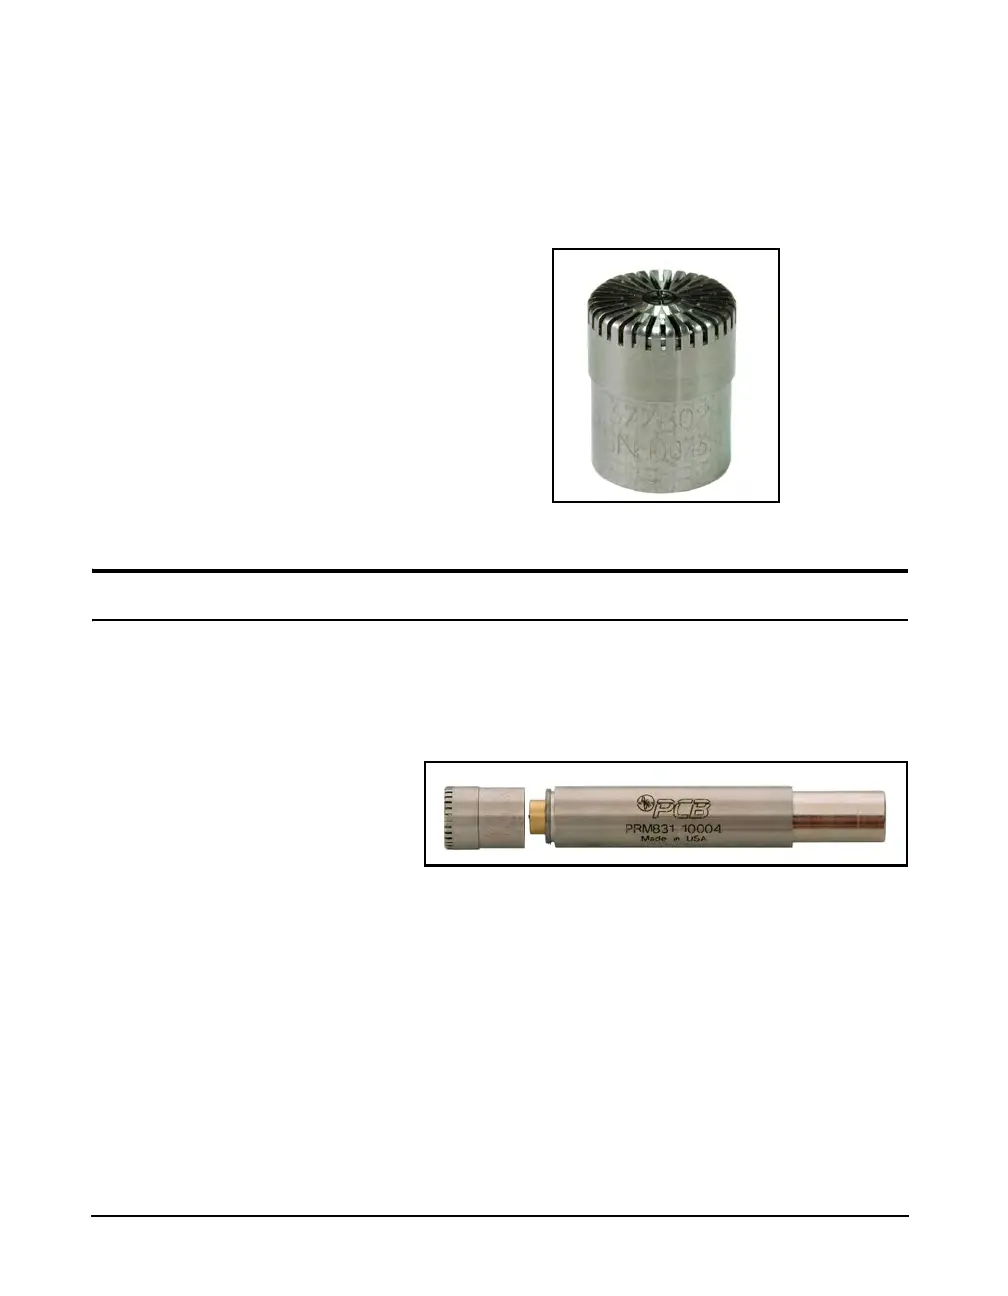
engraved on the outside of the microphone as shown in
FIGURE 2-1 "Microphone" . The preamplifier model and
serial numbers are engraved on the outside surface of the
preamplifier. You may be asked to provide this information
during any future communications with PCB Piezotronics,
Inc.
FIGURE 2-1 Microphone
Connecting the Microphone and Preamplifier
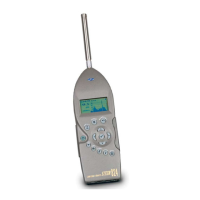
The bottom end of the microphone attaches to the top end of
the preamplifier. The top end of the preamplifier has a single
gold pin and threads on the preamplifier body. The model
and serial number of the microphone are engraved on the
side.
FIGURE 2-2 Microphone-Preamplifier
Carefully place the bottom end of the microphone over the
top end of the preamplifier and gently screw the assembly
together. The microphone body will seat smoothly against
the preamplifier body. DO NOT use excessive force.
When removing the microphone, turn while gripping the
microphone body, not the grid cap, to prevent damage to the
microphone diaphragm.