Model 831 Manual Connecting the Preamplifier 2-3
Connecting the Preamplifier
Caution: Do not attempt to unscrew
the collar/ring at the top of the
Model 831 body.
The bottom end of the preamplifier has a 5 pin connector
that fits snugly into the top of the Model 831. Insert the
preamplifier into the mating connector on the Model 831.
The connectors are keyed for correct alignment; there is a
laser engraved line on the preamplifier which aligns with the
arrow on the Model 831. Rotate the preamplifier until the
keyways line up. Press the assemblies together until a small
click is heard. The microphone / preamplifier assembly is
now securely attached to the Model 831.
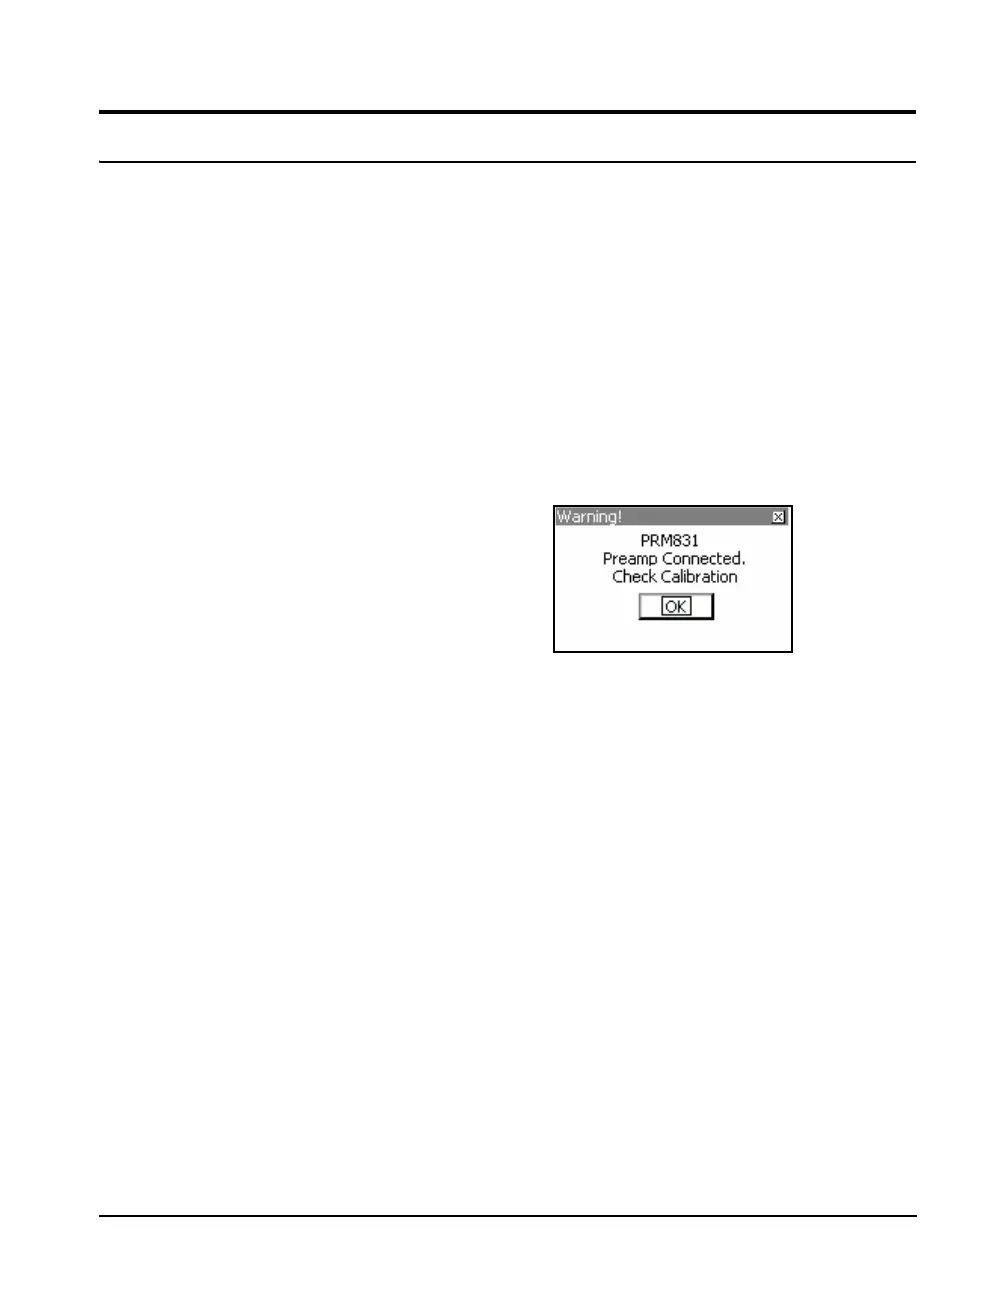
If the Model 831 is ON when the preamplifier is connected
to the Model 831, the Preamp Connected message box will
appear for several seconds.
FIGURE 2-3 Preamplifier Connected
Press
5 to clear the message box.