Installation note: After the new controller board is installed, perform scanner manual registration (see “Scanner
manual registration” on page 205), printhead registration (see “Printhead assembly adjustments” on page 236) and
printer configuration restoration (see “Restoring the printer configuration after replacing the controller board” on
page 219).
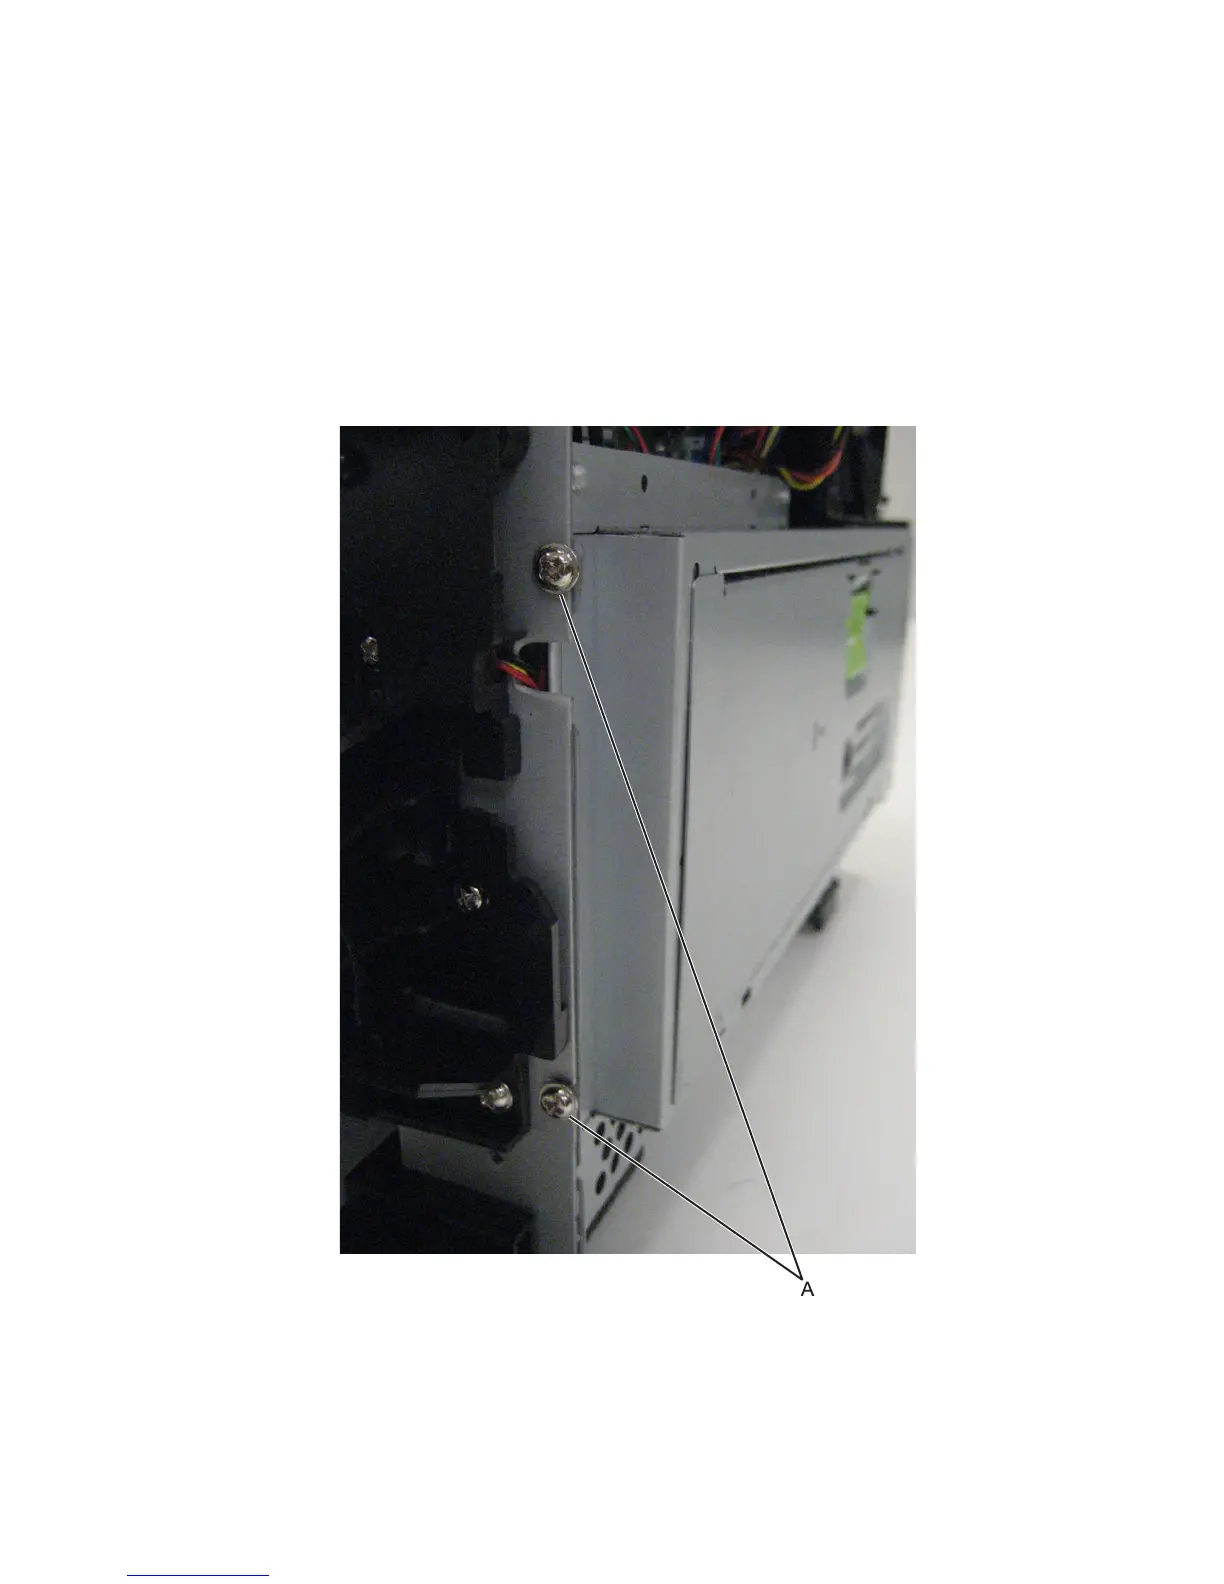
Controller board shield removal
1 Remove the right cover. See “Right cover removal” on page 252.
2 Remove the optional hard disk, if present.
3 Loosen the two screws (A) securing the shield to the front of the printer frame.
7016
Repair information
259