After installing the LSU, perform the mechanical and electronic LSU adjustments with the printer in this configuration.
When the LSU is properly adjusted, re‑install the control panel assembly to the scanner, and then re‑install the scanner
assembly to the MFP.
Removal procedure
1 Remove the top cover. See “Top cover removal” on page 324.
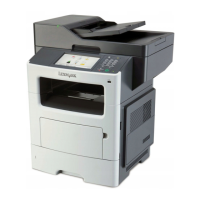
2 Disconnect the cable J6 from the controller board.
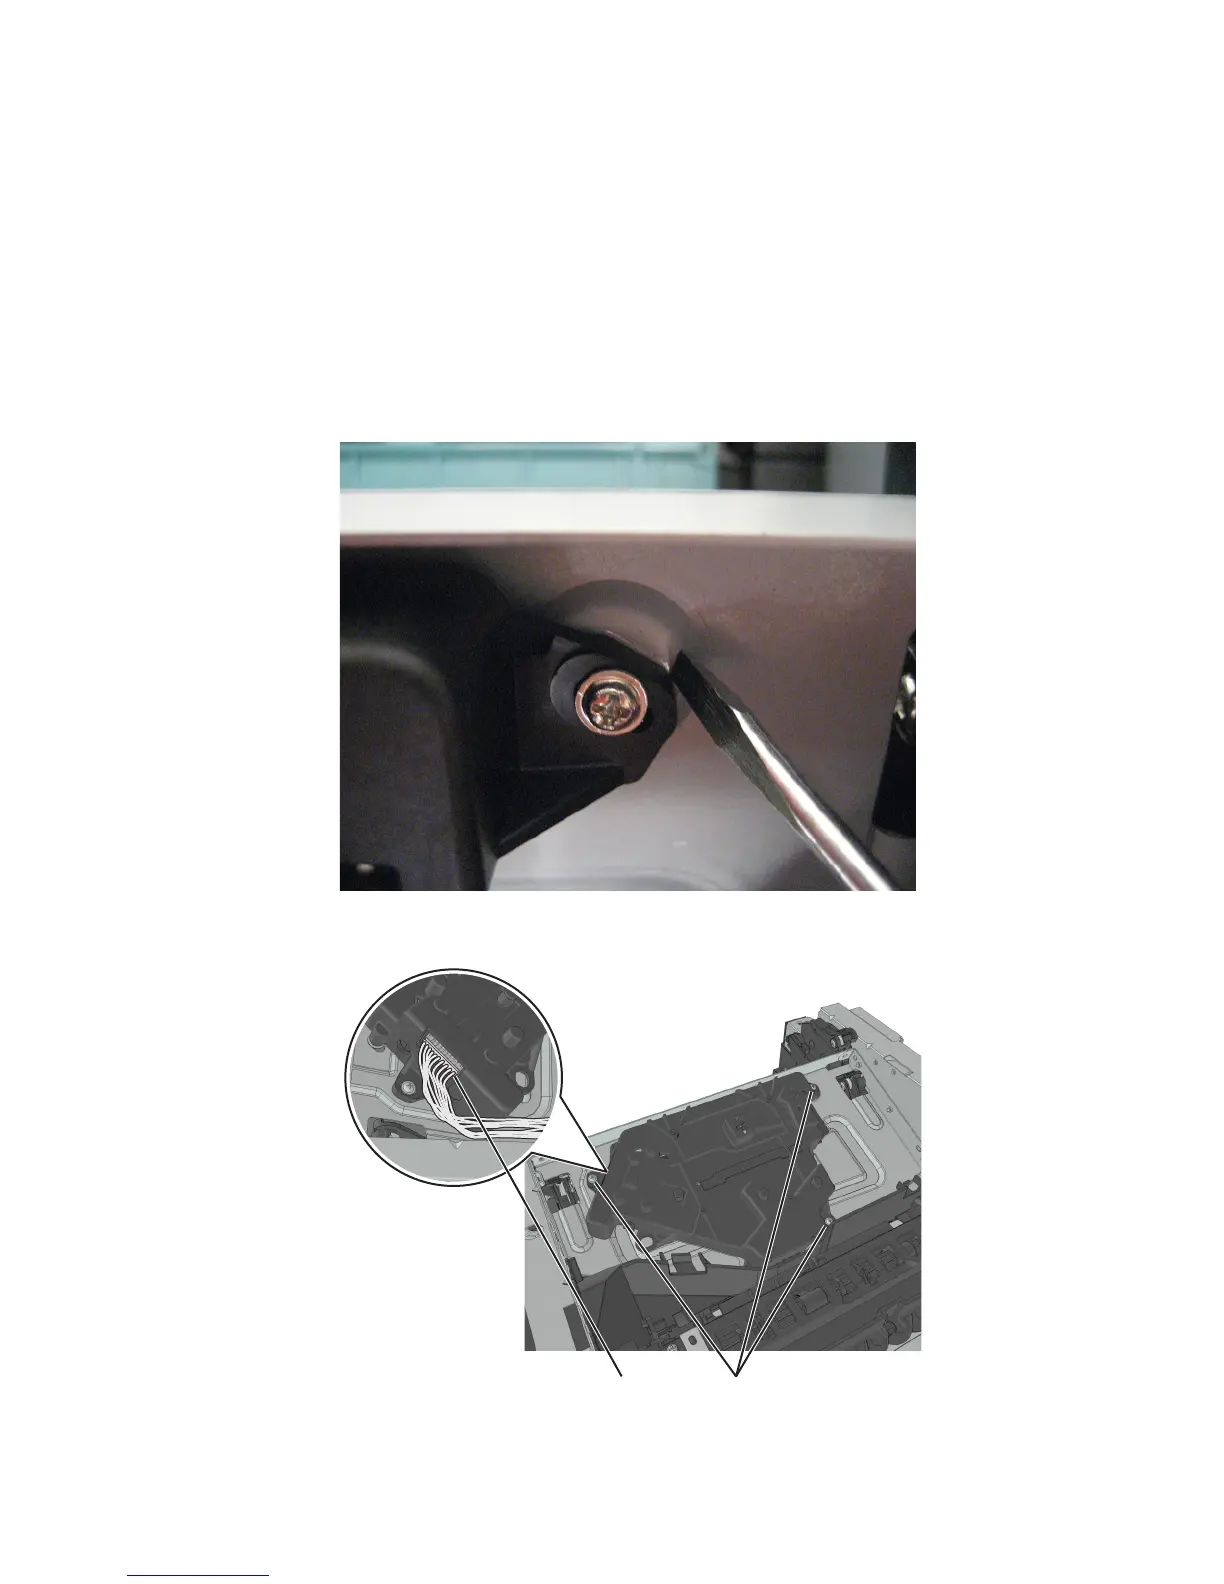
3 Disconnect the cable (A) from the LSU.
4 Before loosening the screws securing the LSU, use a sharp pencil or a small, flat-blade screwdriver to mark the
location of the LSU on the printer frame. This will be helpful in positioning the new LSU.
5 Remove the three screws (B) securing the LSU.
BA
7016
Repair information
329