1-12
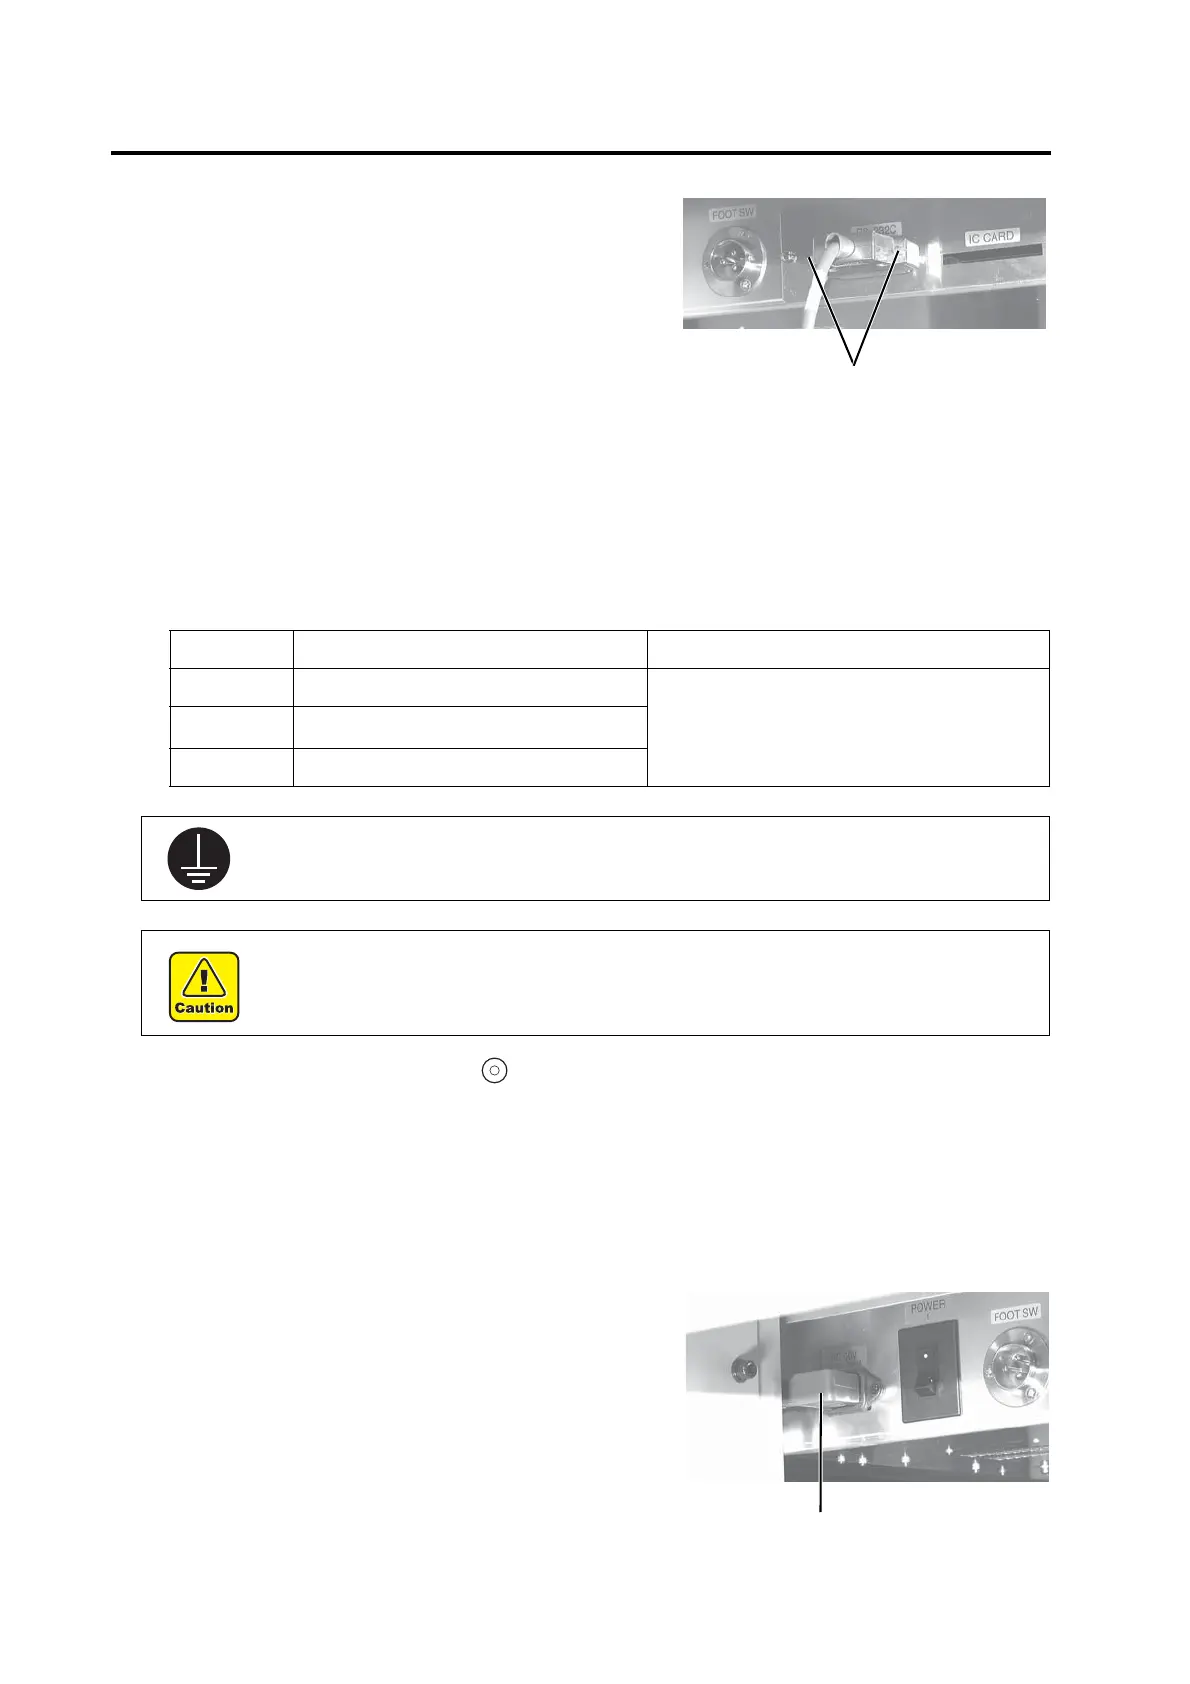
2. Insert one end of the interface cable into the con-
nector on the electrical box.
Fix the connector with screws.
3. Insert the other end of the interface cable into the connector of the computer.
Fix the connector with screws.
Connecting the power cable
Two power cables are provided, one for the main unit and the other for the blower unit.
Insert the respective power cables into the receptacles of the following specifications.
1. Press the POWER OFF switch .
2. Insert the power cable for the plotter into the AC
inlet of the electrical box.
Power cable for the main unit Power cable for the blower
Voltage AC100 V ±10% / AC220 V ±10%
Power cable for the blower
Frequency
50/60 Hz ± 1
%
Capacity 500W or more (10A or more)
• Be sure to insert the power cable into an appropriately-grounded receptacle. If not, there is a
fear of the arising of electric shock hazards and damage to the device.
• Many types of blowers are available as an option.
Cable speciffication differs depend on the blower type. Be sure to follow the“Blower instal-
lation” manual when connectting.
Power cable for the main unit

 Loading...


