2-19
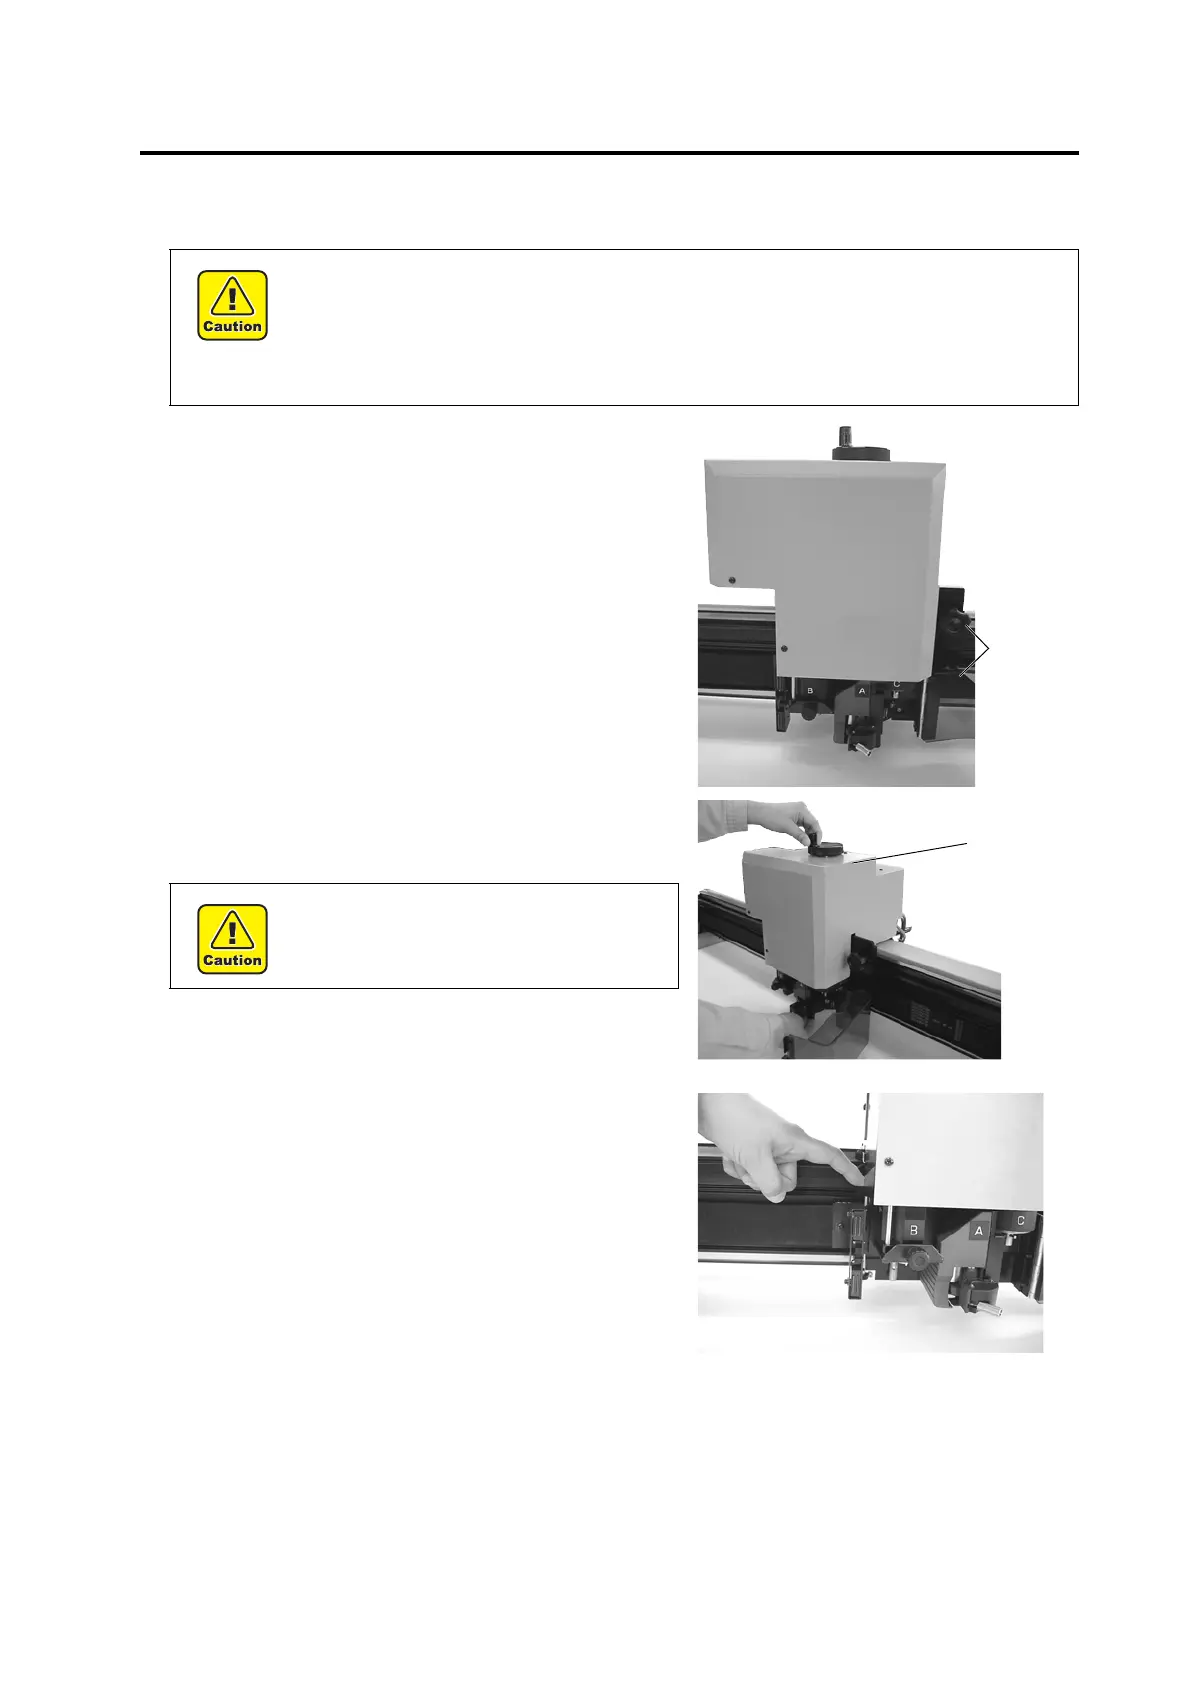
ADJUSTING THE HEIGHT OF THE HEAD
Once the work and tool have been attached, adjust the head height according to the tool that is used and the thickness
of the work.
1. Loosen two fixing screws in the head.
Turn the fixing screws counterclockwise to loosen them.
2. Raise the head using the height adjusting handle.
Turn the height adjusting handle counterclockwise to lift the
head.
3. Pressing down the height adjusting bar, turn the
height adjusting handle to lower the head.
Lower the head until the bottom end of the adjusting bar
comes in contact with the top surface of the work.
• Be sure to use the felt mat placed on top of an insulated cutting mat. If cutting is performed
using unit B without using a felt mat, incomplete cutting will occur.
• When lifting the head, be sure to support the head base by hand. If lifting the head only by
the height adjusting handle, the height adjusting handle can break.
• Be sure to tight the both fixing screws alternately. If not, the fixing screws may be broken.
• Since the head is heavy in weight, support
the head base by hand. If not, the handle
can break.

 Loading...


