4-13
ALIGNMENT OF MECHANICAL AXES TO RULED LINES PRINTED [AXIS ALIGN]
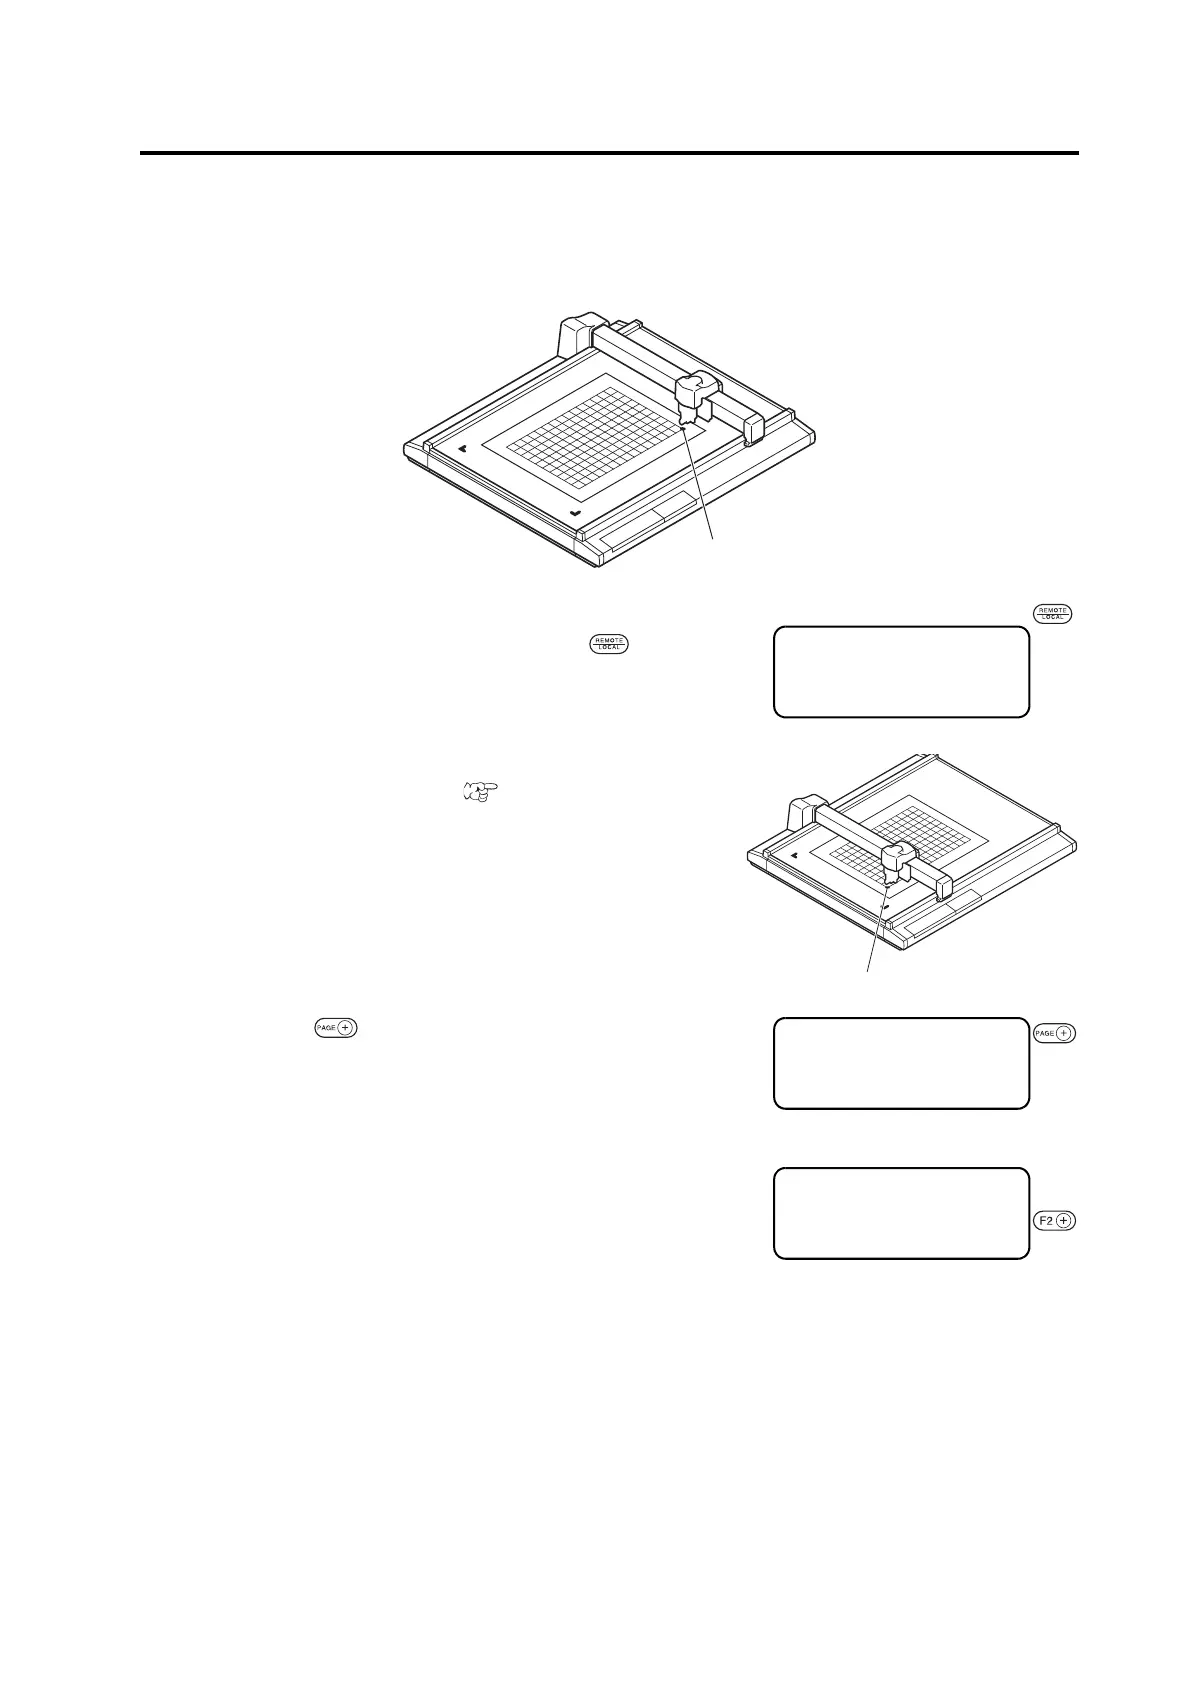
If ruled lines such as scales are printed on a work, mechanical axes (X-axis, Y-axis) of the device need to be aligned
to them.
To set the mechanical axes, firstly establish an origin at the leftmost ruled line printed on the work in terms of the X-
axis direction. Secondly, enter the point (point A) of the rightmost ruled line to be
used to enter the inclination of ruled lines.
1. Cause the device to enter the LOCAL state.
If the device is in the REMOTE state, press the key.
2. Establish an origin at the leftmost one of the ruled
lines printed on the work.( P. 2-39)
3. Press the key several times until the LCD indi-
cates page 3 of the LOCAL MENU.
4. Select the [AXIS ALIGN].
[LOCAL] 1 / 4
TOOL SELECT ――― >
CONDITION ――― >
TEST CUT ――― >
[LOCAL] 1 / 4
TOOL SELECT ――― >
CONDITION ――― >
TEST CUT ――― >
[LOCAL] 4 / 4
CUT AREA ――― >
AXIS ALIGN ――― >
TOOL SELECT ――― >

 Loading...


