5-10
SETTING OF REGISTER MARK DETECT OPERATION
Precautions on register mark detection
• To ensure that the distance between register marks is equal to the cutting length, input the distance between the printed
marks found by the mark detecting function. ( P. 5-13)
• Once the plotter detects marks, it will set the origin at the location of TP1.
You can change the position of the origin to a different location using jog keys ; the origin at the new location supersedes the
origin at TP1.
• The rotating function is rendered ineffective.
• The STROKE function is rendered ineffective.
How to display the register mark setting on LCD
1. Display the <DETECT SET>
(P. 5-2)
2. Set the [DETECT], [Size], and [STYLE].
( P. 5-11)
3. Press the key several times to display the
<DETECT SET> menu page2.
4. Set the [X COPY], [Y COPY], and [SCALE]
( P. 5-11)
5. Press the key to register the setting.
If you do not want to register, press the
key.
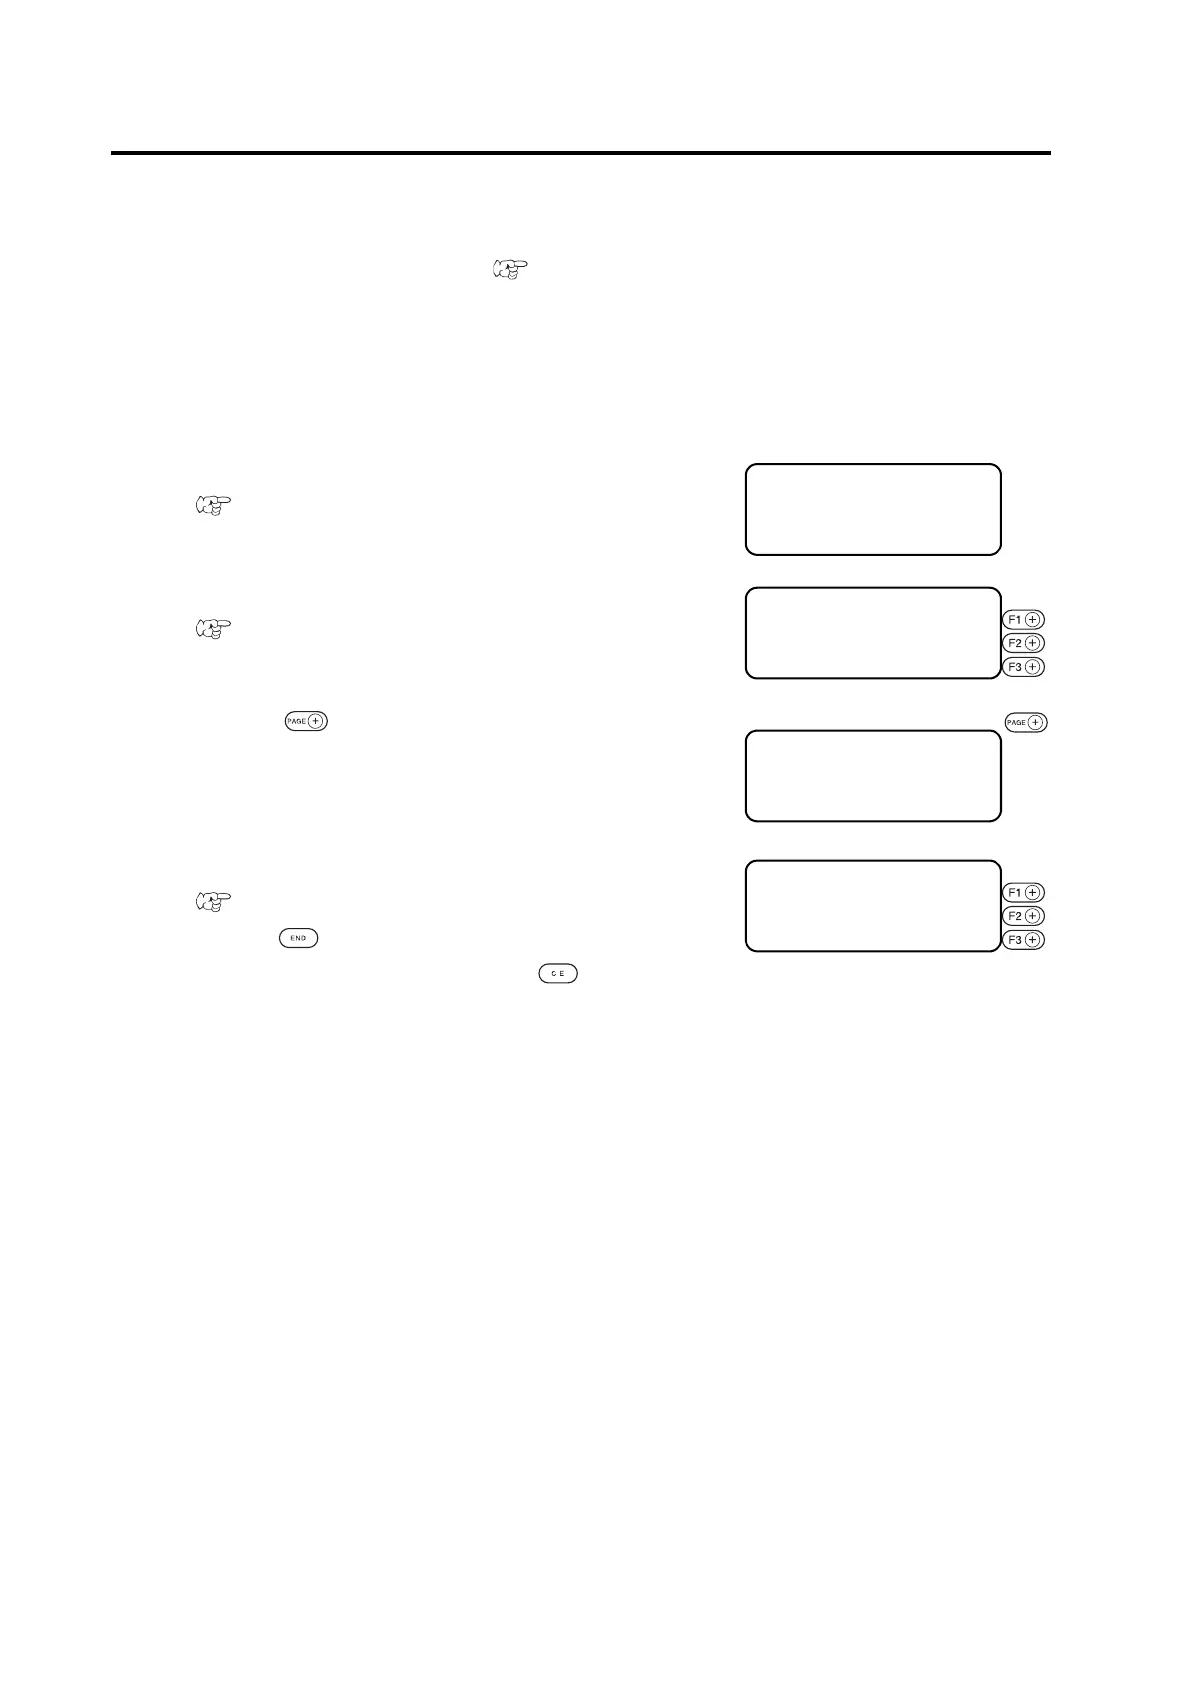
<DETECT SET> 1 / 2
DETECT OFF >
SIZE 10mm >
STYLE Square >
<DETECT SET> 1 / 2
DETECT OFF >
SIZE 10mm >
STYLE Square >
<DETECT SET> 1 / 2
DETECT 1pt >
SIZE 10mm >
STYLE Square >
<DETECT SET> 1 / 2
X COPY 1 >
Y COPY 1 >
SCALE O F F >

 Loading...


