2-7
MOVING THE HEAD
It is possible to move the head for easier operation when attaching a tool or a work on the device or executing test cut.
The head can be moved in the following two different procedures:
• Moving the head by “VIEW” function
• Moving the head by the jog keys
Moving the head by “VIEW” function
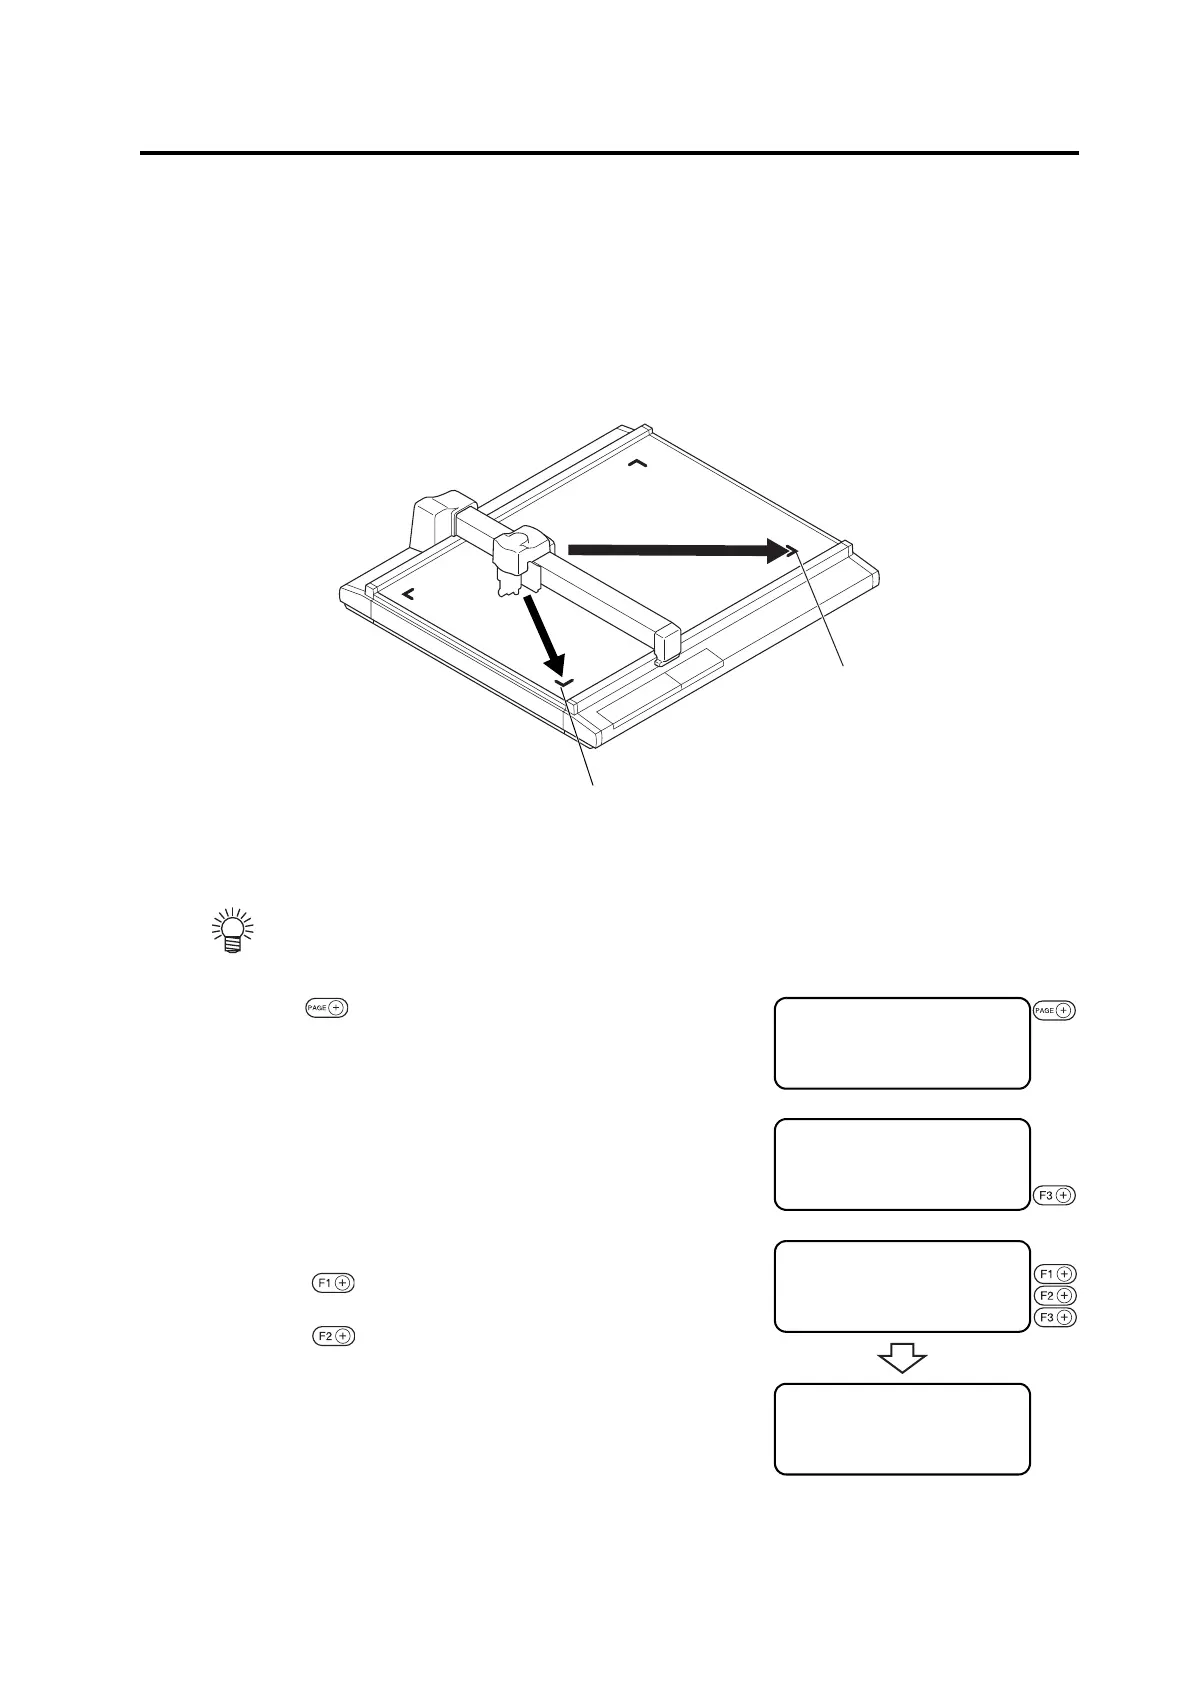
This function works to move the head in one stroke to the lower left point or the retracting point (lower right) of
the cutting area. This function is used when the head rests inside the cutting area to hinder the works.
1. Press the key several times until the LCD indicates
page 2 of the LOCAL MENU.
2. Select the [VIEW].
3. Select a point to which the head is moved to.
Press the key to move the head to the lower right of the cutting
area.
Press the key to move the head to the retract point at the upper
right of the cutting area.
• If the “VIEW” (see page 1.29) is specified, the head will automatically move to the retracting
point after the completion of cutting (plotting). This omits the execution of the “VIEW” func-
tion.
If the head is retracted to this point,
you can set a work on the device
with ease.
If the head is retracted to this point,
you can set a tool with ease.
[LOCAL] 1 / 4
TOOL SELECT ――― >
CONDITION ――― >
TEST CUT ――― >
[LOCAL] 2 / 4
DATA CLEAR ――― >
COPY ――― >
VIEW ――― >
< VIEW > 1 / 1
LOWER LEFT ――― >
LOWER RIGHT ――― >
[LOCAL] 2 / 4
DATA CLEAR ――― >
COPY ――― >
VIEW ――― >

 Loading...


