2-18
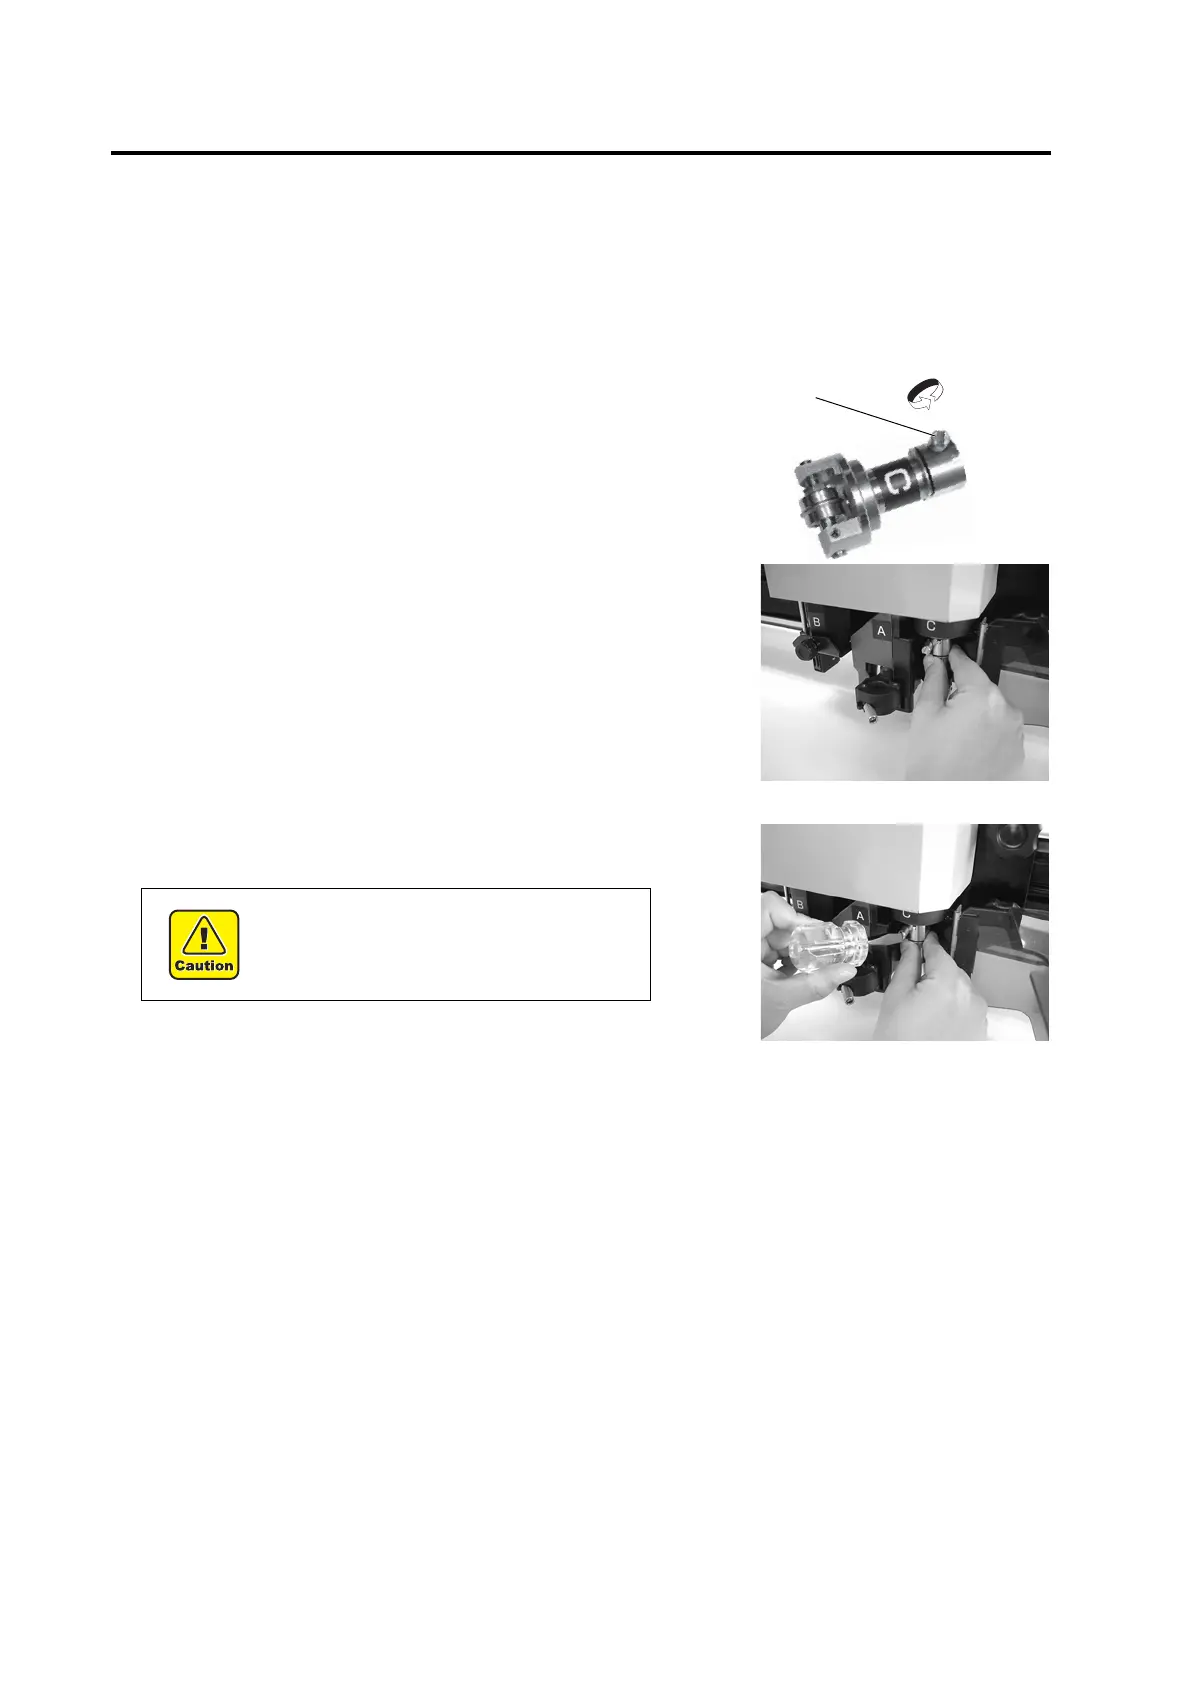
Installing the crease roller
This part is used for the RC head model.
If the head is in the lower position and the crease roller cannot be installed, lift the head. (“Adjusting the height of the
head ” P. 2-19 )
1. Loosen the stopper screw in the crease roller.
Turn the stopper screw counterclockwise to loosen it.
2. Insert the pin of unit C into the marking roller while fit-
ting the pin in the groove on the roller.
3. Tighten the stopper screw with the screwdriver sup-
plied with the device as an accessory.
• Securely fix the cutter holder.
If the stopper screw is not securely tight-
ened, normal product quality cannot be
achieved.

 Loading...


