History Dialog Common Functions History Dialogs
21 - 18 V Series Operating Instructions
4. Continue to select the Cancel or Accept button to return to the Main display.
•The Cancel button closes the dialog without saving the settings.
•The Accept button saves the settings and closes the dialog.
5. Optional - select the Done button to close the History dialog.
21.5.4 Configuring a Time Search
NOTE: This option is available in List Trends, Graphic Trends, Events - List view,
and Full Disclosure - Overview view.
Minimize the number of records that display by creating a time filter or search.
1. Select the Time Search button from the applicable History dialog tab.
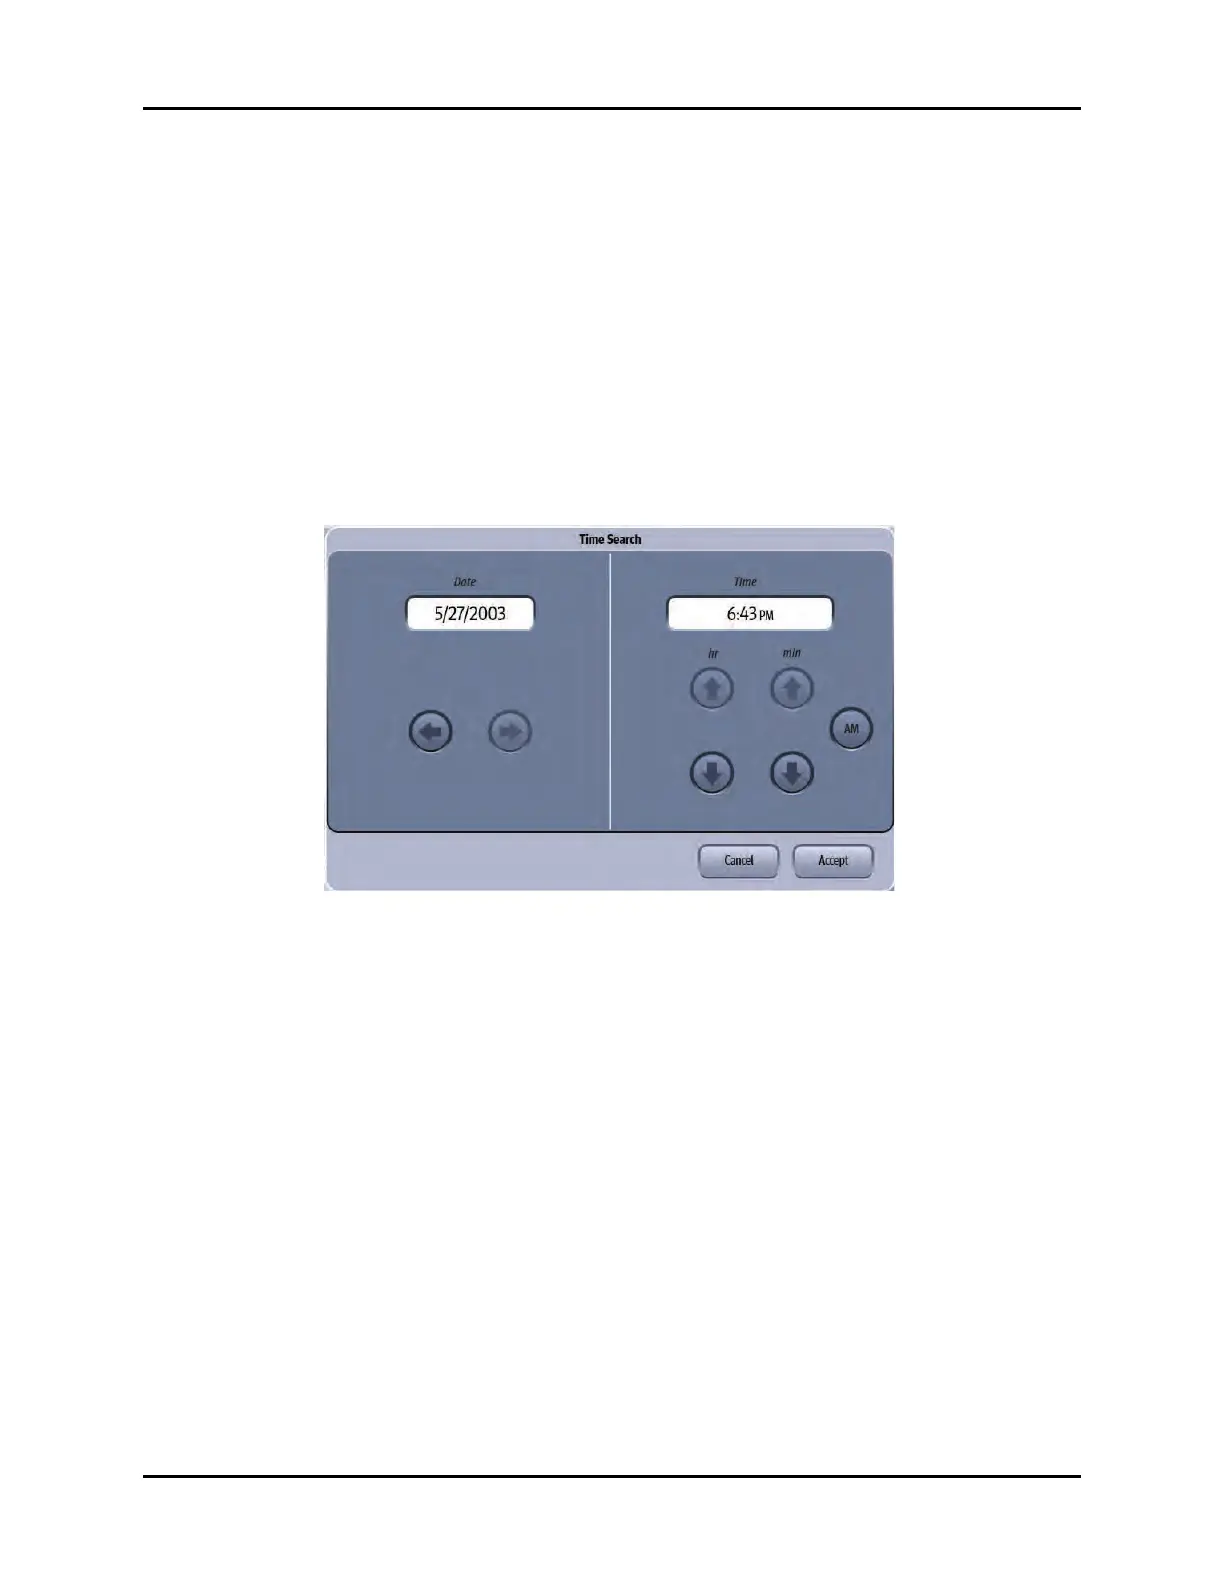
The Time Search dialog displays (as shown in FIGURE 21-10).
FIGURE 21-10 Example Time Search Dialog
2. Use the left and right arrow keys to scroll to the date needed.
3. Use the up and down arrow keys to scroll to the time needed.
4. Use the AM/PM button to toggle between AM and PM.
5. Select the Cancel or Accept button.
•The Cancel button closes the dialog without saving the settings.
•The Accept button saves the settings and closes the dialog.
6. Optional - select the Done button to close the History dialog.