8 Operation
Maschinenfabrik Reinhausen GmbH 2020 873587317/21 EN TAPCON
®
8 Operation
This chapter describes all the functions and setting options for the device.
8.1 Establishing connection to visualization
A connection to the visualization can be established using 2 interfaces:
▪ Front interface ETH1.1 (for local access)
▪ Optional: ETH2.2 interface on the CPU I module (for access by means of
the remote display, control center etc.)
System requirements
To access the web-based visualization, you need a PC with an HTML5-ca-
pable browser. The display is optimized for the following browsers:
▪ Microsoft® Internet Explorer 11
▪ Google Chrome™
Establishing connection via front interface
The device is equipped with a DHCP server for connection via the front inter-
face. To establish a connection via the front interface, proceed as follows:
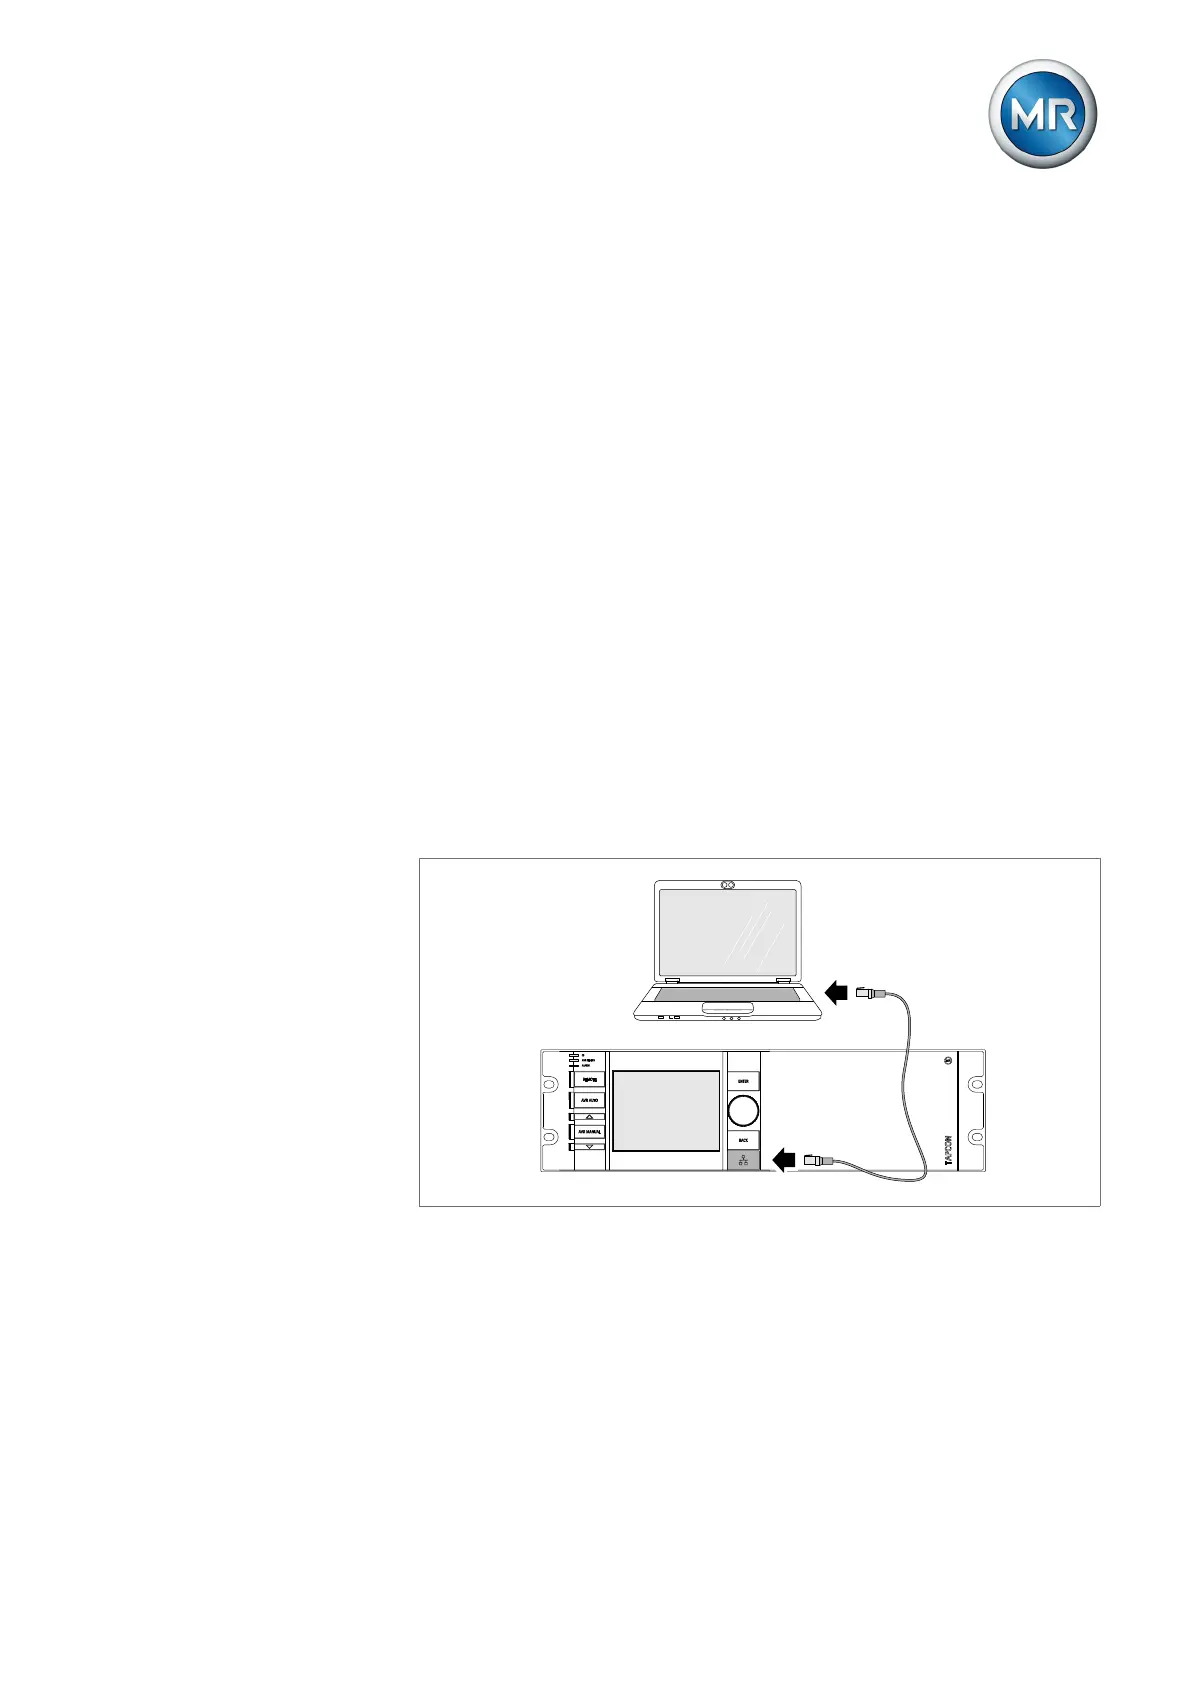
1. Connect the PC and device via the front interface using an Ethernet cable
(RJ45 plug).
Figure70: Establishing a connection via the front interface
2. Activate automatic assignment of the IP address via DHCP on the PC.
3. Enter the visualization's IP address http://192.168.165.1, or if SSL
encryption is active enter https://192.168.165.1, in the browser on
the PC.
ð The visualization is accessed.