Printing in a Mac OS Environment 3-87
3.7 Appendix: Using This Machine with Other Connection Methods
3
6 Click the close button at the top left corner of the window.
% When the [Apply configuration changes] message appears, click [Apply].
Then, add the printer to the computer.
7 Select [System Preferences...] in the Apple menu.
8 Click the [Print & Fax]/[Print & Scan] icon.
9 Click [+] on the [Print & Fax] window.
% In Mac OS X 10.7, select [Add Other Printer or Scanner...] in the list that is displayed by clicking [+]
on the [Print & Scan] window.
[Printer Browser] appears.
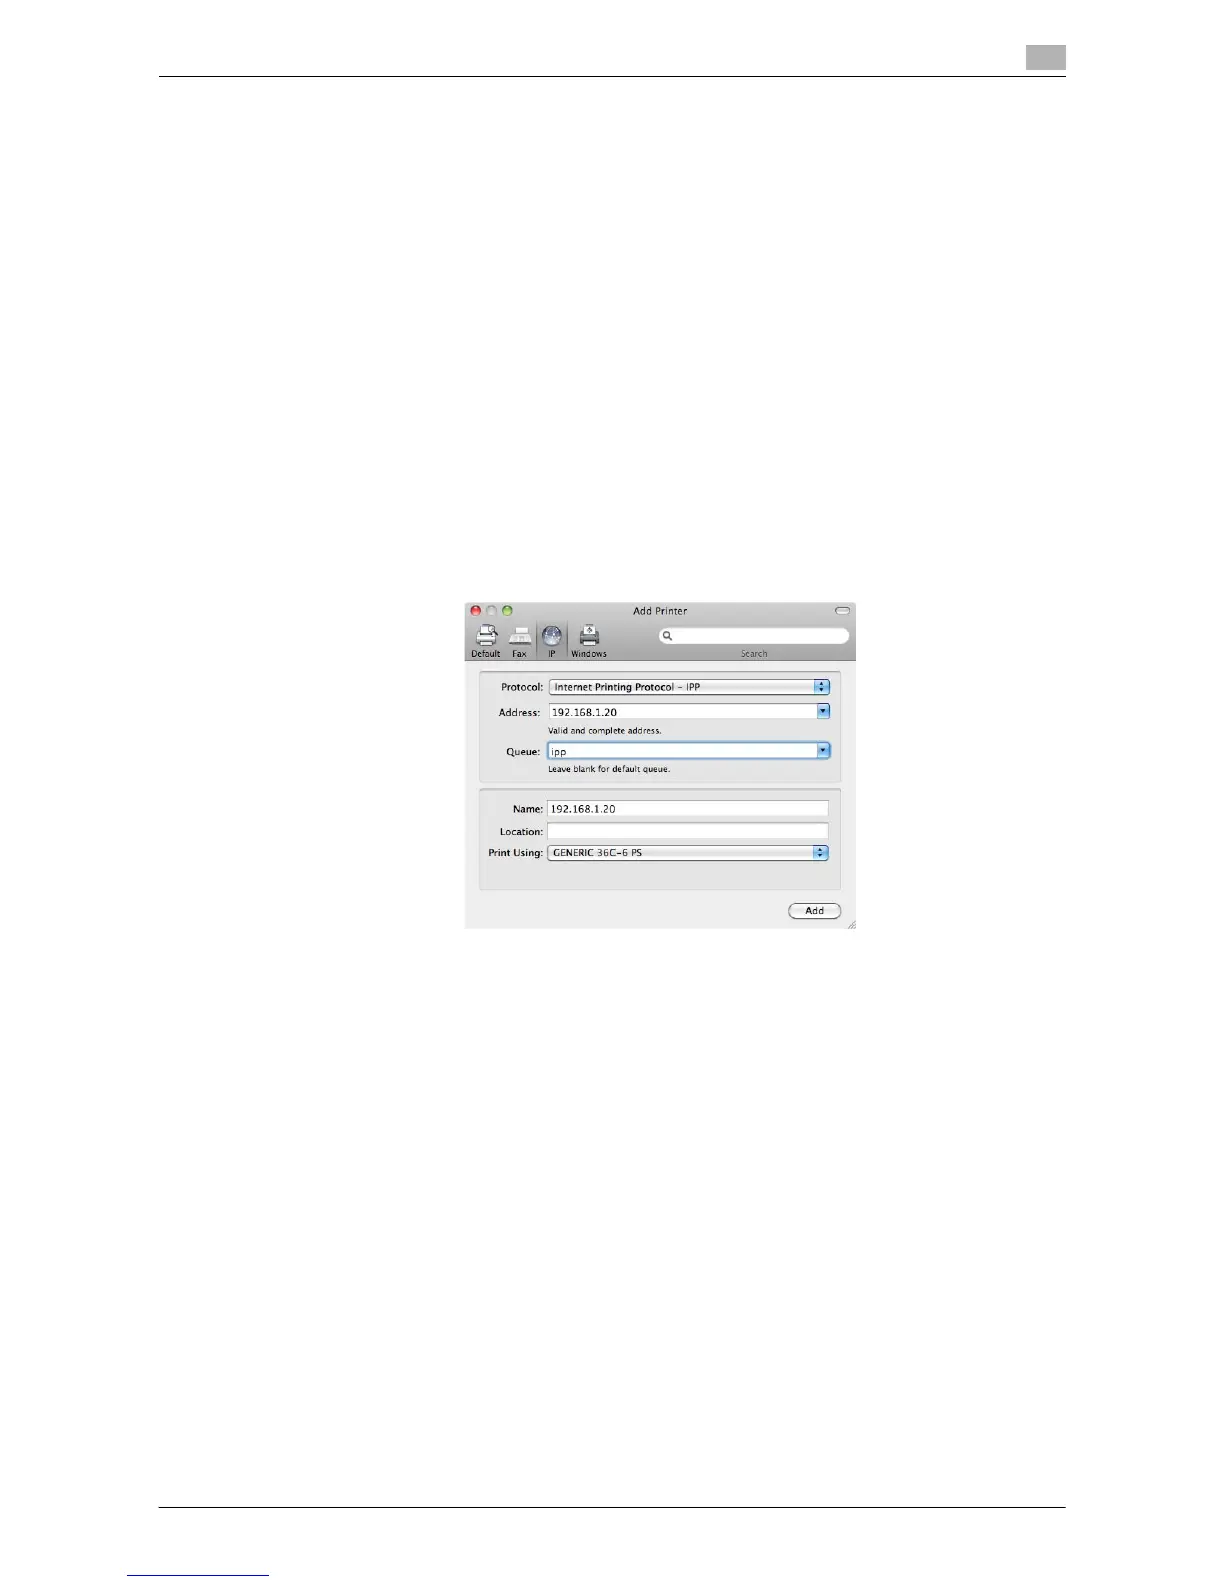
10 Click [IP] or [IP Printer].
11 In [Protocol:], select [IPP (Internet Printing Protocol)].
12 In [Address:], enter the IP address for the machine. In [Queue:], enter "ipp".
The printer driver for the machine specified with the IP address is displayed in [Print Using:].
% When the printer driver is displayed, go to Step 14.
% When the printer driver is not correctly displayed, go to Step 13.
13 Manually select the printer driver.
% In Mac OS X 10.6/10.7, select [Select Printer Software...] from [Print Using:], then click the driver of
the desired printer from the list that is displayed in another window.
% In Mac OS X 10.5, select [Select a driver to use...] in [Print Using:], then click the driver of the desired
printer from the list.
% In Mac OS X 10.4, select [GENERIC] in [Print Using:], and then click the driver of the desired printer
from the list.
14 Click [Add].
This completes the addition process of the printer. Then, proceed to the [Installable Options] window
to configure the optional environment for this machine. For details, refer to page 3-7.
In Mac OS X 10.3
In Mac OS X 10.3, use the following procedure to add a printer with IPP connection:
1 Select [System Preferences...] in the Apple menu.
2 Click the [Network] icon.
3 From [Show], select [Built-in Ethernet].
4 Click the [TCP/IP] tab.