Printing in the Windows Environment 2-13
2.2 Preparation for Printing (USB Connection)
2
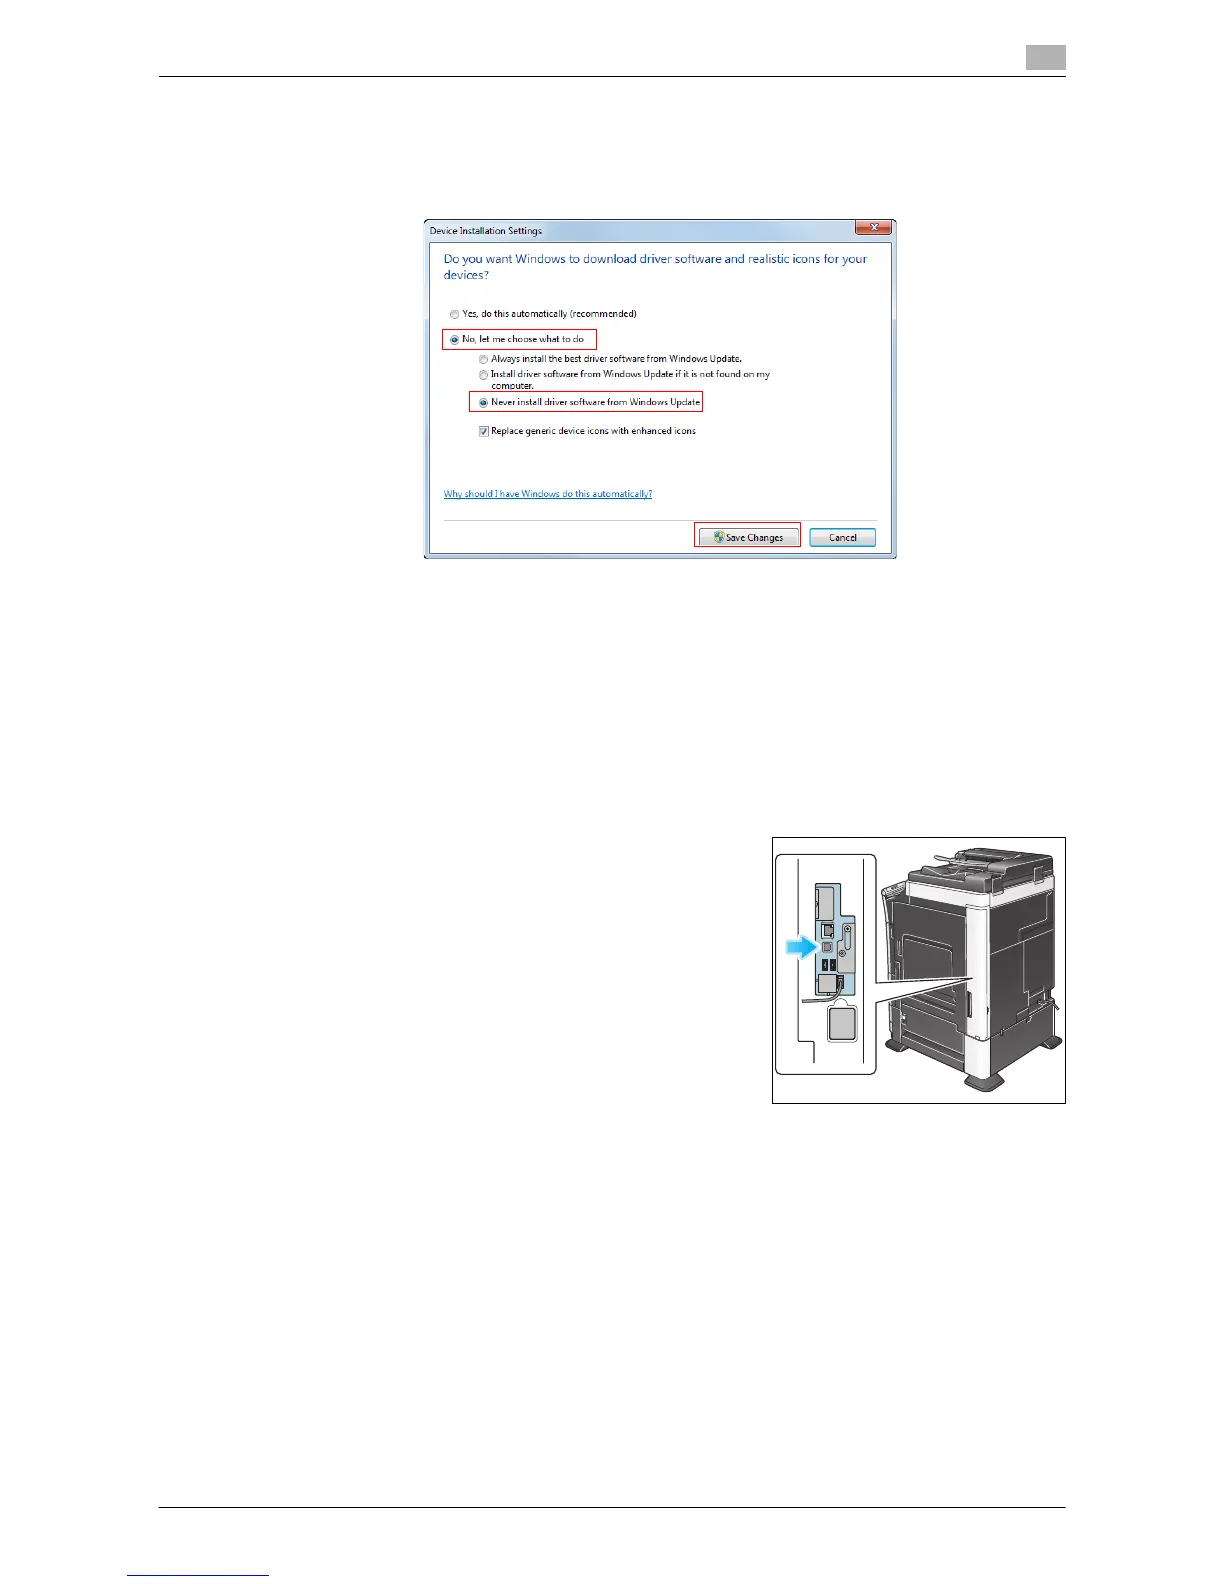
4 Select [No, let me choose what to do], select [Never install driver software from Windows Update.], then
click [Save Changes].
% After you have installed the printer driver, change the setting back to [Yes, do this automatically (rec-
ommended)].
5 Click [OK] to close the [System Properties] window.
Installation procedure
Install the printer driver using the installer.
0 Administrator privileges are required to perform this task.
0 Use "Driver CD-ROM Vol.1" to install the PCL/PS driver on the PC, and use "Driver CD-ROM Vol.2" to
install the XPS driver on the PC.
0 The following explains the PCL/PS driver installation procedure. You can also install the XPS driver in
a similar way.
1 Connect a USB cable to the USB port of this machine.
% If a wizard window for adding new hardware opens, click
[Cancel].
2 Insert the printer driver CD-ROM into the CD-ROM drive of the computer.
% Make sure that the installer starts, then go to Step 3.
% If the installer does not start, open the printer driver folder on the CD-ROM, double-click [Set-
up.exe], then go to Step 4.
% If the [User Account Control] window appears, click [Continue] or [Yes].
3 Click [Printer Install].