Printing in a Mac OS Environment 3-60
3.4 Printing Options
3
How to print on banner paper
Register the size of the banner paper, then specify the registered size.
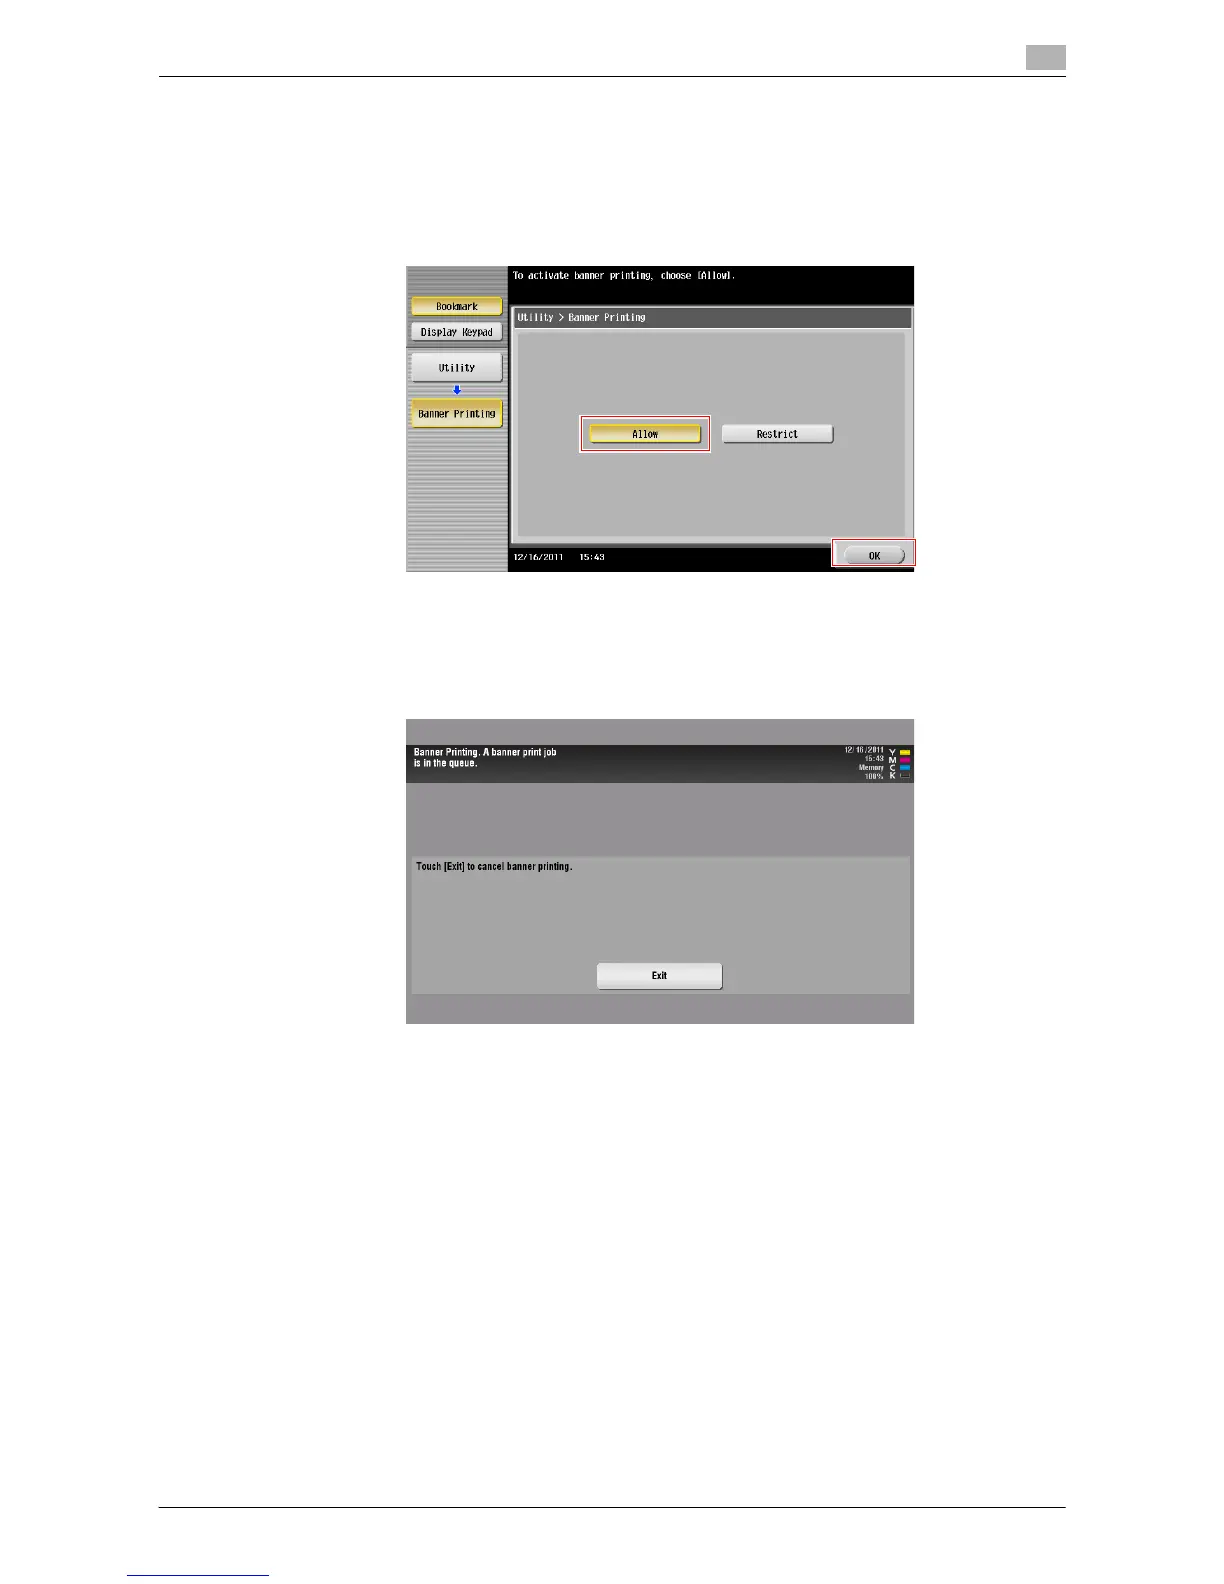
1 On the Touch Panel of this machine, tap [Utility] - [Banner Printing].
2 Select [Allow], then tap [OK].
3 Check that the screen waiting for banner printing job has appeared.
% If a job is received for printing on paper of a non-banner size while a banner print job is expected,
that job is discarded.
% When a banner paper print job is queued, the machine cannot receive a facsimile.
When you have finished the above settings, start to print from the PC.
4 In the [Page Setup] (or [Paper Setup]) window, open the window for registering a custom size.
% In Mac OS X 10.4/10.5/10.6/10.7, select [Manage Custom Sizes...] from the Paper Size list.
% In Mac OS X 10.2/10.3, select [Custom Paper Size] from [Settings:].
5 Click [+] (Mac OS X 10.4/10.5/10.6/10.7) or [Add] (Mac OS X 10.2/10.3).
6 Enter the name of the paper size you are registering.
% Be sure to use paper size names other than existing names, such as A4 and Custom.
7 Configure the following items.
% [Page Size] (Paper Size): Specify the width and length as desired.
Specify the paper size within the allowable range of the banner size (Width:8-1/4 to 11-11/16 inches
(210 mm to 297 mm), Length: 18 to 47-1/4 inches(457.3 mm to 1,200 mm)).
% [Printer Margins]: Specify the top, bottom, right, and left margins of the paper.