Using folders and files
107
Browse Window
2 Select [Convert Format] from the [Tools] menu.
The [Convert Format] dialog box appears.
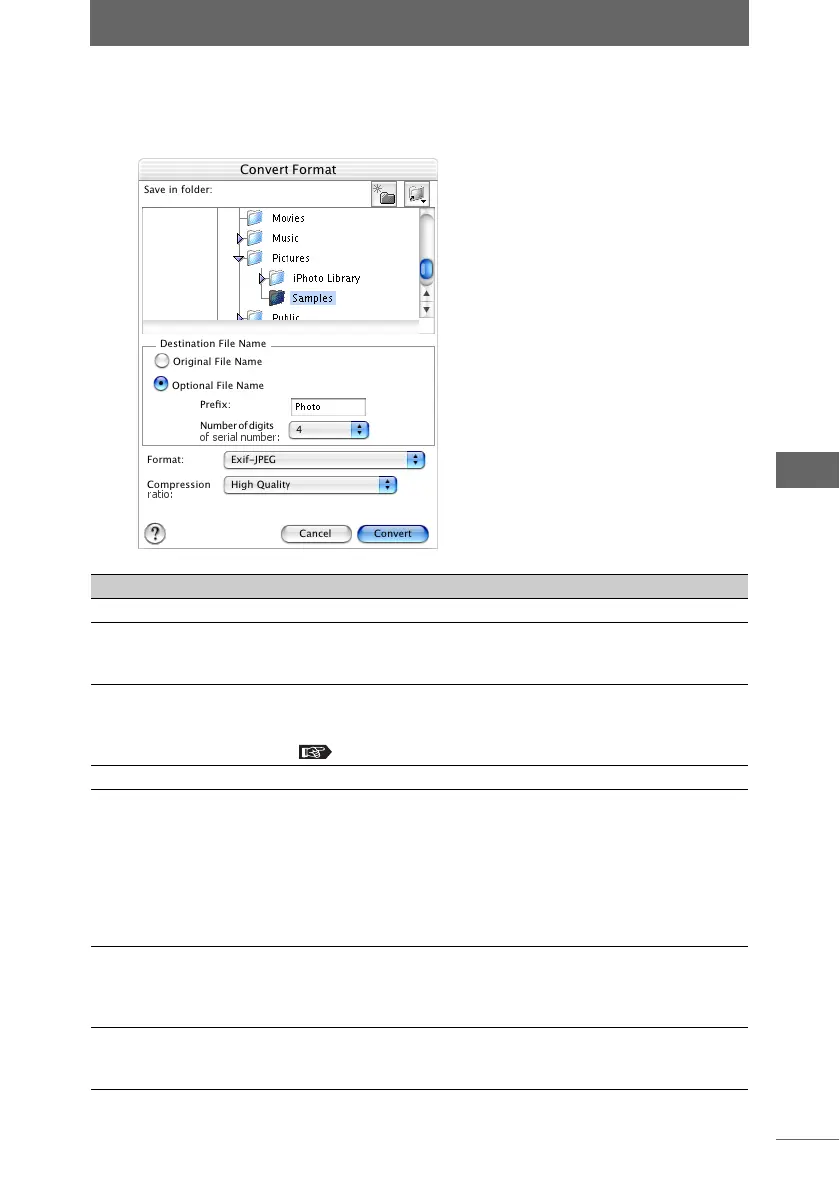
[Convert Format] dialog box
Item Description
Save in folder Select where you want to save the converted file.
[New Folder] Click this to create a new folder in which to save the
converted file. A new subfolder is created in the selected
drive or folder on the folder tree.
[Browse Shortcut] Click this to display a list of registered shortcuts. When a
shortcut is selected from the list, the selected position on
the folder tree jumps to the destination of the shortcut link.
“Creating a folder shortcut” P.109
Folder Tree Select the destination folder.
Destination File Name Specifies a name for the converted file.
Select [Original File Name] or [Optional File Name].
• Original File Name:
Select this to give the converted file the same name as
the original file.
• Optional File Name:
Select this to give the converted file a new name. Enter
[Prefix] and specify [Number of digits of serial number].
Format A file can be converted to any of the following formats:
[Exif-JPEG], [JPEG], [Exif-TIFF], [TIFF [8bit/ch]], [TIFF
[16bit/ch]], [PICT] (only in Macintosh), or [Bitmap] (only in
Windows).
Compression ratio When selecting [Exif-JPEG] or [JPEG] as the file format,
you can select [High Quality], [Standard Quality], or [Low
Quality] for the compression rate.