Using the image comparison area
81
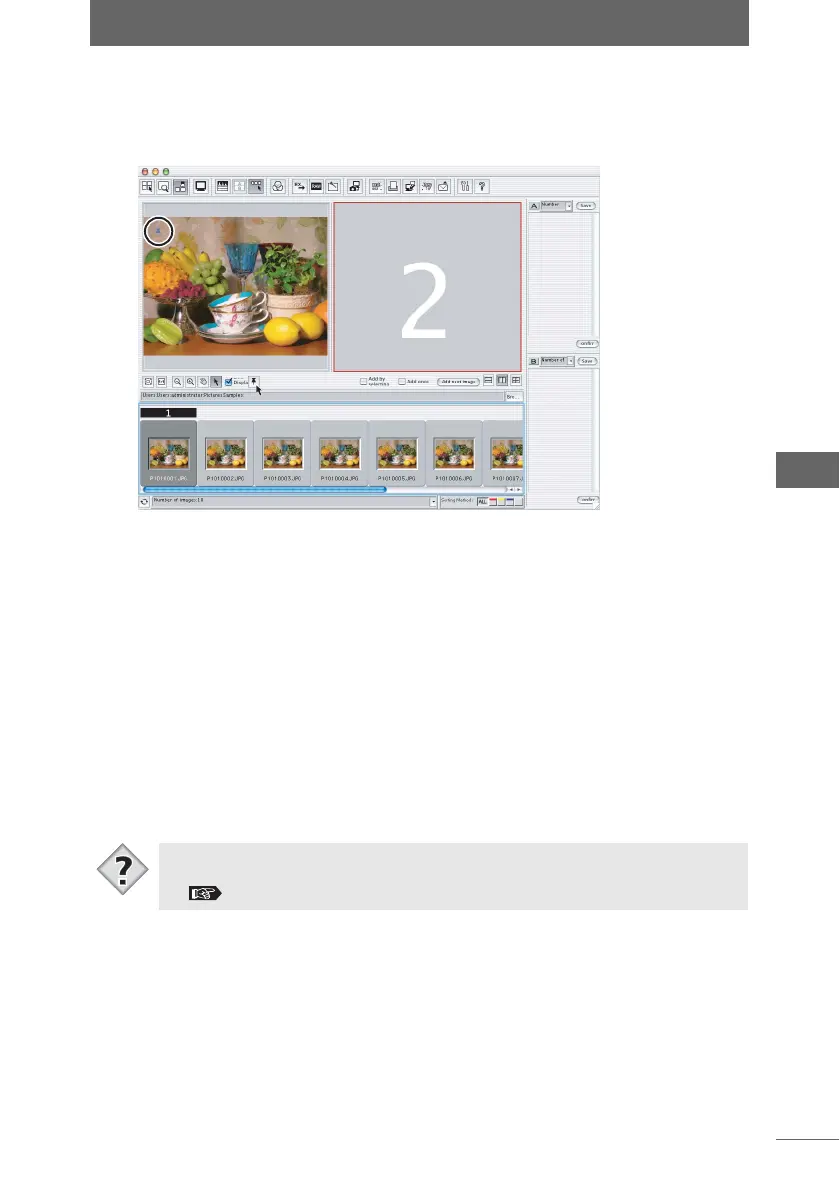
Browse Window
2 When you find the desired image, click the [Pushpin] button.
The [Pushpin] icon appears on the image in the selected image comparison area.
The next image comparison area is then selected automatically.
3 Click the [Add next image] button again.
The next image following the image selected in the thumbnail display area is
registered in the image comparison area selected in step 2 above. The [Add next
image] button can be repeatedly clicked until you find an image you want to
compare.
z Deleting images from the image comparison area
The following describes how to delete images registered in the image comparison
area in order to free up more space.
1 Select an image in the image comparison area and press the
[Delete] key.
The image in the comparison area is deleted.
;
• After using the image comparison area to select the best image, that image can
be placed into a collection area and copied or moved to a separate folder.
“Dividing images” P.68, “Confirming and saving divided images” P.70
Tips