Editing images
176
Image Edit Window
Auto Tone Correction
Compensates for the bright (flare, smear) and shadow areas of the image.
1 Click the [Auto Tone Correction] button on the image processing
bar or select [Auto Tone Correction] from the [Image] menu.
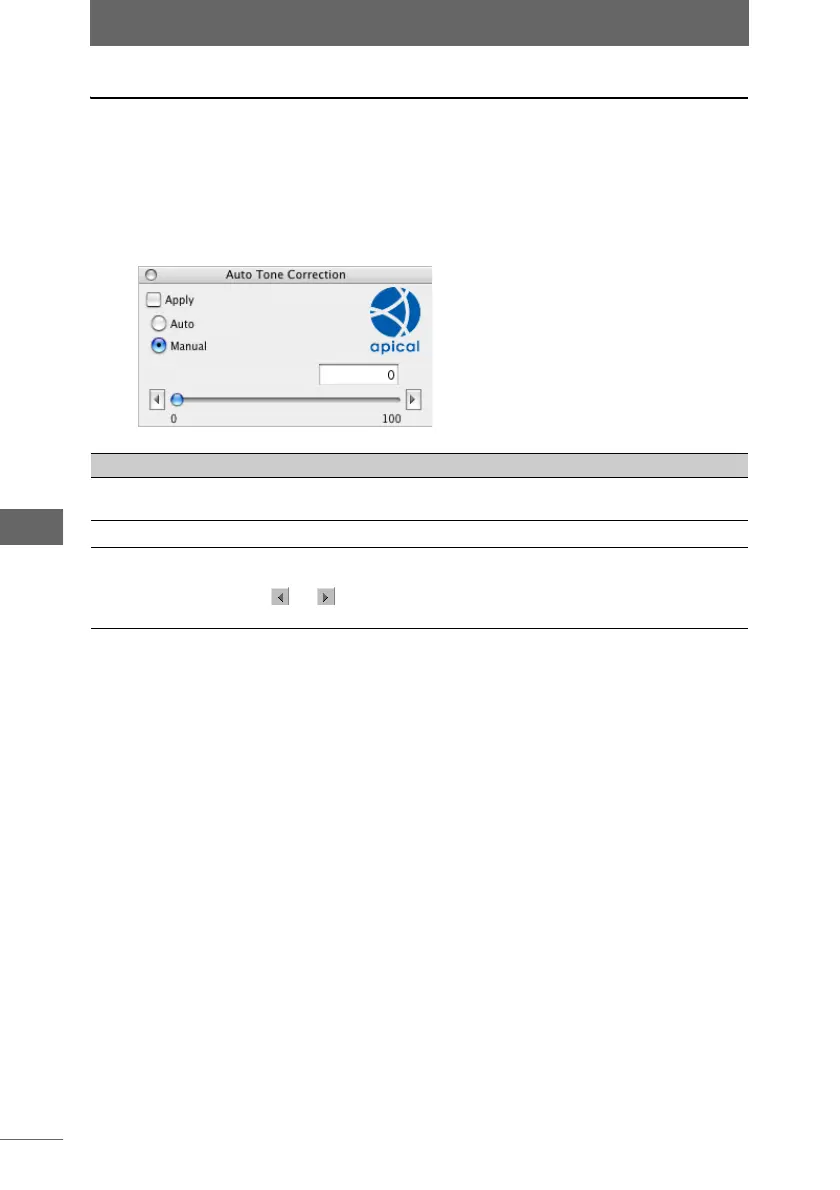
The [Auto Tone Correction] palette appears.
2 Configure each item.
3 Confirm that [Apply] is checked.
When the settings on the palette are changed, [Apply] is automatically checked
and the settings are applied to the image.
4 Click the [Auto Tone Correction] button on the image processing
bar or select [Auto Tone Correction] from the [Image] menu, and
close the [Auto Tone Correction] palette.
[Auto Tone Correction] palette
Item Description
Apply Check this box to apply the settings to the image.
Uncheck this box to cancel the settings.
Auto Corrects the image automatically.
Manual You can manually adjust the compensation value by dragging
the slider to the left or right. It can be set from [0] to [100]. Click
or to set in increments of [1]. You can also directly enter
the value.