Printing an image
122
Browse Window
Configuring [Print entire area]
Check this box to crop the image to fit the printing area.
Configuring [Arrange without margins]
Check this box to print in the entire printable area.
Configuring [Print Date]
To print the shooting date on the image, check this box and select [Date] or [Date
& Time] for the printing format. To change the printed text, select the [Font] button
and change the settings with the [Font] dialog box.
Configuring [Add shadow]
Check this box to add a shadow effect to the printed shooting date.
4 Configure the [Area Type] setting.
Select [Landscape priority], [Portrait priority], or [Mixed] for the type of image area
to be printed on paper.
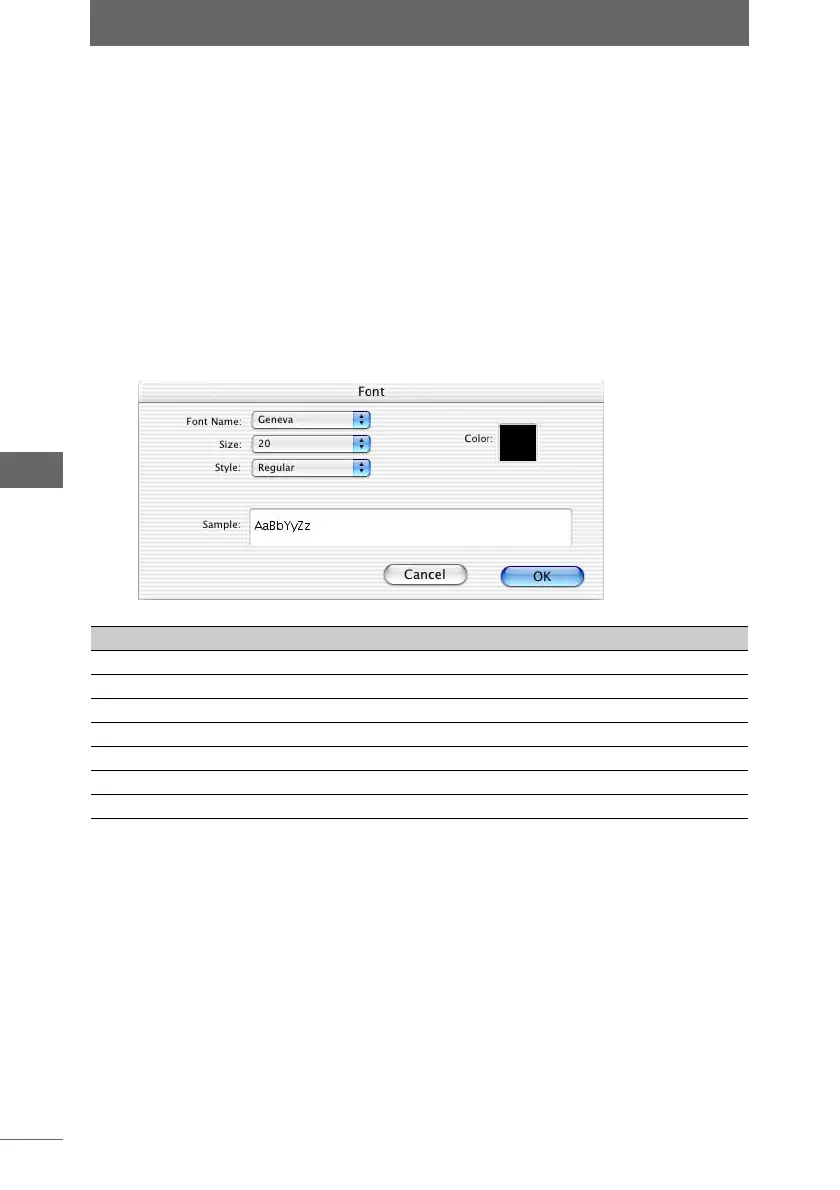
[Font] dialog box
Item Description
Font Name Select the type of text font from the list.
Size Select the text size.
Style Select the text style from the list.
Color Select the color of the text from the pull-down list.
Sample Displays a sample of the text using the font settings.
[Cancel] Cancels the font settings.
[OK] Registers the set information.