2 Basic repair procedures Chapter E: Basic repair procedures
160 Planmeca PlanMill 40 Technical manual
3. Locate the solenoid to be replaced and disconnect the electrical connector from the
valve.
4. Remove two Philips screws on top of the solenoid and pull solenoid straight up and
free of the manifold
It is not necessary to disconnect the air line from the solenoid manifold to remove the
solenoid valve.
Install
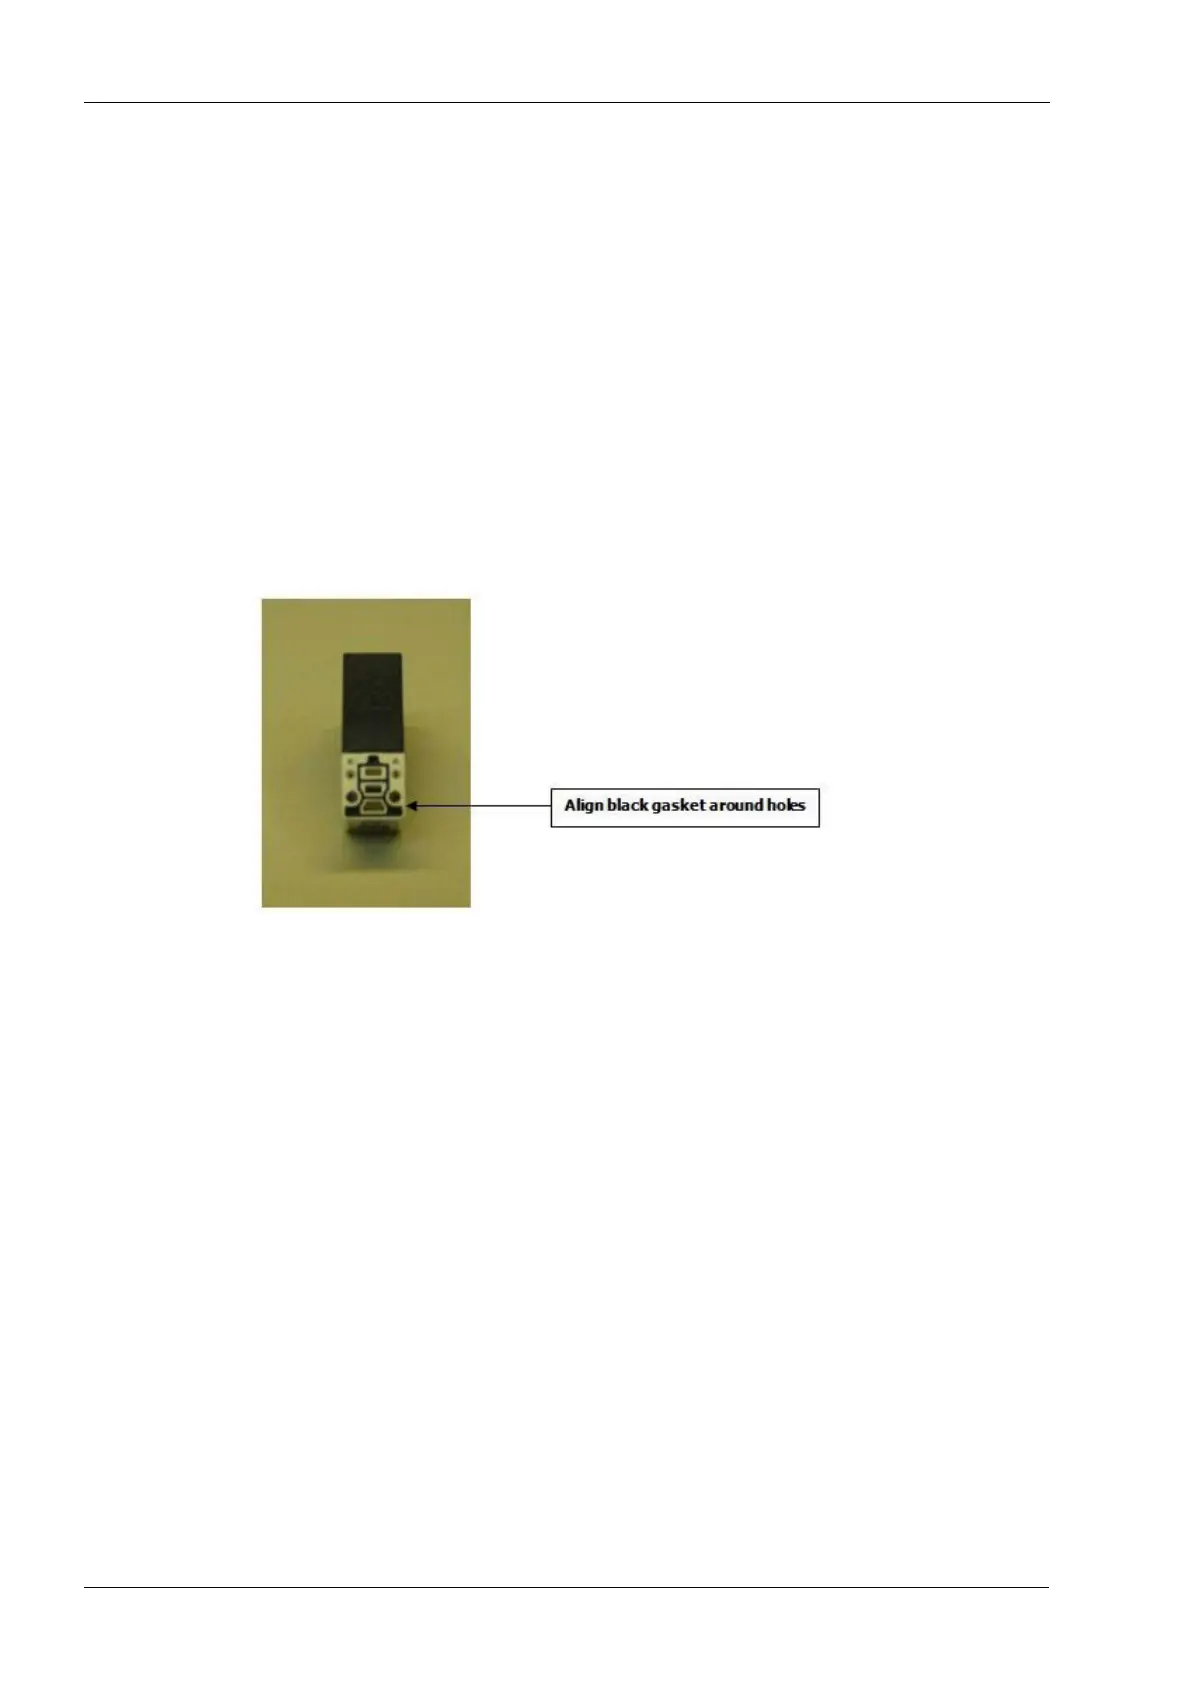
1. Place the replacement solenoid in its proper location on the manifold.
Pay particular attention to the small gasket which must align with the valve properly to
prevent leaks.
Figure 171: Solenoid
2. Install the two retaining screws and secure.
3. Reconnect electrical connector to the solenoid.
Test solenoid by using the manual override button on top of the solenoid value to ensure
proper operation.
2.12.4 Pilot valve
Three piloted valves are used in the Milling unit: the Spindle Purge, Left Collet and Right
Collet. Each is driven (or piloted) by one of the solenoid valves on the manifold assembly
located on the top of the assembly. The piloted purge valve is used to allow a greater air
flow than is available by an individual solenoid valve. The left and right piloted collet valves
are used to control the higher pressure air from the pressure multiplier. Each of the three
valve bodies are identical, however the purge valve utilizes different fittings than the collet
valves.
The following procedure applies to replacing any of the three valves. Pay attention to the
routing of the tubes for the valve you are replacing and any cable ties used to secure the
tube.
Tools required
• metric Allen key set
• small diagonal cutters