Chapter B: Preventive maintenance 2 Maintenance procedures
Technical manual Planmeca PlanMill 40 41
20. Close lid when finished.
The tools remain in the tool changer until the next restoration is selected to mill.
2.8 Spindle packing
Each spindle protrudes through the side wall of the grind chamber and reciprocates back
and forth as the restoration is generated. A replaceable seal is created at this interface
using a Teflon impregnated rope packing material encased in a plastic seal housing. The
life expectancy of this packing material is generally very good and should last for hundreds
of restorations; however improper coolant service or the use of more abrasive blocks
could necessitate more frequent service. The following procedure is used to remove and
replace the packing material. The procedure is the same for either spindle.
Tools and items required:
• max. 8 cm long Philips head screwdriver
• 2 pieces of rope packing that are 190 mm long each
The packing is located between the inner and outer spindle seals; to access the inner seal
needs to be removed. Removing the inner seal first requires removing the nozzle caps.
This procedure is best done from the High Level window in the technician console.
1. Select the Maintenance Icon in the lower left corner of the display.
2. Select Advanced and enter passcode.
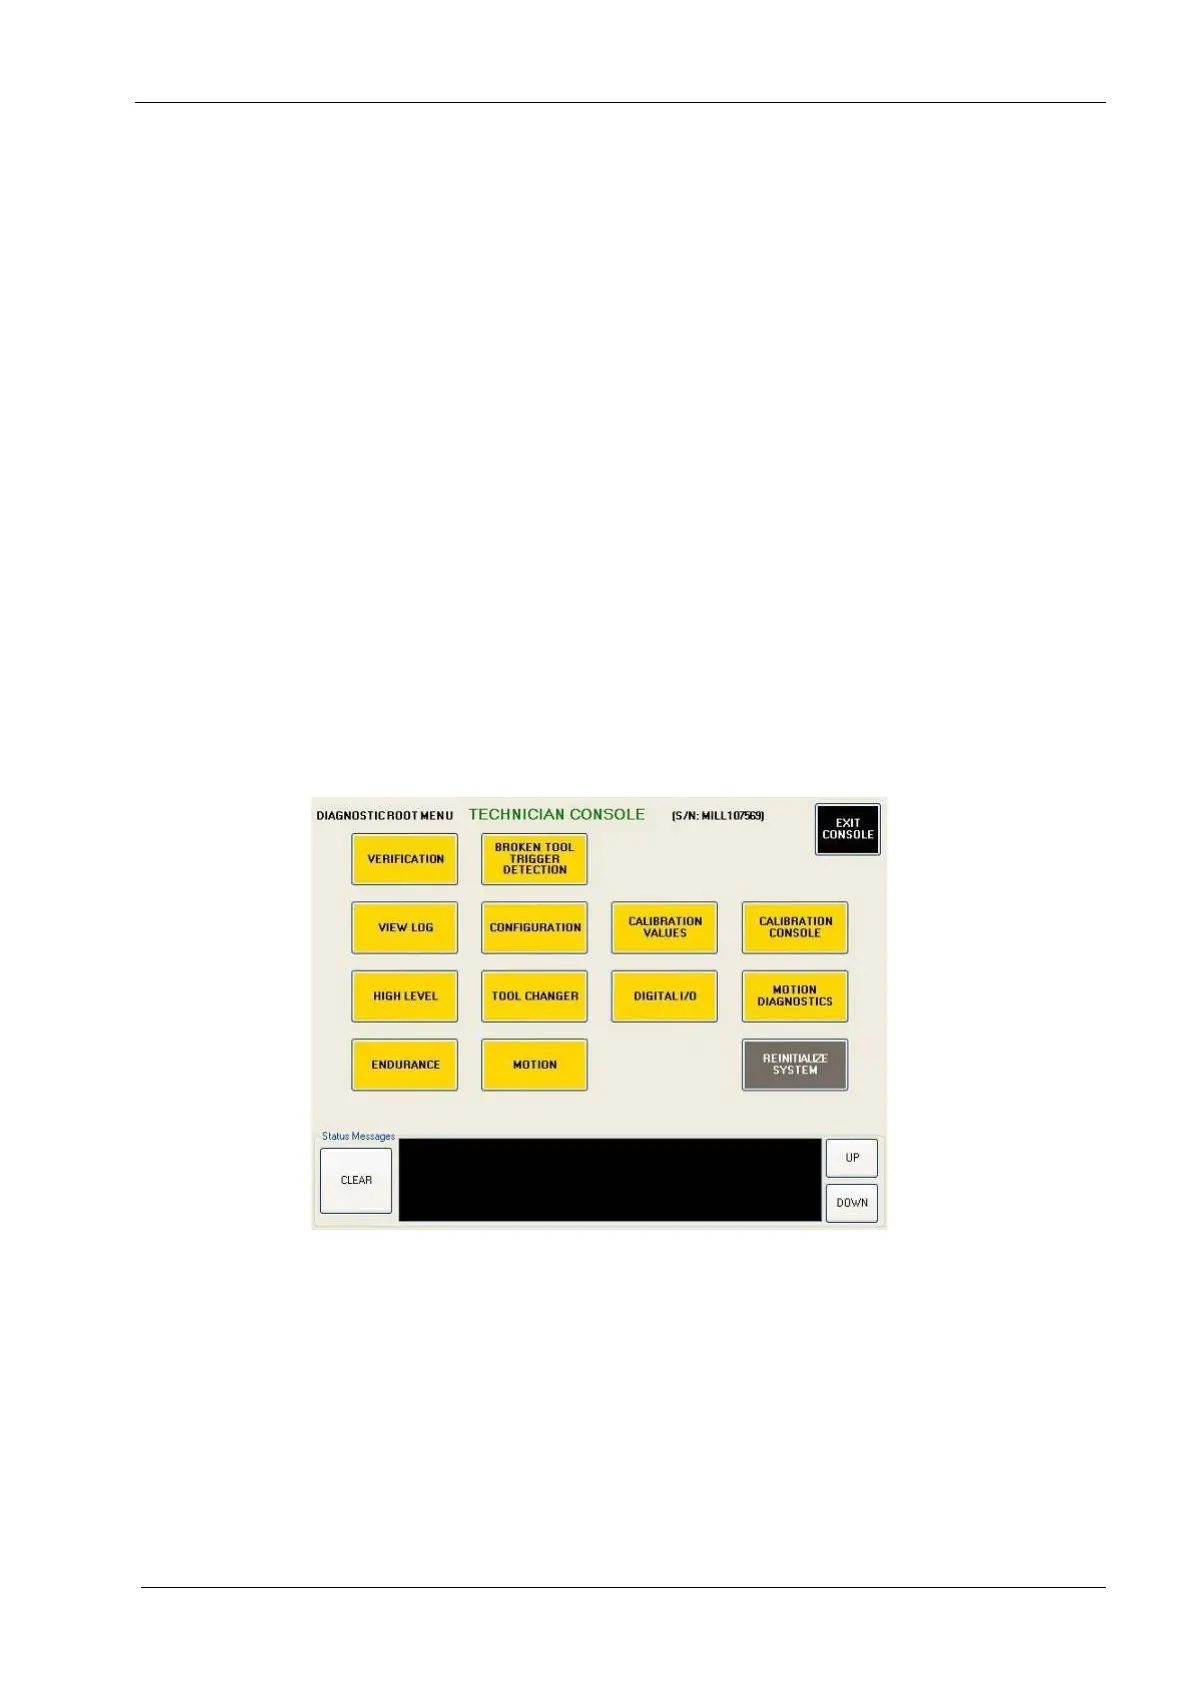
3. Select Technician Console.
Figure 30: Technician Console screen
4. If tools are currently in the spindles, perform the following steps, otherwise skip the
next three steps.
5. Select the Tool Changer button.