Chapter E: Basic repair procedures 2 Basic repair procedures
Technical manual Planmeca PlanMill 40 125
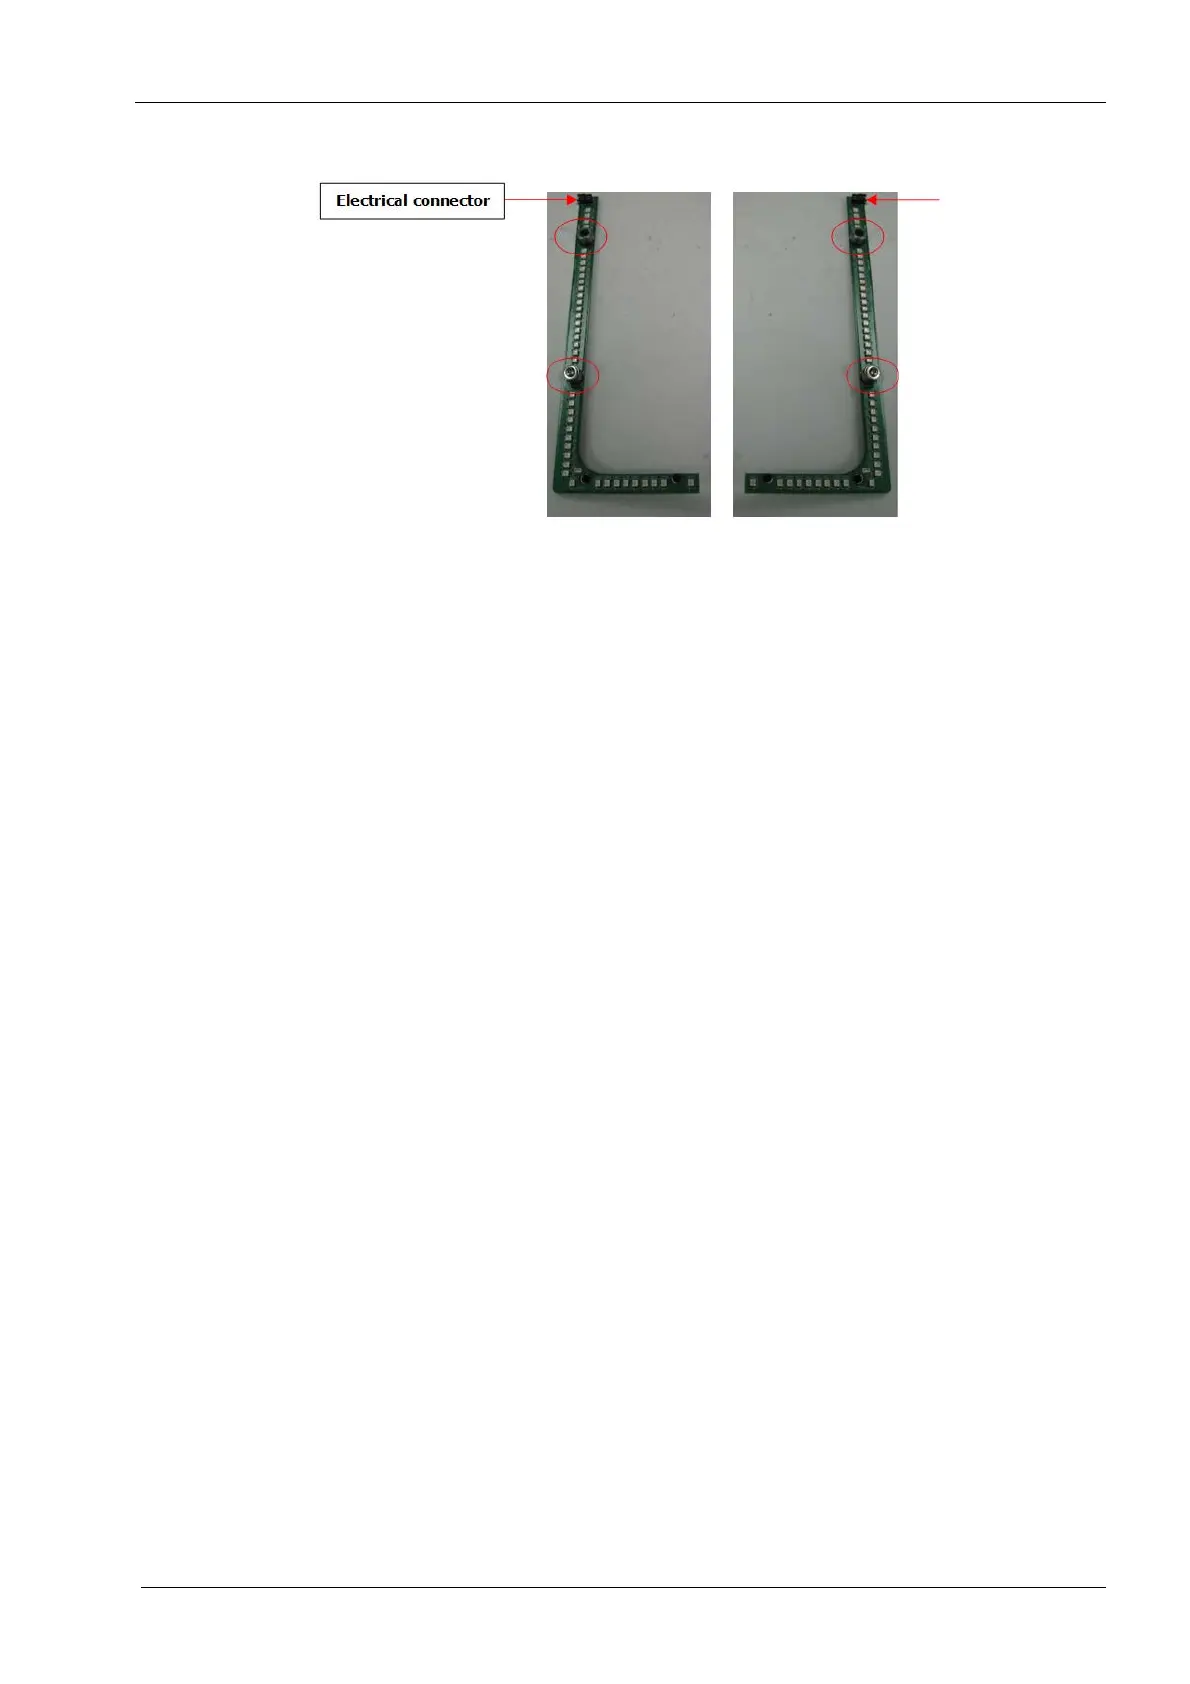
Figure 137: LED boards
Tools required
• #1 Philips screwdriver
Removal
1. Remove top cover, see section 2.1 "Mill covers" on page 94.
2. Disconnect the electrical connector located at the top of the board.
3. Remove the 2 Philips screws, washers, and spacers.
You will need to angle the screwdriver in order to engage the screw heads.
4. Lift the board free of the adapter.
Install
1. Reverse above procedure.
Be careful not to drop any hardware into the machine.
If hardware is dropped locate and retrieve the loose articles as any free fasteners
can damage motion system components.
2.3.6 Sliding wall
The sliding wall is located on the back wall of the grind chamber. The sliding is used to
create a watertight seal in the chamber. In the event of a leak the following procedure can
be performed to replace or repair the wall.
Tools required
• Philips head screwdriver
• metric Allen key set