Chapter B: Preventive maintenance 2 Maintenance procedures
Technical manual Planmeca PlanMill 40 35
9. Clean the strainer with a nylon brush and water.
10. Clean the floats with a wet paper towel to remove any debris.
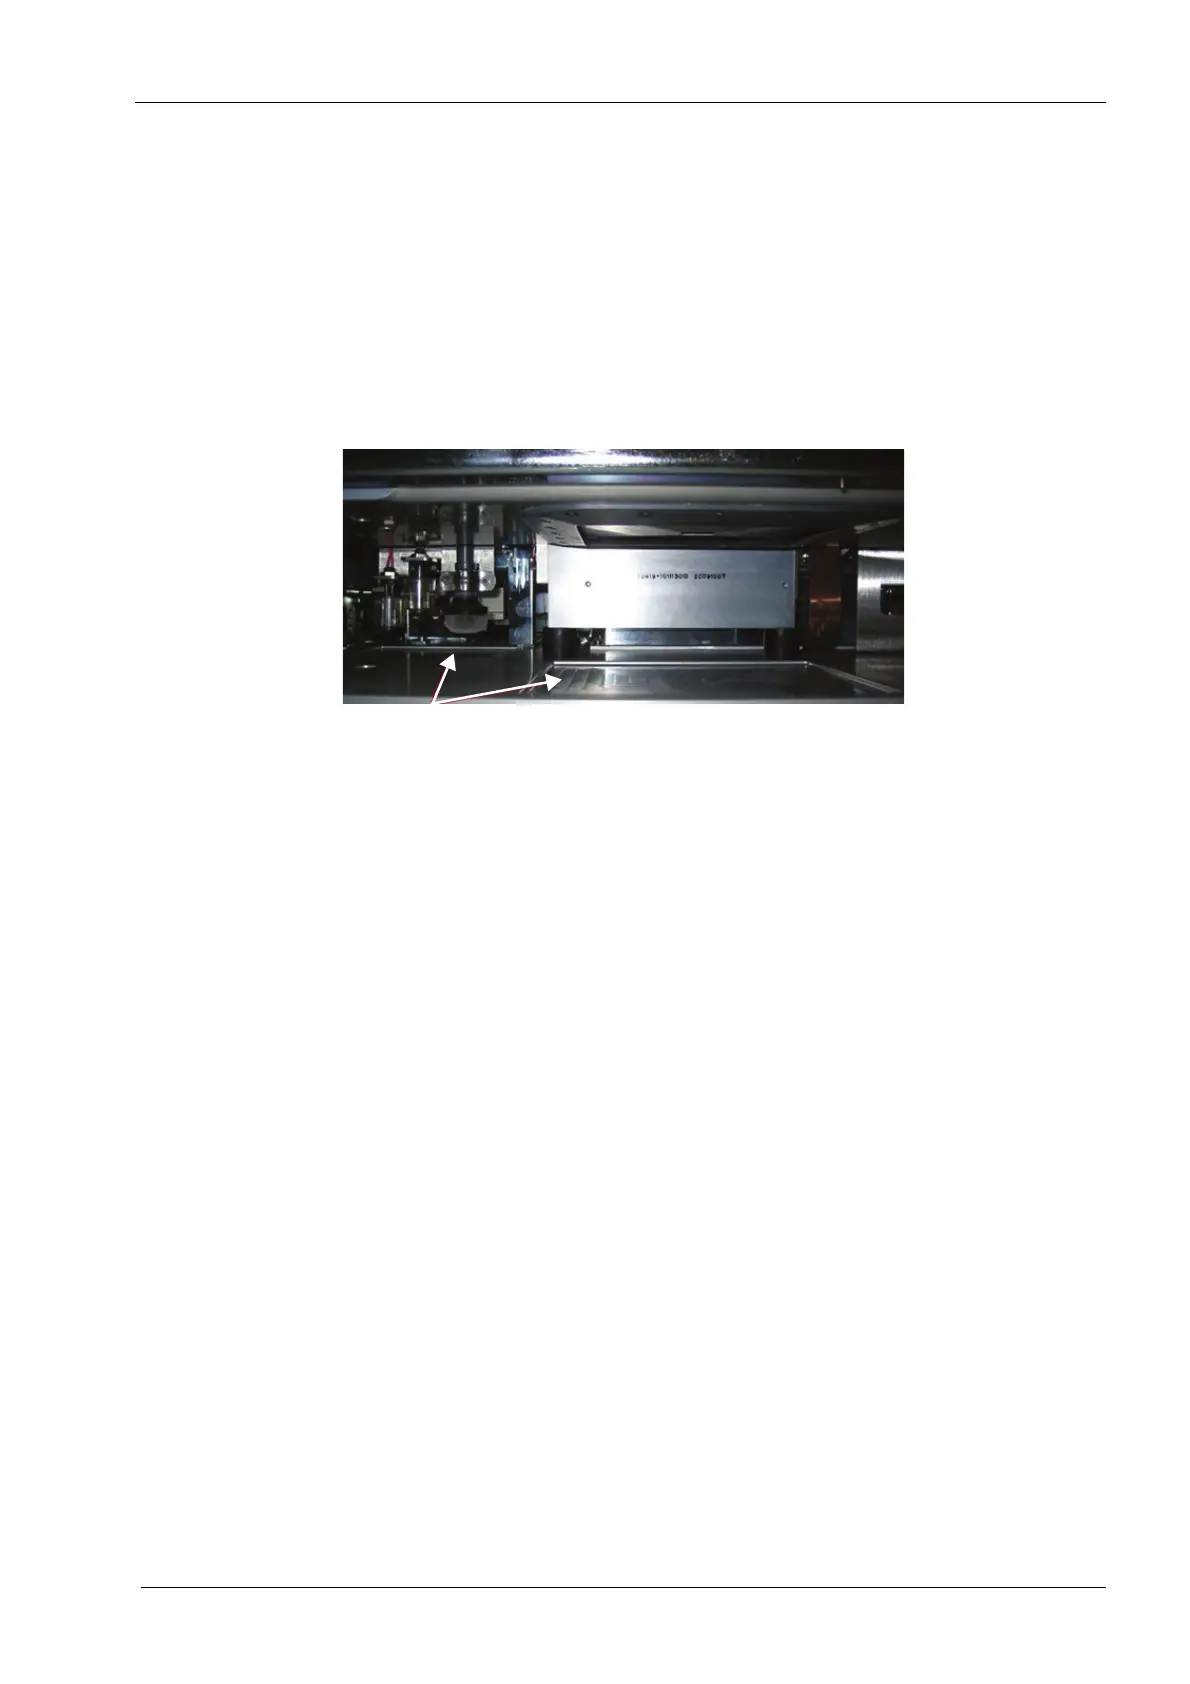
11. With the drawer open wipe the inside of the milling machine with clean paper towels.
This should include the two bottom plate pockets below the grind chamber and below
the suction line/float level areas as well as the bottom of the motion base.
It is normal for a small amount of moisture to be visible on the bottom plate and the bottom
of the motion base. Excessive moisture or ceramic debris is an indication of a problem and
should be investigated.
Figure 25: Cleaning bottom plate
12. Put back the cleaned strainer. If there is not enough room to work the float/strainer
assembly can be lifted manually the ease the process.
13. Click Next. This should raise the suction assembly.
14. Put back the tank on the drawer.
15. Look under the mill and ensure the float/strainer assembly is NOT VISIBLE.
16. Insert the drawer into the mill and close the drawer. After a moment the cleaning is
ready and green lights will turn on.
2.7 Cleaning collet and spindle caps
Over time, residue from the milling process may build up in the spindle caps and/or on the
collet. This inhibits coolant delivery and/or reduces the spindle’s tool holding capability.
Clean the collets and spindle caps when the button turns red or the tools “walk” (do not
stay flush with the spindle) during a restoration. Replace the fluid regularly to reduce
residue buildup.
The Collet Cleaning button turns red when the collets and spindle caps are scheduled to
be cleaned. Touch the button at any time to see how many milling hours are estimated
before the caps need to be cleaned.