Chapter E: Basic repair procedures 2 Basic repair procedures
Technical manual Planmeca PlanMill 40 123
7. Reinstall the top cover; see section 2.1 "Mill covers" on page 94.
2.3.3 Lid latch
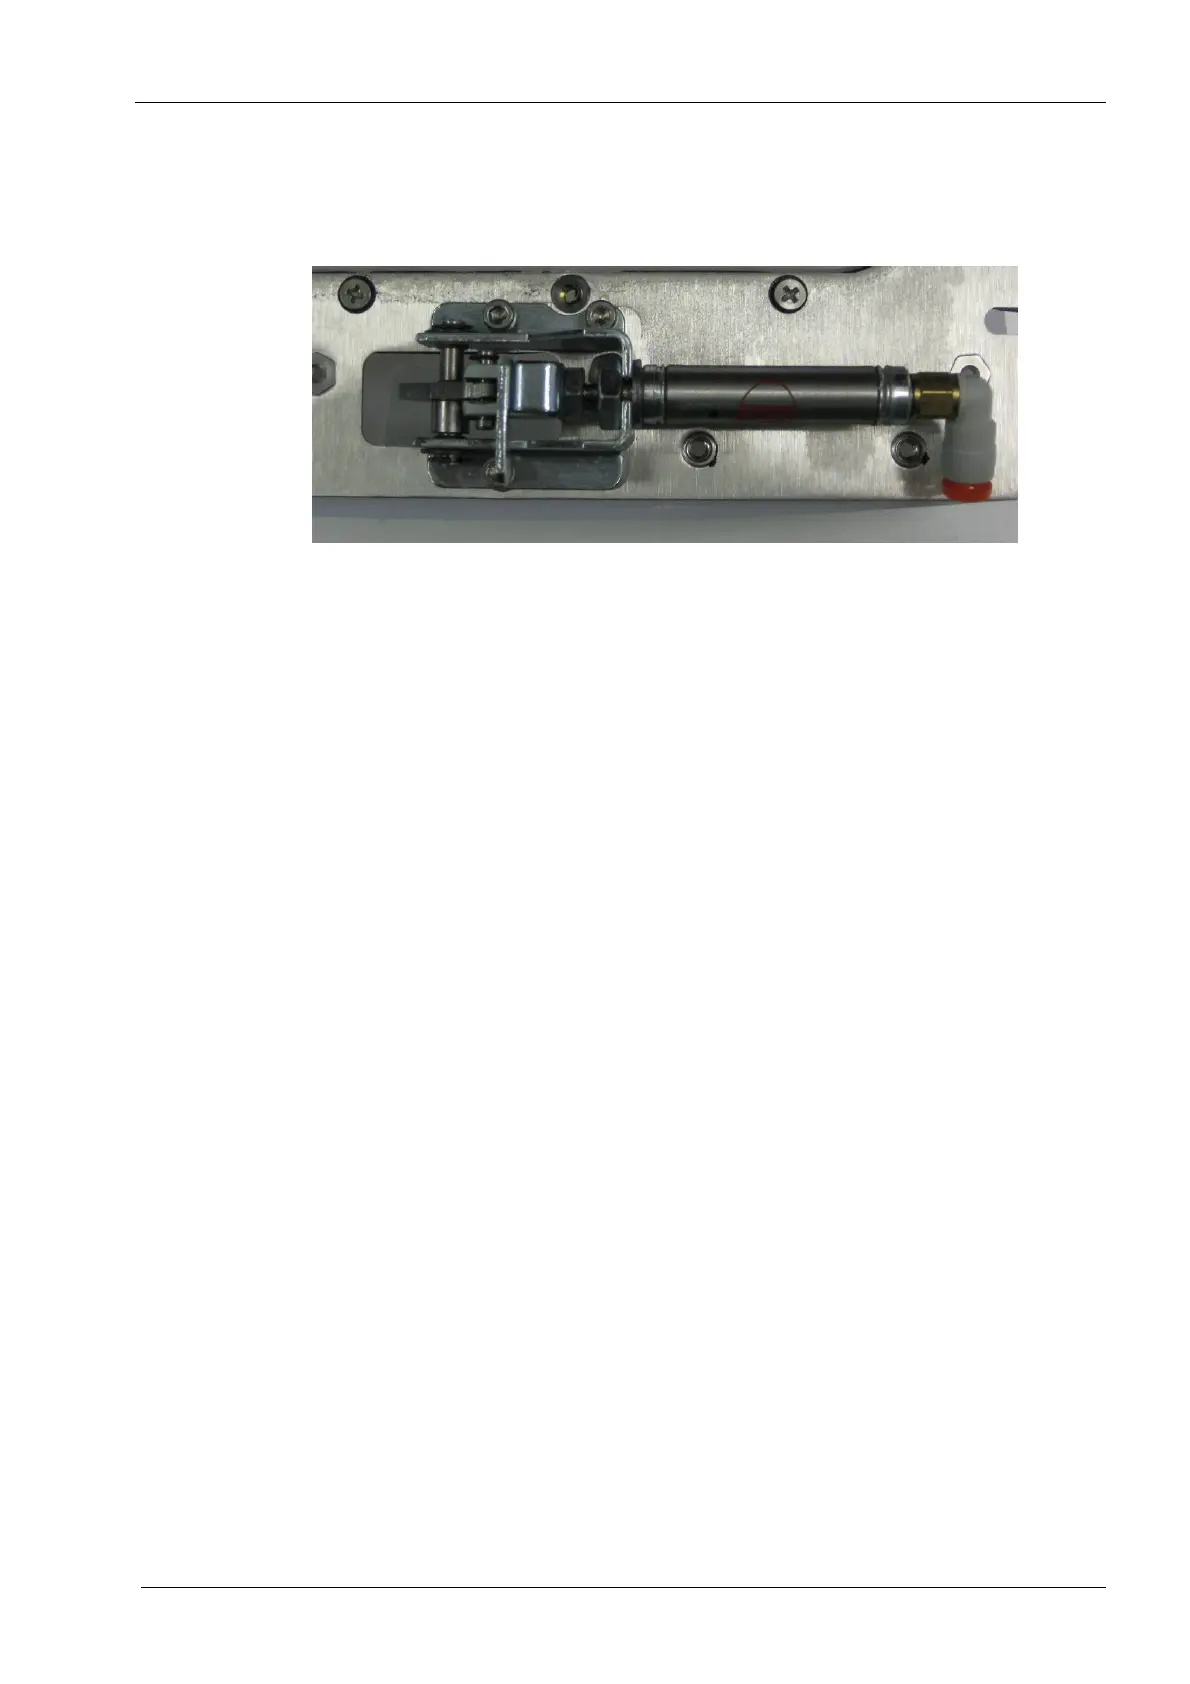
Figure 115: Underside view
Tools required
• #0 Philips screwdriver
• metric Allen key set
• small diagonal wire cutters
•wire ties
Removal
1. Remove the lid adapter assembly, see section 2.3 "Grind chamber lid/adapter
assembly" on page 117.
2. Remove the latch assembly (3) M3 retaining screws and lift the latch assembly free of
the adapter.
Install
1. Install the latch assembly onto the adapter, secure the (3) retaining screws.
2. Reinstall the lid adapter assembly, see section 2.3 "Grind chamber lid/adapter
assembly" on page 117.
2.3.4 Interlock switches
There are two micro-switches which detect whether the grind chamber lid is opened or
closed. These switches are safety features designed to prevent the operator from
operating the spindles or the motion system with the grind chamber lid in the open
position.
Tools required
• 1.5 mm Allen key
Removal
1. Remove the top cover, see section 2.1 "Mill covers" on page 94.
2. Open the lid.
3. Locate the interlock switches on the left and right sides of the lid adapter, close to the
hinge.