Chapter E: Basic repair procedures 2 Basic repair procedures
Technical manual Planmeca PlanMill 40 197
Install
1. Install one touch fitting in new spindle housing.
2. Slide the spindle housing back over the spindle.
3. Insert the tubing into the one touch fitting in the spindle housing.
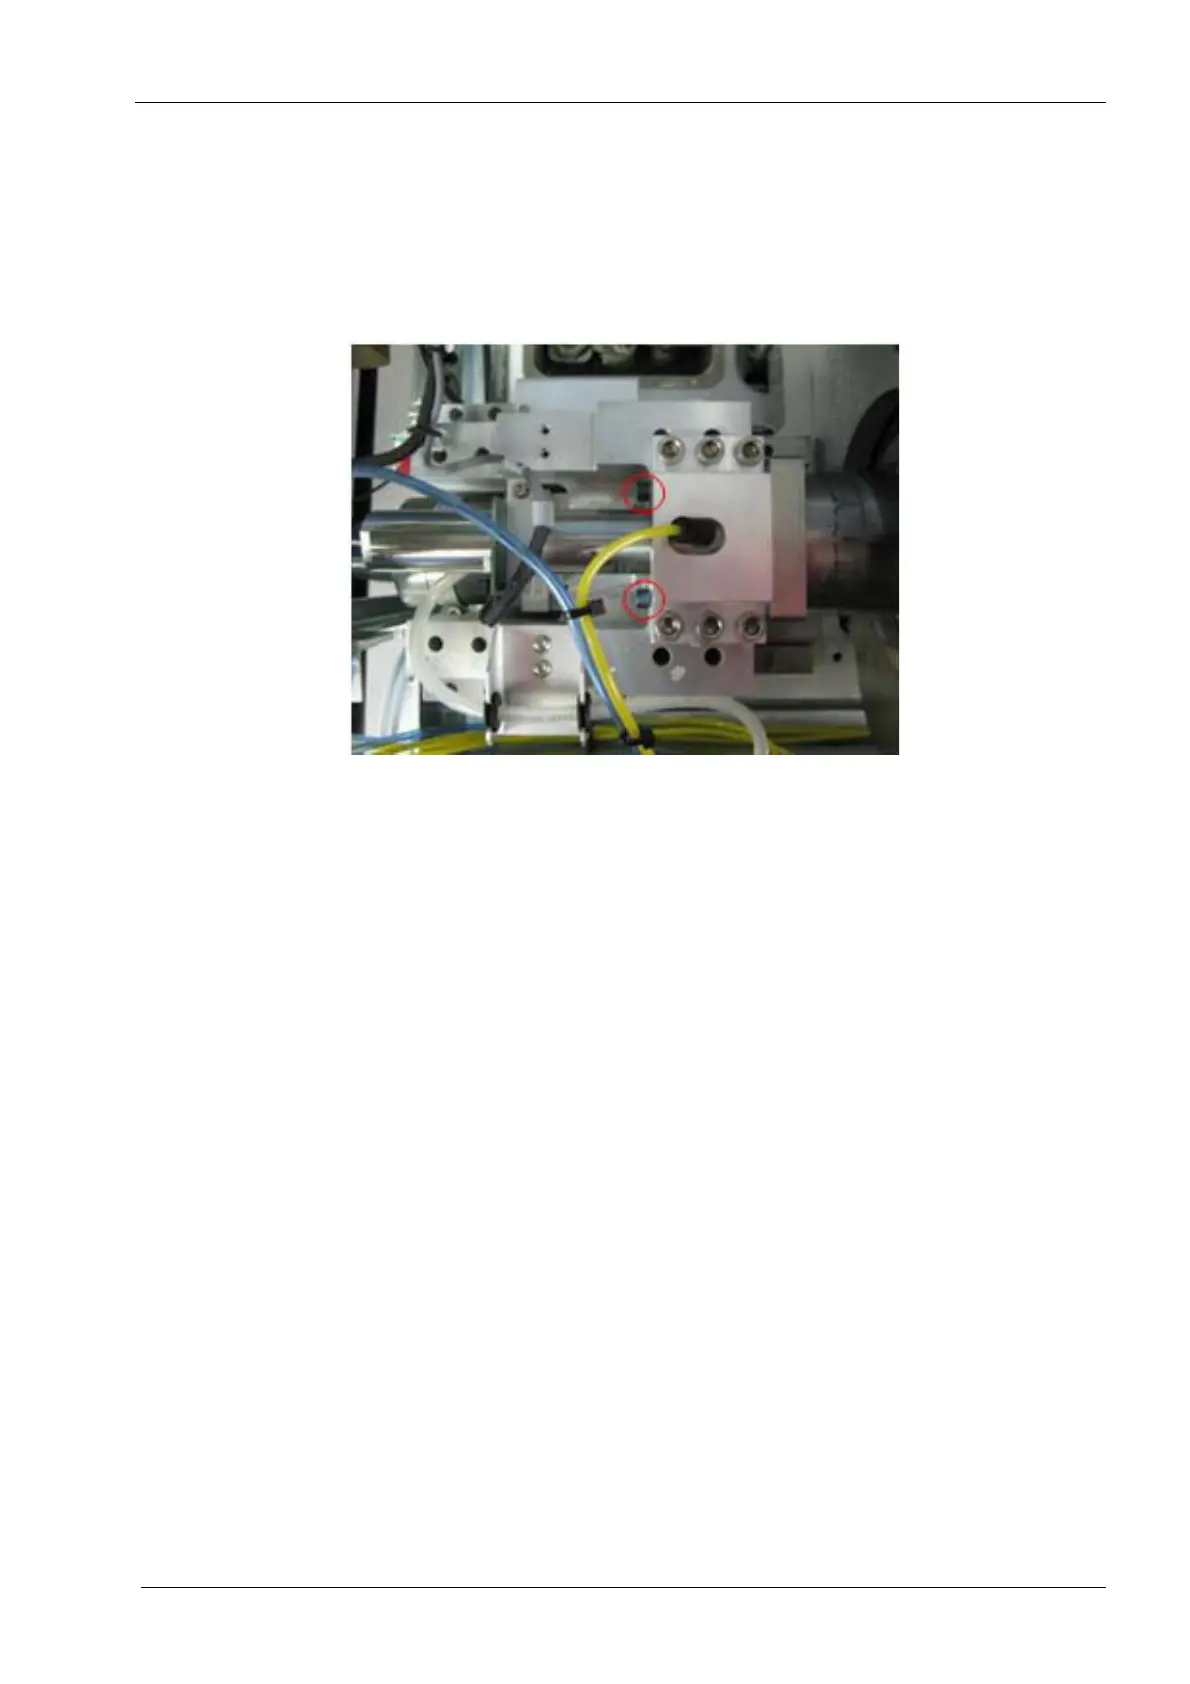
4. Install the spindle housing screws through the carriage into the spindle housing.
Figure 240: Install spindle housing screws
5. Install the inner seal flange.
6. Install the rope packing.
7. Install the inner seal cap.
8. Power up the mill and verify there are no water leaks around tubing and one touch
fitting.
9. Perform complete mill calibration procedure.
10. Reinstall rear, side panel and top cover, see section 2.1 "Mill covers" on page 94.
2.13.11 Quick release adapter
The quick release adapter is a fabricated part that attaches to the face of the spindle
housings in the milling machine. It is the attachment point for the quick release nozzle cap
assemblies.
Tools required
• #00 Philips Screwdriver
• quick release nozzle cap removal and installation tool
Removal
1. Touch the Collet Service icon and select Yes to continue.
2. After the lid opens use the quick release nozzle cap removal and installation tool to
remove the quick release nozzle cap by rotating clockwise to approximately the 1:00
o’clock position.