PG-FP6 V1.06 7. Usage of Communications Commands
R20UT4469EJ0800 Rev.8.00 Page 78 of 188
Oct.01.21
7.Usage of Communications Commands
This chapter describes how to use communications commands from a host PC to operate the FP6.
7.1 Starting the Communications Software
In order to use communications commands for operation, communications with the FP6 must be established
with communications software. In this chapter, we shall describe how to use communications software to
establish communications.
7.1.1 Connecting the system
For connection via the USB, connect a USB cable to the USB port on your host PC, and then connect the
other end to the USB connector on the FP6. For connection via the RS-232C, connect an RS-232C cable to
the RS-232C connector on your host PC and then connect the other end to the RS-232C connector on the
FP6. Next, plug the power supply adapter into an outlet, then connect it to the FP6 power supply connector.
7.1.2 Starting the FP6
After the connections are made, turn on the FP6 power supply switch.
7.1.3 Starting communications software
Start communications software.
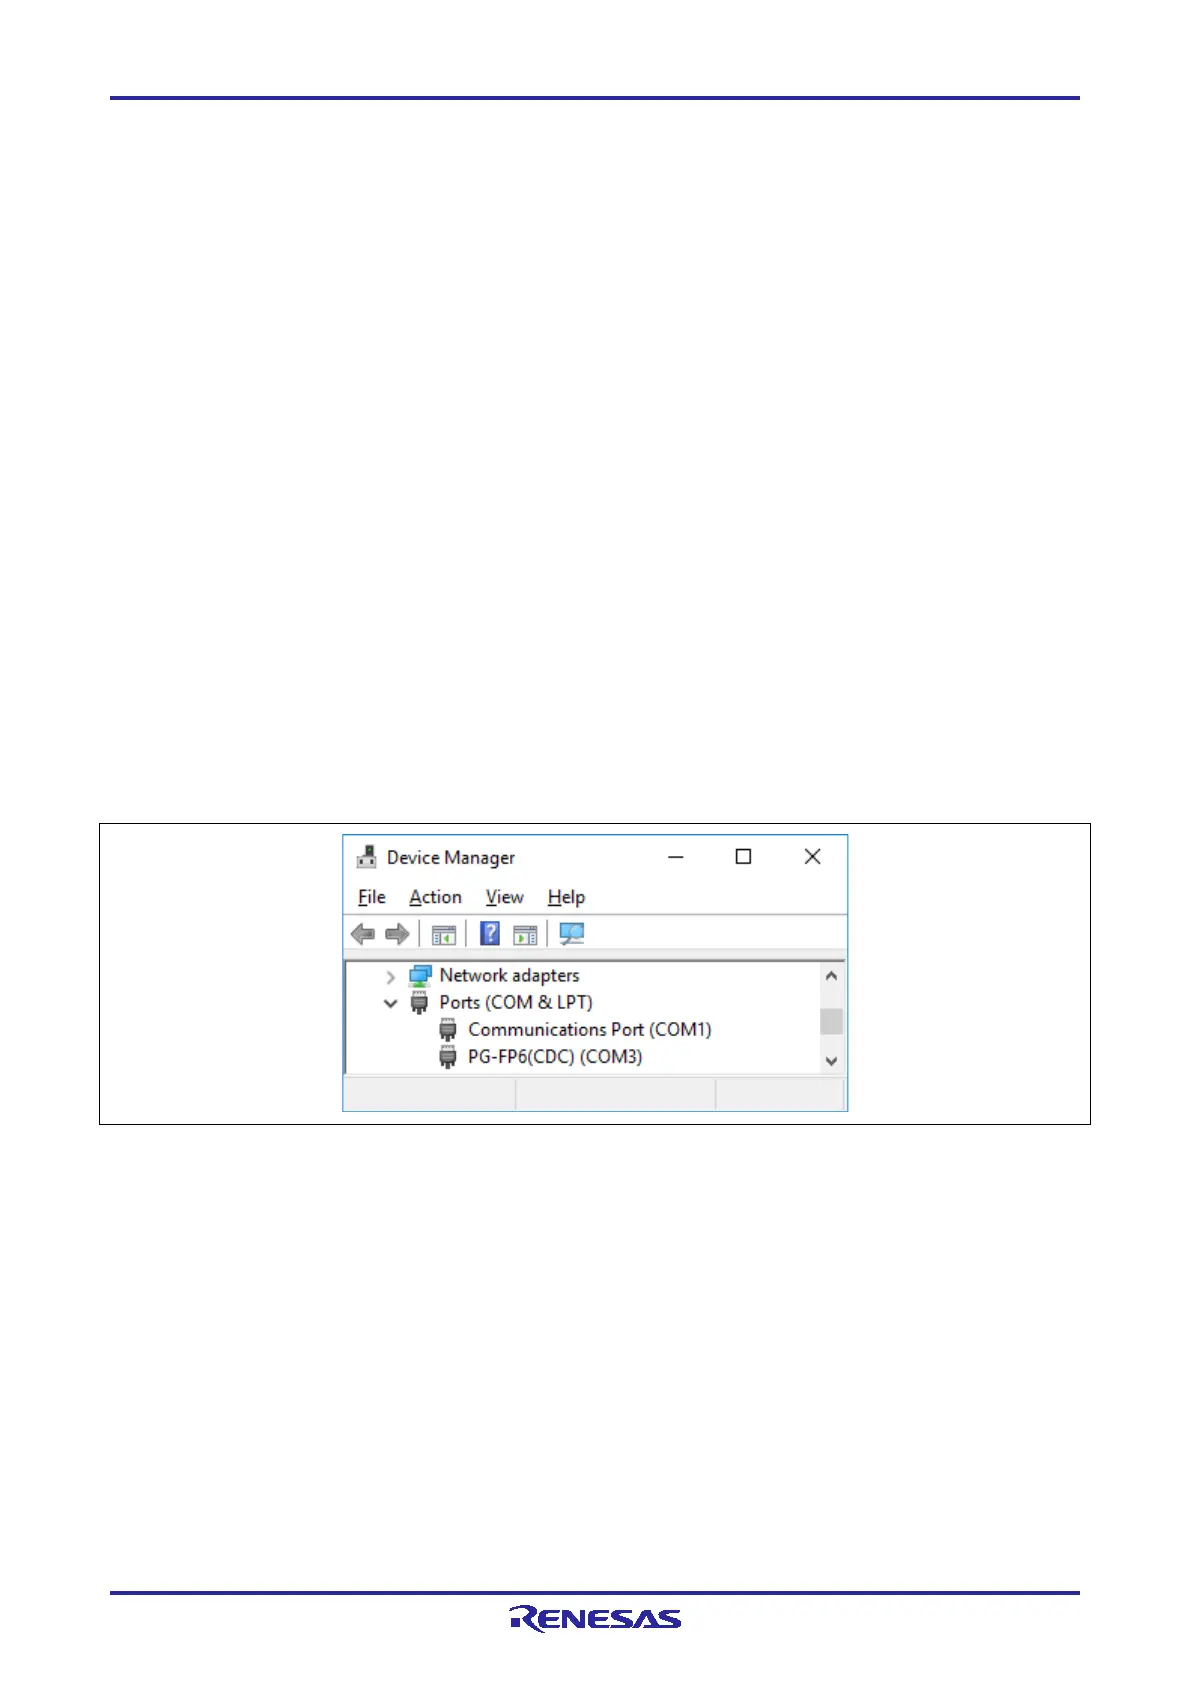
Check the COM port number with Device Manager.
Figure 7.1 Checking the COM Port Number Settings
In the case of using the RS-232C cable, select the data transfer conditions listed below.
Data transfer rate: 9600 bps, 19200 bps, 38400 bps, 57600 bps, or 115200 bps
Data bits: 8 bits
Parity: None
Stop bit: 1 bit
Flow control: Hardware
Remark: The above settings are optional for a USB connection.
The default data transfer rate is 9600 bps, but it may be changed by the FP6 Terminal or terminal commands
to another rate. In such cases, use [RS232C Baud rate] from [Utility] in the LCD panel of the FP6 main unit to
check the transfer rate and make sure that it matches that of the host.

 Loading...


