3.27
Date Code 20120126 Instruction Manual SEL-2032 Communications Processor
Job Done Examples
Example 6: Modbus Job Done
Step 4. Issue the command SET P 2 to configure Port 2. The
SEL-2032 will prompt for the type of device connected to the
port. Enter S for SEL IED, enter Y to auto-configure the port,
and press <Enter> to confirm the configuration prompts. The
SEL-2032 will establish communication with the relay, relay
ID, and communication baud rate and determine if the relay is
capable of Fast Meter. Enter Y to save port configuration
changes at the final prompt.
Step 5. Next, issue the command SET A 2 to set an auto-message to
collect relay meter data. Respond to prompts about saving
unsolicited messages (AUTOBUF) and the STARTUP string.
Press <Enter> to confirm the defaults for both prompts. Enter
1 when prompted for the message count. At the ISSUE1
prompt, enter P00:00:01 to set the message to trigger once
every second. At the MESG1 prompt, enter 20METER to send
the request for meter data to the SEL relay. Press <Enter> to
accept the default for remaining settings and enter Y to save
changes. As soon as the SEL-2032 accepts the setting change,
the TXD and RXD Port 2 LEDs on the SEL-2032 will begin to
flash as the SEL-2032 requests and receives meter data every
second.
Step 6. Confirm that the meter data are collected in binary format by
issuing a MAP 2 command. The D1 region should show a “B”
preceding the METER data type, indicating binary collection.
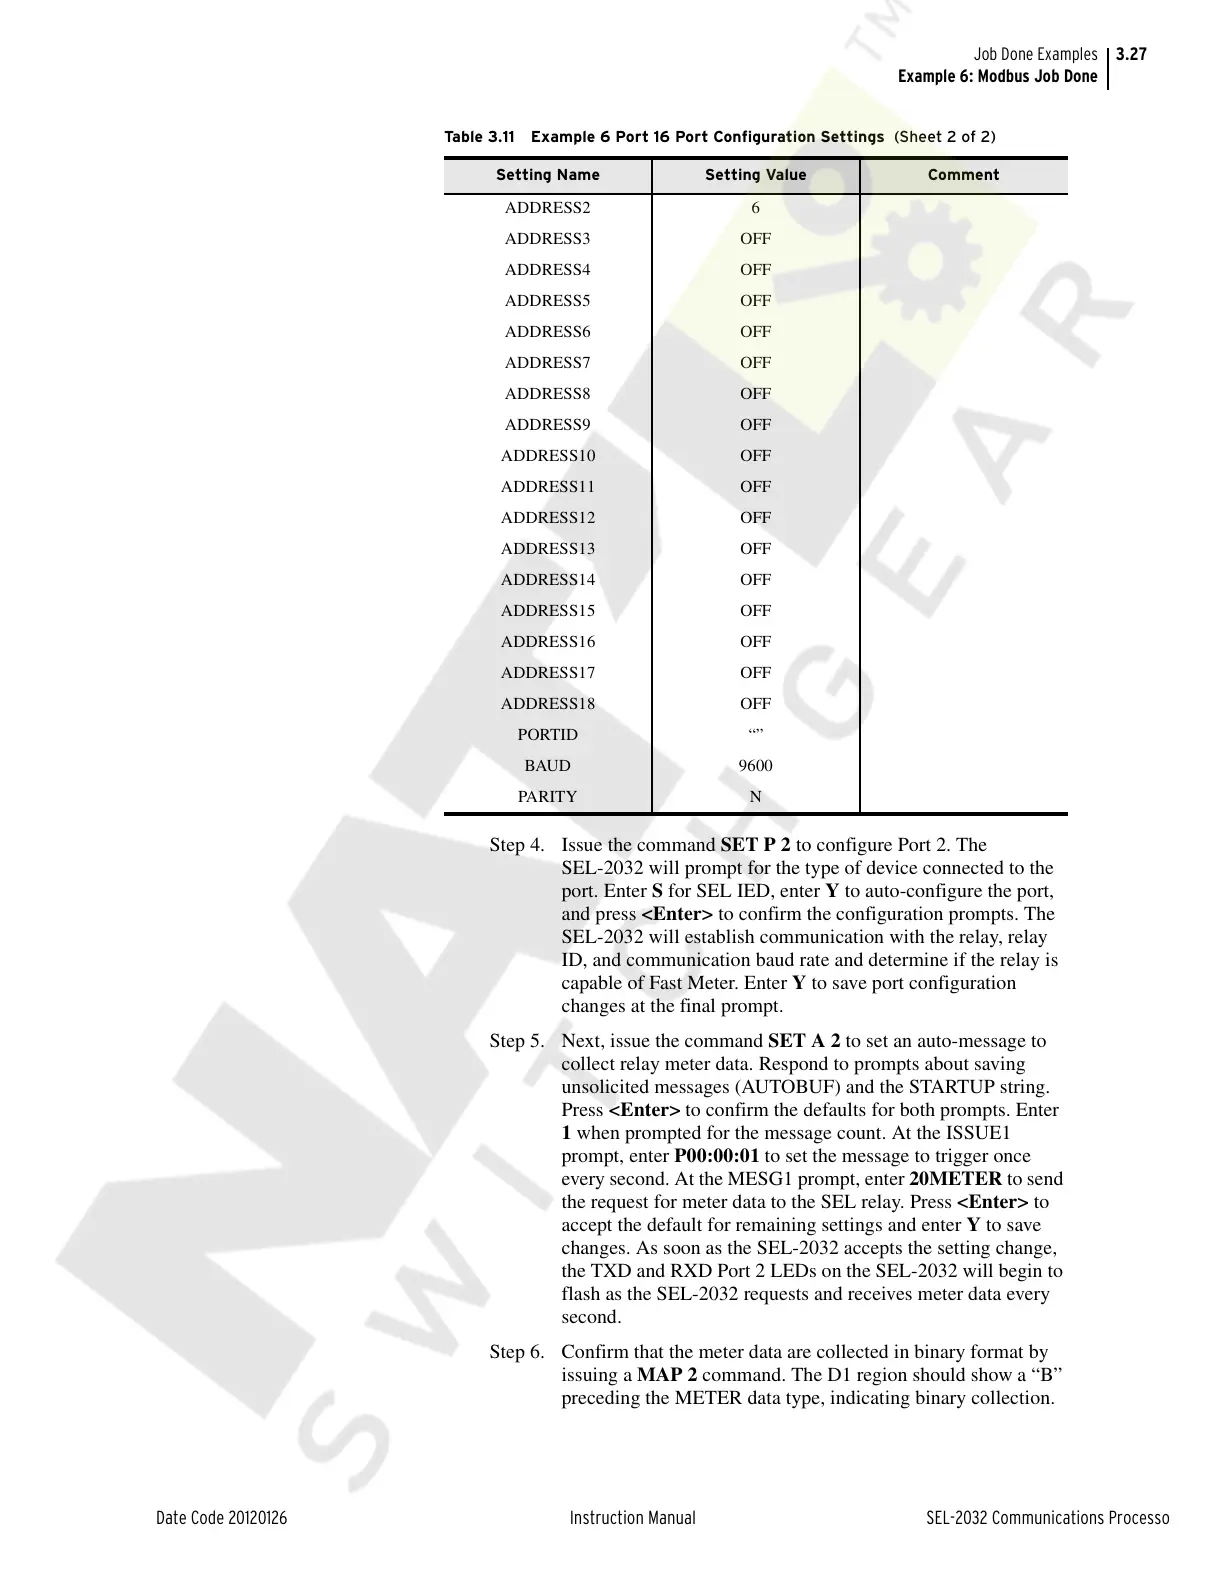
ADDRESS2 6
ADDRESS3 OFF
ADDRESS4 OFF
ADDRESS5 OFF
ADDRESS6 OFF
ADDRESS7 OFF
ADDRESS8 OFF
ADDRESS9 OFF
ADDRESS10 OFF
ADDRESS11 OFF
ADDRESS12 OFF
ADDRESS13 OFF
ADDRESS14 OFF
ADDRESS15 OFF
ADDRESS16 OFF
ADDRESS17 OFF
ADDRESS18 OFF
PORTID “”
BAUD 9600
PA RIT Y N
Table 3.11 Example 6 Port 16 Port Configuration Settings (Sheet 2 of 2)
Setting Name Setting Value Comment
Courtesy of NationalSwitchgear.com