Section 07 BODY AND HULL
Subsection 02 (HULL)
219100893-033-020_a
SEALANT APPLICATION
3. Tighten thru-hull fitting screws to the specified
torque.
TIGHTENIN
G TORQUE
Thru-hull fitting screw
9N•m ± 1N•m
(80 lbf•i
n ±9lbf•in)
4. Install other removed parts, refer to the appro-
priate subsections.
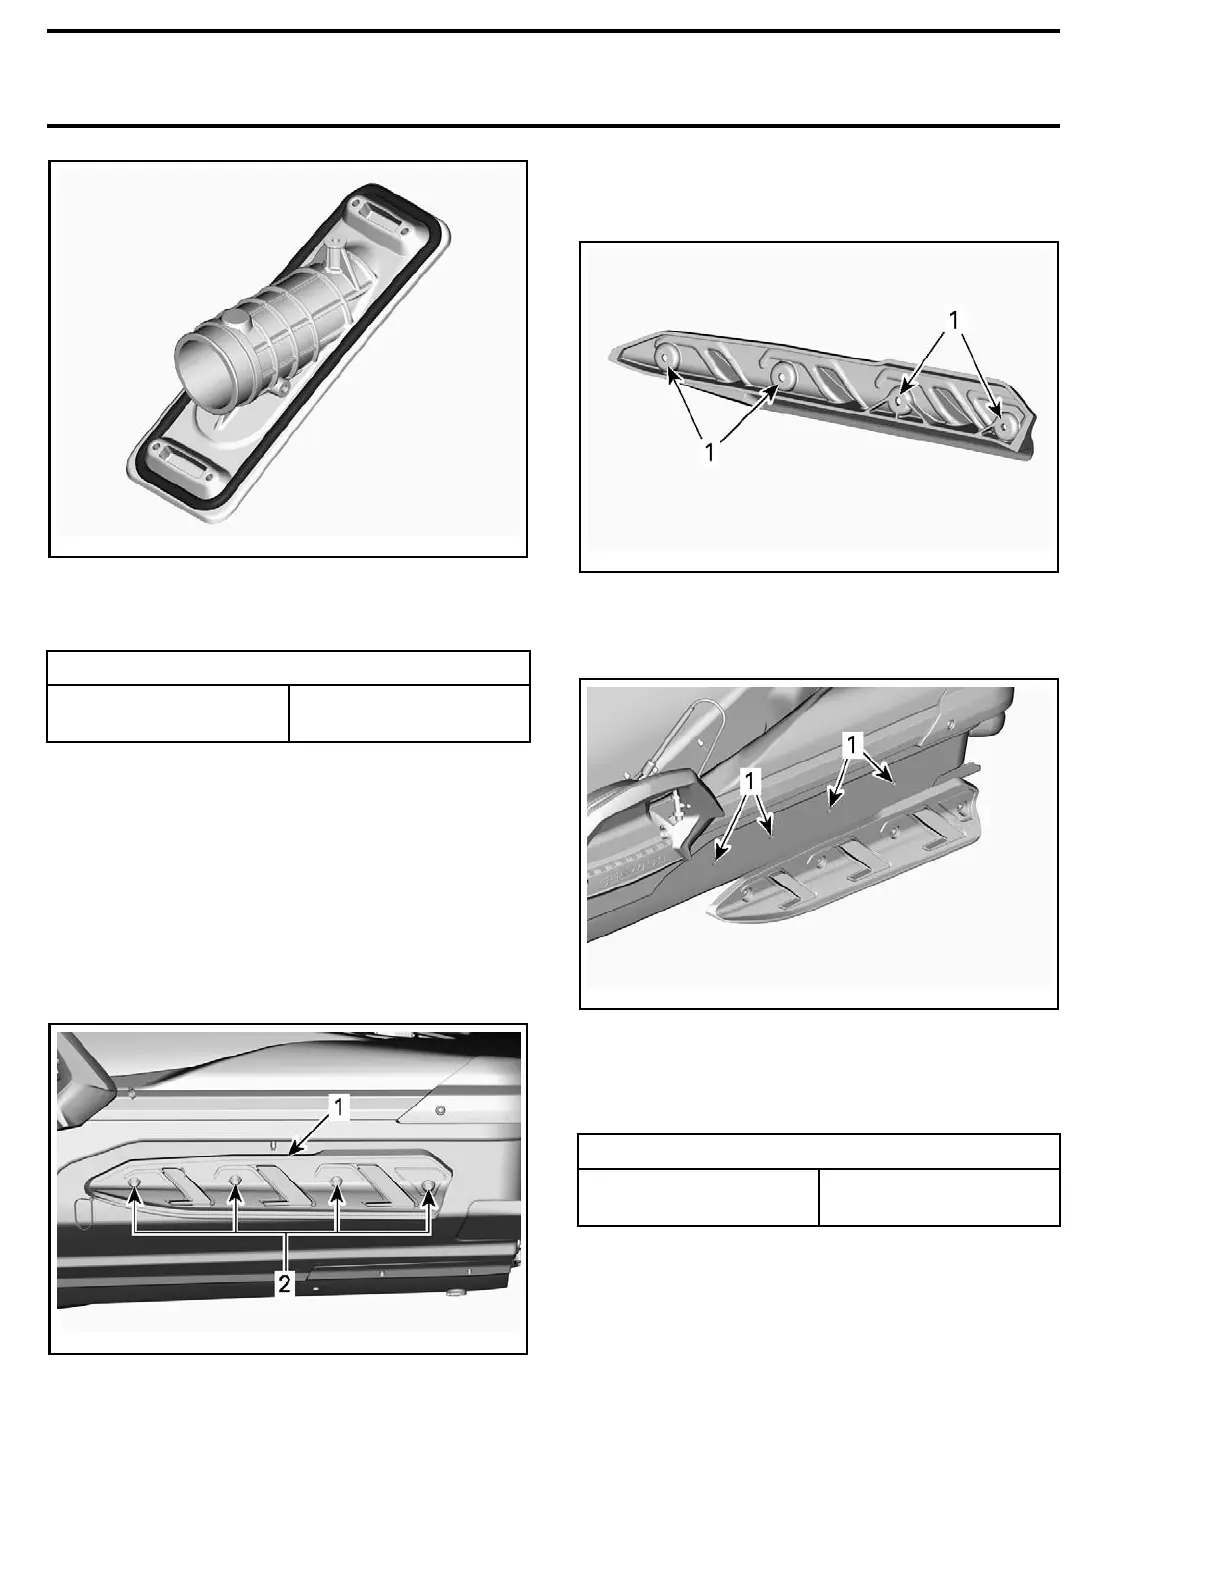
REAR SPONSONS
NOTE: Re
moval and installation procedure for RH
and LH sp
onson is similar.
Removing the Rear Sponson
Remove s
ponson retaining bolts.
219100893-033-015_a
TYPICAL – LH SPONSON SHOWN
1. Sponson
2. Retaining bolts
Installing the Fixed Rear Sponson
1. Clean a ny residues of silicone sealant on hull
and s ponsons.
2. Apply
CLEAR SILICONE SEALANT (P/N 296 000
309)
on back side of sponson spacers.
219100893-033-016_a
1. Apply sili
cone sealant here
3. Apply a small amount of CLEAR SILICONE
SEALANT (P/N 296 000 309)
into each hull hole.
219100
893-033-017_a
1. Apply silicone sealant in these holes
4. Install sponson against the hull using the spon-
son retaining screws.
5. Tighten screws as specified.
TIGHTENING TORQUE
Sponson retaining
screws
17.5 N•m ± 1 N•m
(155 lbf•in ±9lbf•in)
NOTE: If the retaining nut holders are damaged
and need replacement, follow the following steps.
6. Remove the muffler (on left side) or the in-
tercooler (on the right side). Refer to
INTER-
COOLER
or
EXHAUST SYSTEM
subsection.
7. Clean any residues on hull.
8. Apply teroson 9399 on retaining nut holders.
9. Secure retaining nut holders on hull.
10. Reinstall removed parts. Refer to appropriate
subsection.
244 219100893-033

 Loading...


