163
3) Disassembling
NOTE:
1.
Never disassemble the control valve during the claim warranty term (1 year or 600 hours). If disassembled, claim
will not be accepted.
2.
If it should be unavoidably disassembled, handle it very carefully since it is finished precisely.
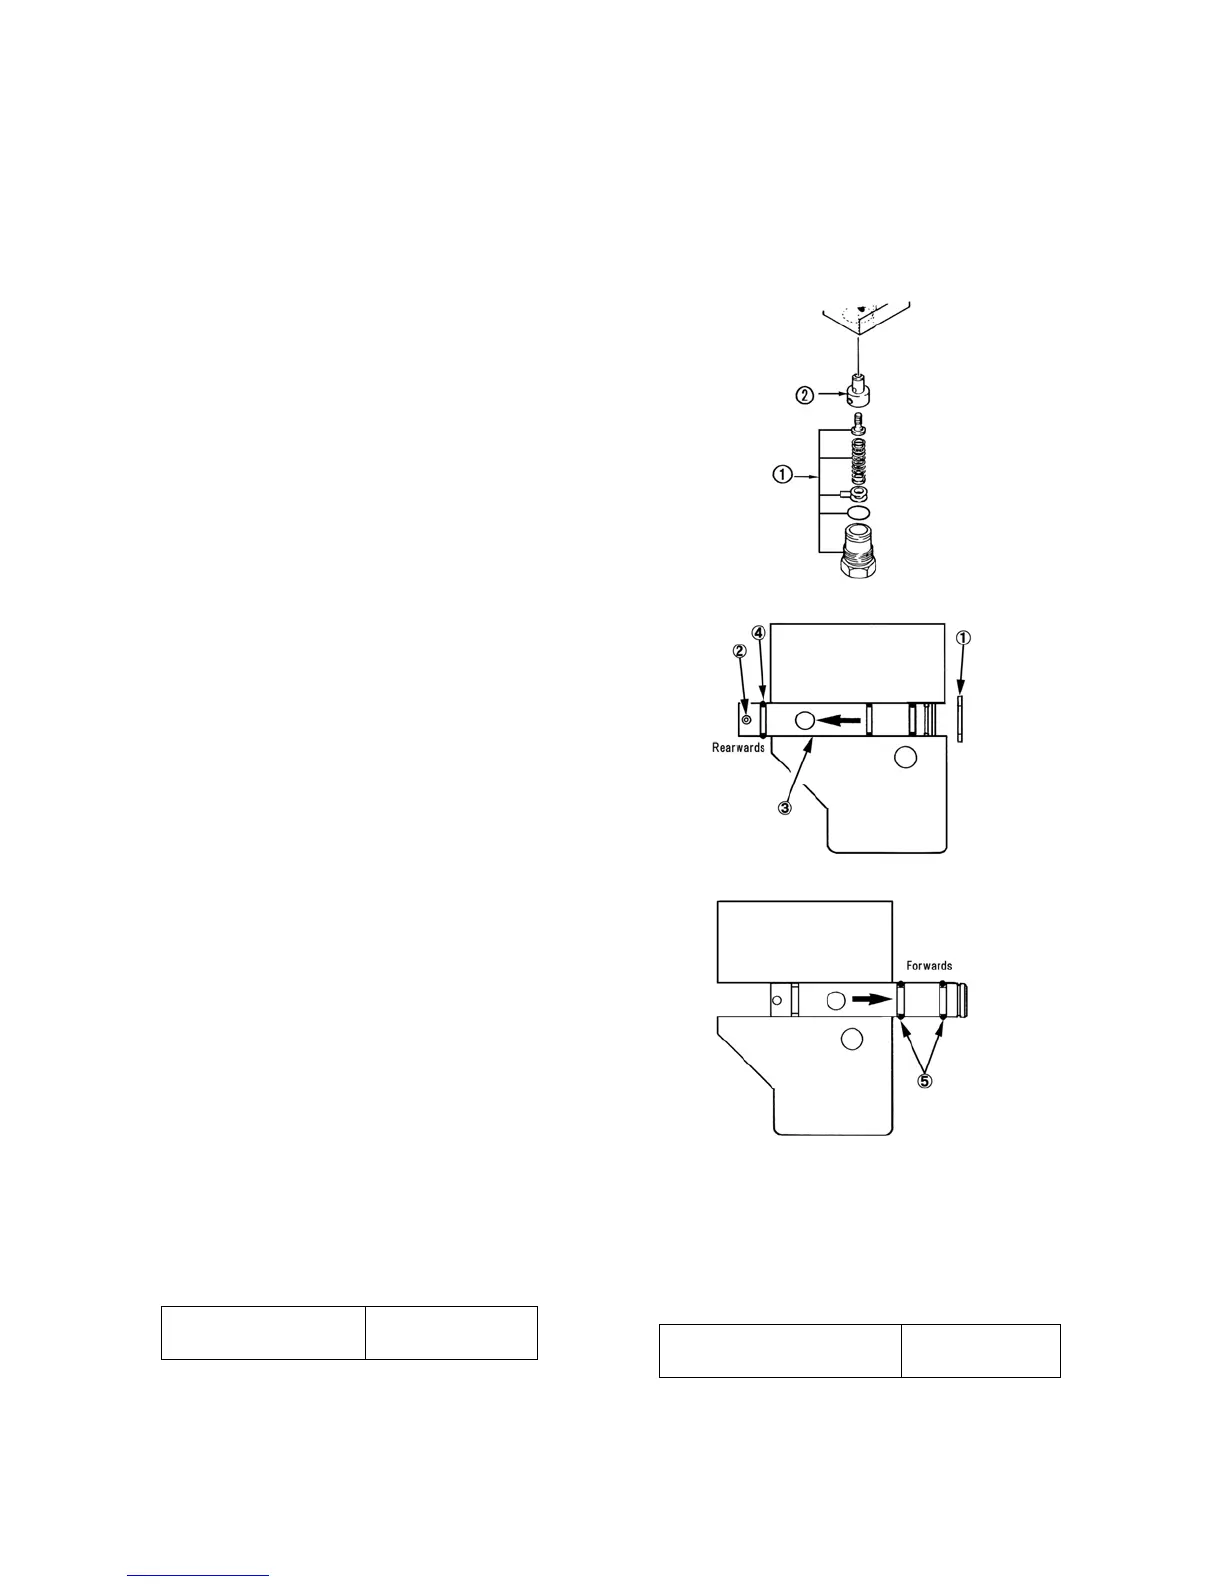
(1) Relief valve
a. Remove the plug and take out the shims, spring and
poppet.
b. Remove the relief housing kit.
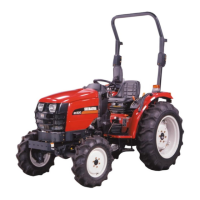
(2) Change over valve
a. Remove the snap ring ①.
b. Drive out the spring pin, ② extract the spool ③
rearwards until the O-ring ④ on the rear side of
the valve can be removed, and remove the O-ring
④.
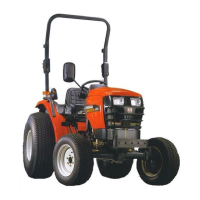
c. Extract the spool forwards of the valve and remove
2 O-rings ⑤.
NOTE:
If extracting in either one direction, the O-ring is
broken.
For reassembly, install 2 O-rings on the front side, push
the spool rearwards, install the O-ring on the rear side
and return front-wards, in the reverse order.
481Y
482Y
483Y
4) Inspection and reassembly
(1) Relief valve ass'y
Replace the valve assembly if the seat surface is
worn out.
Plug tightening torque
34.3-44 N・m
{3.5-4.5 kgf・m}
(2) Valve and O-ring
Replace the valves and O-rings if oil leaks.
(3) When connecting the oil pressure take-out
piping, wind seal tape on it before
tightening.
PT 3/8 plug tightening torque
29.4~49.0 N・m
{3-5 kgf・m}